764A specifications
The Bryant 764A is a high-performance air conditioning and heating system that exemplifies efficiency and reliability for residential and commercial use. Designed to deliver optimal comfort in various climates, the 764A is known for its impressive energy efficiency ratings and advanced technologies.One of the standout features of the Bryant 764A is its variable speed compressor. This innovative component allows the system to adjust its output according to the specific cooling or heating demands of the environment. By operating at different speeds, the compressor can maintain a consistent indoor temperature while using less energy compared to traditional single-stage systems. This not only enhances comfort but also contributes to significant energy savings over time.
The Bryant 764A is equipped with a smart thermostat that offers precise control over indoor climates. This thermostat can be programmed to adjust temperatures based on user preferences and schedules, further improving energy efficiency. Users can also control the system remotely via a smartphone app, ensuring comfort is just a tap away.
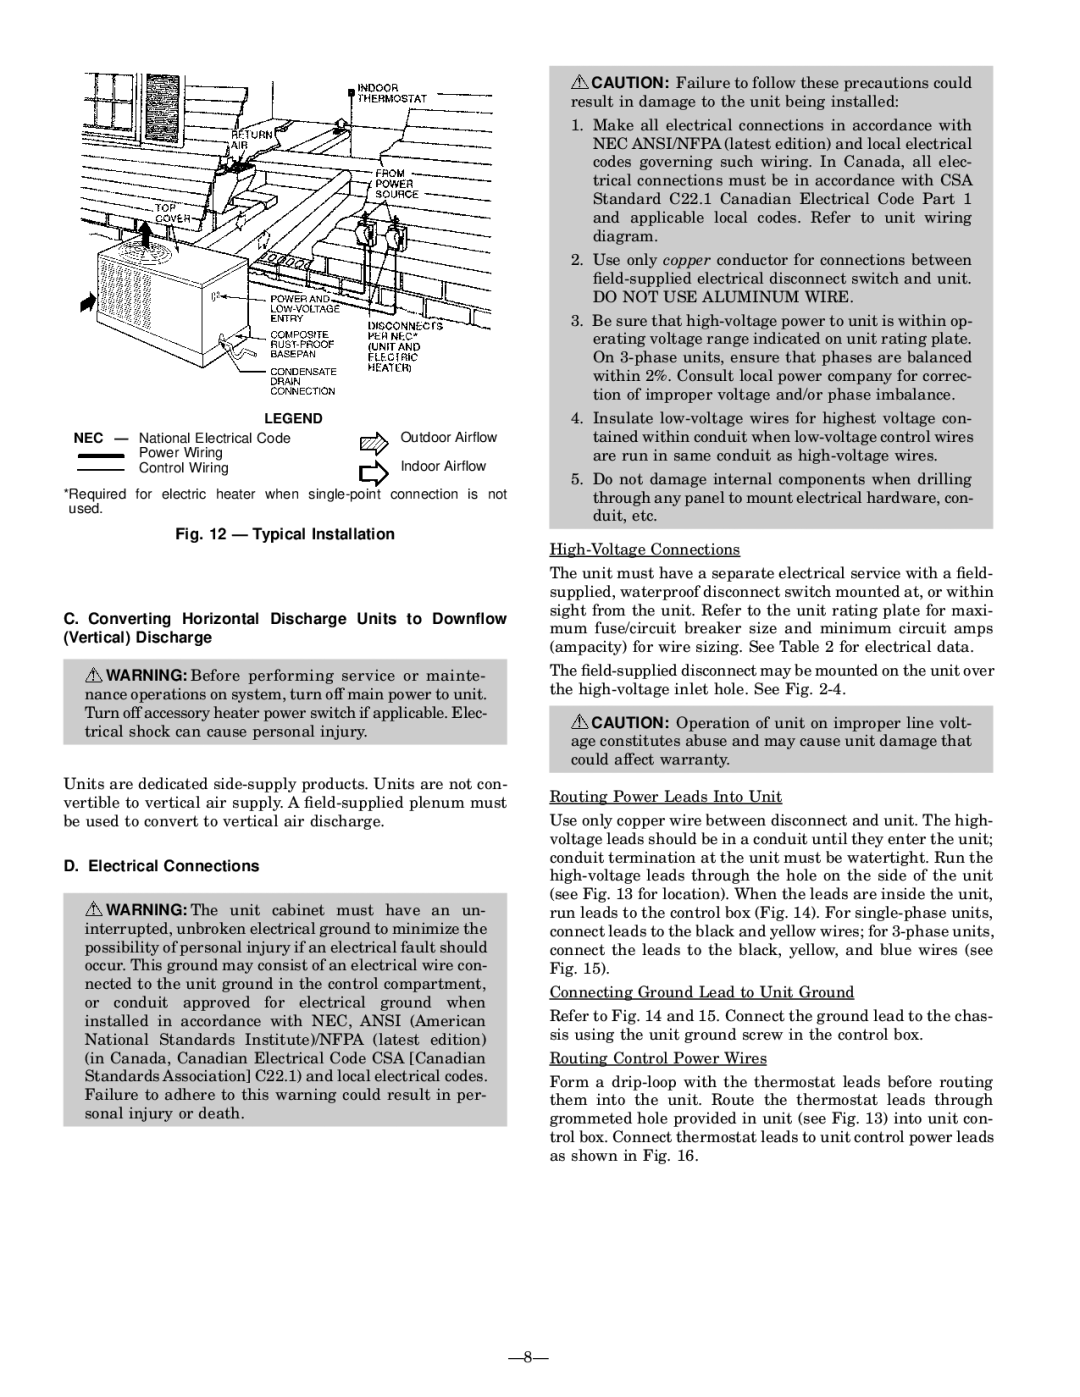
In terms of its construction, the Bryant 764A is built with durability in mind. The unit features a robust cabinet designed to withstand harsh weather conditions, which extends the lifespan of the system. Additionally, its sound-dampening technology minimizes operational noise, creating a more peaceful indoor environment.
The 764A incorporates advanced filtration systems to improve indoor air quality. With allergen filtration capabilities, it effectively reduces dust, pollen, and other airborne particles, making it an excellent choice for allergy sufferers. This focus on air quality aligns with Bryant's commitment to creating healthier living spaces.
Moreover, the Bryant 764A is designed with environmentally friendly refrigerants, aligning with modern standards for reducing greenhouse gas emissions. This commitment to sustainability is becoming increasingly important for consumers looking to reduce their environmental footprint.
Overall, the Bryant 764A stands out as a comprehensive solution for heating and cooling needs. With its variable speed technology, smart thermostat, durable construction, and focus on air quality, it offers both efficiency and comfort, making it a wise investment for any property owner looking to enhance their indoor environment.

