C A U T I O N:

Be careful not to drop the unit or disturb electronic parts.

Leave the door closed while the body is being removed from the base.

9.Route the wires through the open areas in the base plate above the terminals. Hold the base against the wall, with the wires coming through. Position the base for the best appearance (to hide any marks from an old thermostat). Attach the base to the wall with the two screws provided.

N O T E: If you are mounting the base to a soft material like plasterboard or if you are using the old mounting holes, the screws may not hold. Drill a 3/16-in. (4.8mm) hole at each screw location, and insert the plastic anchors provided. Then mount the base as described below.

4.5 WIRING

Using the terminal descriptions below, wiring diagram on page 14, and your labels, determine the appropriate wiring for your system.

Also Refer to the Heat Pump Cross-reference Chart on page 15.

If you are unsure or need assistance, call the LUX Technical Assistance Dept. (see TECHNICAL ASSISTANCE.)

4.5.1 TERMINAL DESCRIPTIONS

See drawing on page 16 showing layout of terminals.

G:The fan terminal is live at any time the thermostat attempts to turn the system fan or blower on.

O:Live at any time the unit is in Cool mode.

B:Live at any time unit is in Heat Mode.

W:Active while the thermostat is calling for auxiliary 3rd stage of heat.

Y2: Active while calling for a 2nd stage of heating/cooling.

R:Transformer, Provides Power

Y1: Active while calling for a 1st Stage of heating/cooling.

C:Use of this terminal allows the unit to be system powered rather than battery powered.

E:This terminal is active when the thermostat is calling for Emergency Heat.

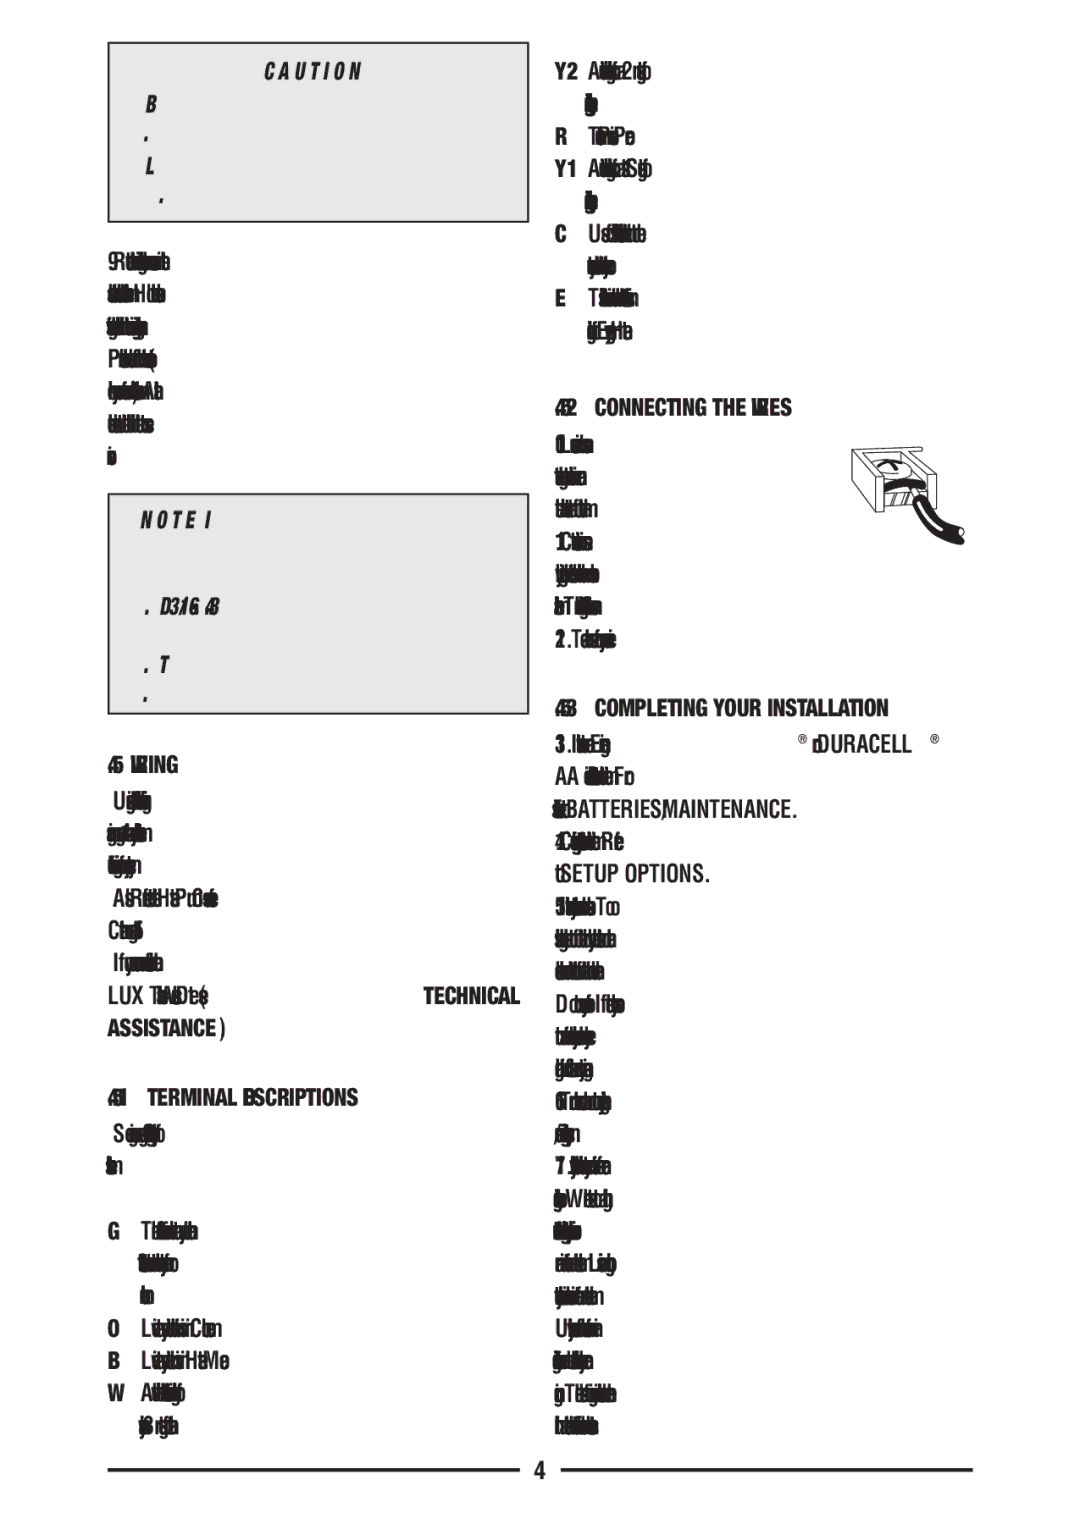
4.5.2CONNECTING THE WIRES 10. Loosen wire clamp screws

just enough to slide wire under the black top part of the clamp. 11. Connect stripped wire ends, by trapping it between its black clamp and brass terminal. Then tighten its terminal screw.

12. Tape the ends of any unused wires.

4.5.3COMPLETING YOUR INSTALLATION 13. Install two new Energizer® or DURACELL® "AA" size alkaline batteries at this time. For instructions, refer to BATTERIES/MAINTENANCE. 14. Configure your thermostat at this time. Refer to SETUP OPTIONS.

15. Install your thermostat on its base. To do this, hang the top of the unit by the tabs on the base, then snap the bottom of the unit into place. Do not use unnecessary force. If the body does not snap into place easily, remove the body, re- hang it from tabs and try again.

16. Turn the power back on to your heating and/or air conditioning system.

17. Verify that the system and its fan are operating properly. When set to a high temperature, the heating system should provide warm air after a short time. Likewise, a cooling system should provide cool air after a short time. Usually sound from the furnace and air conditioning units can be heard while they are running. The rush of moving air should be heard within a short time after either has been started.

4

Page 4
Image 4
Bryant PSPHA732 warranty Wiring, Also Refer to the Heat Pump Cross-reference Chart on, Terminal Descriptions

PSPHA732 specifications

The Bryant PSPHA732 is a top-tier heat pump model designed to provide efficient heating and cooling solutions for residential and light commercial applications. Known for its impressive performance and reliability, this unit exemplifies modern HVAC technology, striking a perfect balance between comfort and efficiency.

One of the standout features of the Bryant PSPHA732 is its advanced variable-speed compressor, which allows for precise temperature control and exceptional energy efficiency. This technology enables the heat pump to operate at multiple speeds, adjusting seamlessly to the heating or cooling demand. As a result, homeowners can enjoy more consistent indoor temperatures while minimizing energy consumption, leading to significant savings on utility bills.

The PSPHA732 also boasts a high Seasonal Energy Efficiency Ratio (SEER) and Heating Seasonal Performance Factor (HSPF), making it one of the most efficient options in the market. With a SEER rating of up to 17 and an HSPF rating of up to 10, this unit qualifies for various energy-efficiency programs and tax credits, further enhancing its value proposition.

Another key characteristic of the Bryant PSPHA732 is its innovative design, which incorporates sound-dampening technology. This includes a specially designed fan and insulated compressor compartment, leading to quieter operation compared to traditional models. This is especially beneficial for homeowners seeking a peaceful indoor environment.

The unit’s durable construction is another highlight, featuring a weather-resistant cabinet designed to withstand harsh outdoor conditions. The galvanized steel exterior, combined with a factory-installed coat of paint, ensures long-lasting performance, protecting the unit from rust and corrosion.

Furthermore, the Bryant PSPHA732 is equipped with advanced controls and connectivity options. It is compatible with Bryant’s smart thermostat, allowing users to monitor and adjust their HVAC system remotely through a smartphone app. This integration not only enhances convenience but also optimizes energy use based on the homeowner's schedule and preferences.

Lastly, the PSPHA732 comes with a comprehensive warranty, providing peace of mind for users. With proper maintenance, this heat pump is designed to offer years of reliable service, making it a smart investment for those looking to enhance their home’s comfort and efficiency.

Overall, the Bryant PSPHA732 stands out as a leading choice in the heat pump market, combining cutting-edge technology, energy efficiency, and user-friendly features to deliver an exceptional climate control experience.