
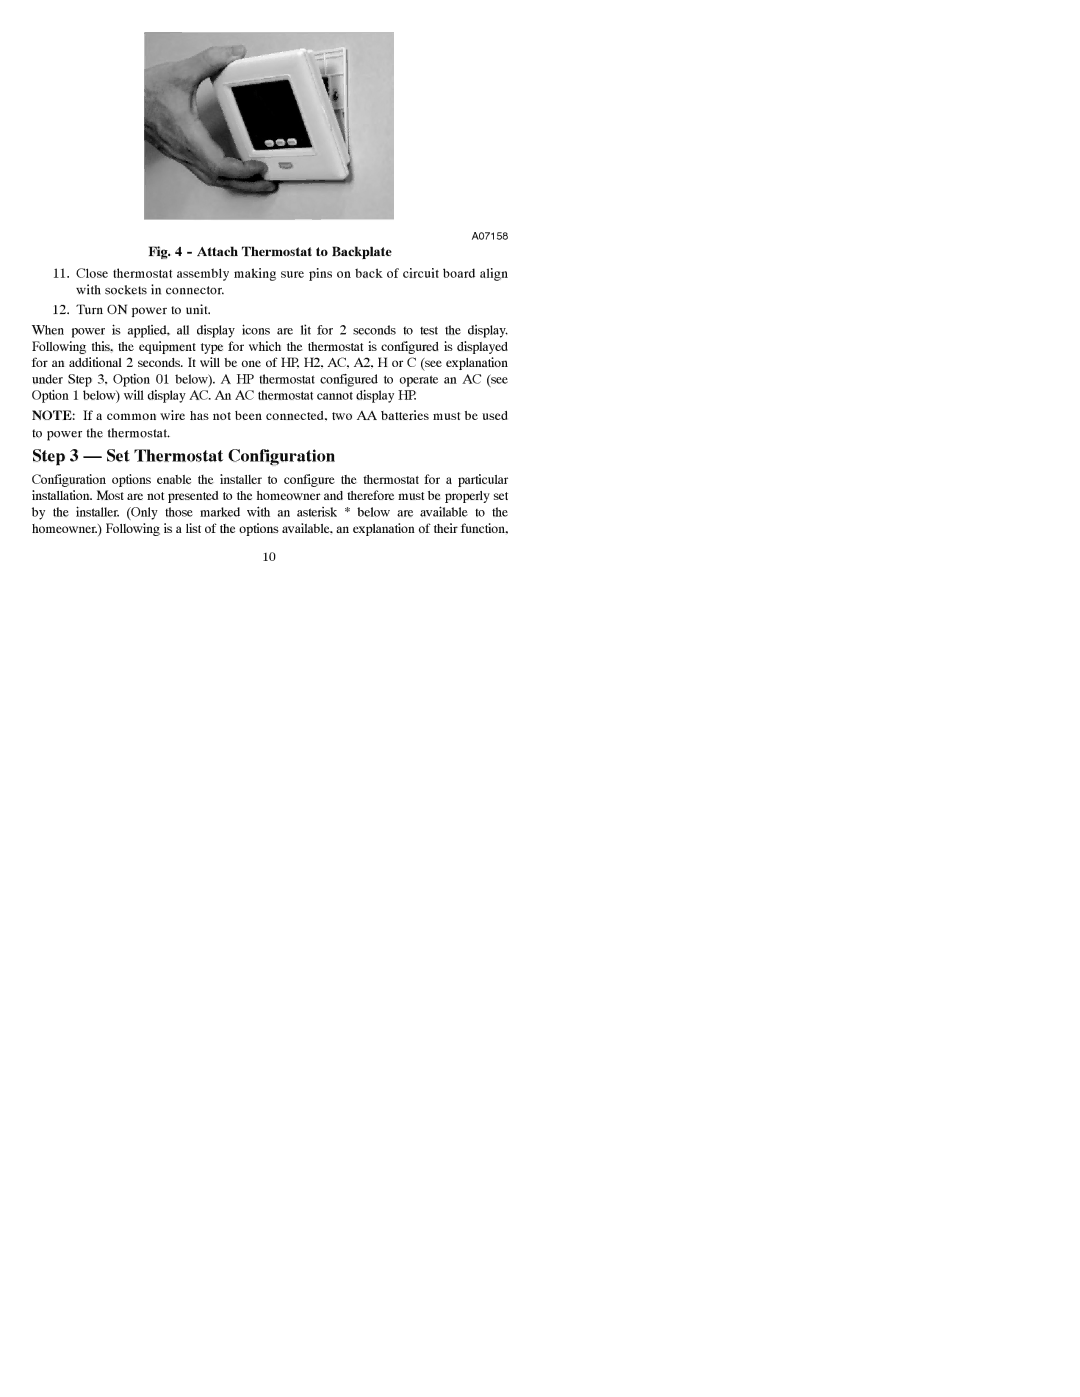
T2-PAC specifications
The Bryant T2-PAC is a standout unit in the realm of high-efficiency heating, ventilation, and air conditioning (HVAC) systems. Designed with modern comfort in mind, this system embodies advanced technologies and features that provide optimal performance and energy savings, making it a preferred choice for numerous homeowners and commercial spaces.One of the key highlights of the Bryant T2-PAC is its innovative two-stage cooling and heating capabilities. This feature ensures that the system can modulate its output to meet varying comfort demands efficiently. By operating at a lower stage most of the time, the T2-PAC minimizes energy consumption while still delivering reliable heating or cooling when required, ensuring maximum comfort throughout the day and night.
Incorporating advanced inverter technology, the Bryant T2-PAC stands out with exceptional energy efficiency ratings. This technology allows the system to adjust its compressor speed based on real-time indoor temperature demands, addressing fluctuations in a home or building's environment swiftly. As a result, users may enjoy lower utility bills while remaining comfortable regardless of the season.
The system also features a robust build quality with stainless steel components that enhance durability and extend the unit's lifespan. Its smart design emphasizes quieter operation, ensuring that the system runs discreetly without disrupting daily life or activities.
In addition to its performance, the Bryant T2-PAC offers convenient smart home integration through user-friendly controls. Homeowners can easily adjust settings via mobile applications or voice-controlled devices, enhancing user experience and accessibility.
The T2-PAC is designed with eco-conscious consumers in mind. Its eco-friendly refrigerant reduces the system’s environmental impact while maintaining performance. Moreover, the Bryant brand is known for its commitment to reliability and comfort, evidenced by its extensive warranty offerings and the robust customer support network.
In summary, the Bryant T2-PAC incorporates innovative technologies and features that ensure efficient and effective climate control. With its two-stage operation, advanced inverter technology, durable build, quiet operation, smart home compatibility, and eco-friendly design, the T2-PAC is truly a versatile heating and cooling solution suitable for diverse environments. Investing in this unit means investing in enduring comfort and significant energy savings for the long term.