Manuals
/
Bryston
/
Home Audio
/
Stereo Amplifier
Bryston
owner manual
SP2 PREAMP/PROCESSOR, Setting the Channel Delays
Models:
SP2
1
13
20
20
Download
20 pages
48.57 Kb
10
11
12
13
14
15
16
17
Specs
Warranty
Accessories
Setup Buttons
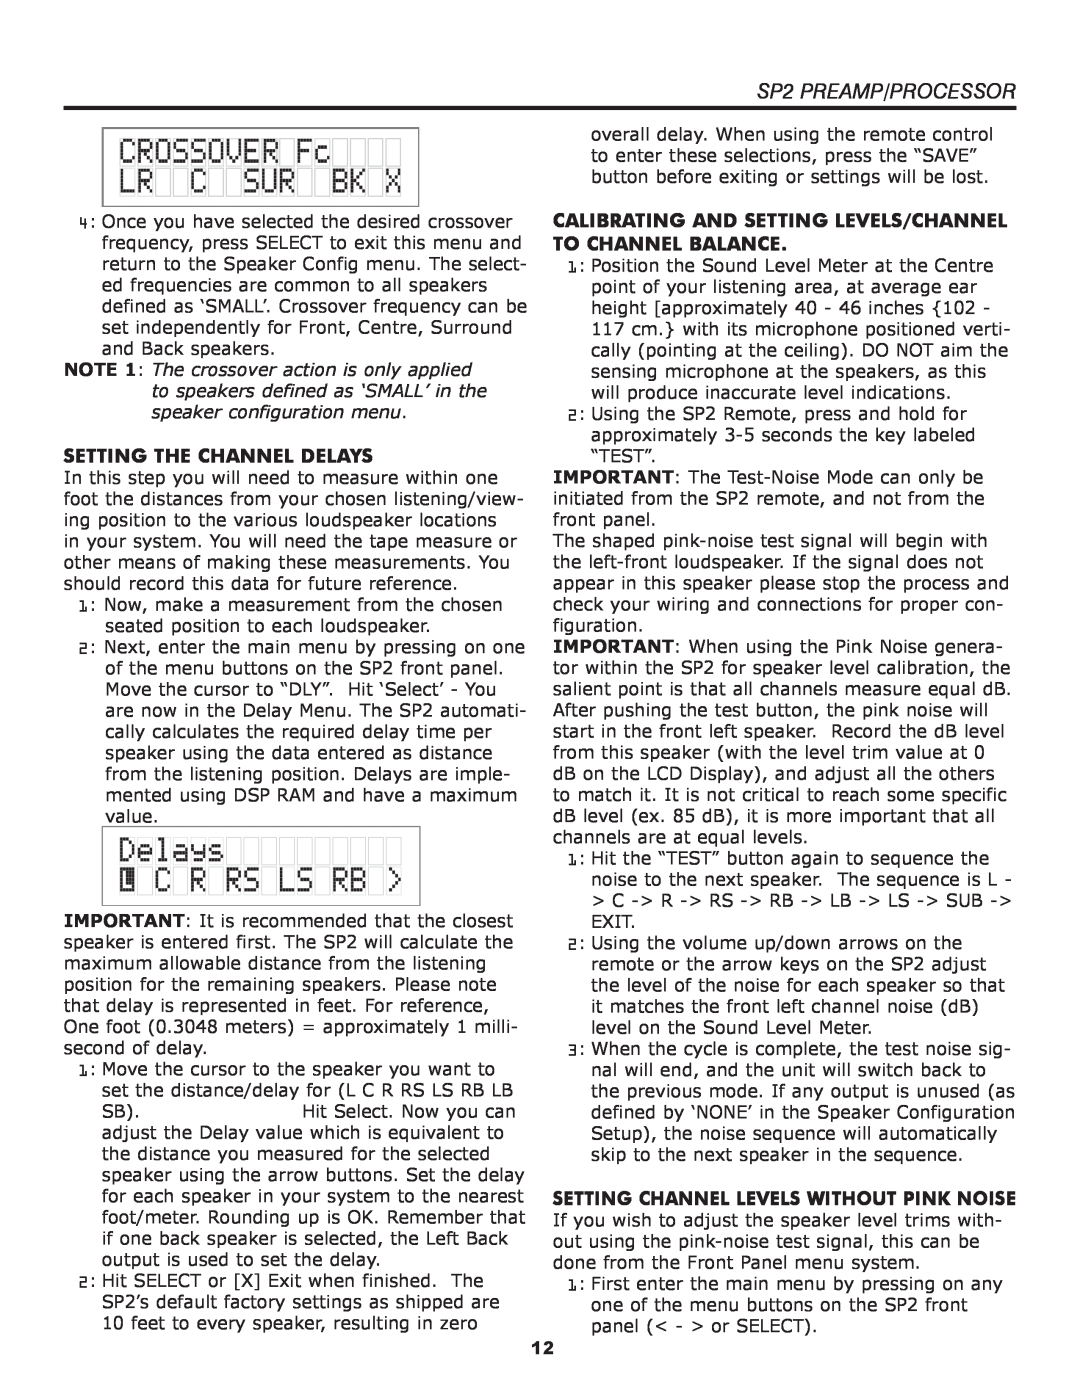
Setting the Channel Delays
THE SP2 REMOTE CONTROL
Master Volume Control
enabled
Page 13
Image 13
Page 12
Page 14
Page 13
Image 13
Page 12
Page 14
Contents
Page
IMPORTANT SAFETY INSTRUCTIONS
BRYSTON LIMITED WARRANTY
TABLE OF CONTENTS
SAFETY
ACCESSORIES
new features
POWER INLET & SWITCH
FRONT PANEL CONTROLS & INDICATORS
SP2 FRONT PANEL CONTROLS & INDICATORS
SP2 PREAMP/PROCESSOR
pages 3 through
8 DIGITAL MODE SELECT BUTTON & INDICATOR
7 SOURCE SELECT BUTTONS & INDICATORS
9:SURROUND MODE BUTTON & INDICATOR
6 MENU CONTROL BUTTONS
16 MASTER VOLUME CONTROL
REAR PANEL INPUT & OUTPUT
SP2 PREAMP/PROCESSOR
12 “THX” BUTTON
Setting the Optical Audio Input Assignment
CONNECTIONS
1 BALANCED OUTPUTS 2 UNBALANCED OUTPUTS
3 Analog Inputs
REAR PANEL INPUT & OUTPUT CONNECTIONS
THE SP2 REMOTE CONTROL
SP2 PREAMP/PROCESSOR
7 Power Button
5 Volume/Trim Buttons
11 Setup Buttons
1 SOURCE SELECT BUTTONS
Setting the Speaker Configuration
SETUP & CALIBRATION OF THE SP2
SP2 PREAMP/PROCESSOR
LARGE vs SMALL SPEAKER SETTINGS
Setting the Speaker Crossover Frequency
Explanation of ‘Xtra Bass’ Mode
Setting Channel Levels without Pink Noise
Setting the Channel Delays
SP2 PREAMP/PROCESSOR
Setting the BPLM without Pink Noise
Setting the BPLM with Pink Noise
menu .to .make .further .adjustments .if .needed
DISABLE . DTS-ES .will .not .be .decoded
DISABLE: THX. .Surround .EX .will .not .be
Changing Dolby PLII Music Settings
enabled
SP2 PREAMP/PROCESSOR
Changing DTS NEO 6 Settings
APPENDIX A
SP2 Surround MODES
ers Surround .Modes
SP2 PREAMP/PROCESSOR
Natural .This .mode .enhances .the .basic .ste
was .being .performed
APPENDIX B
SP2 SPECIFICATIONS
Infra-redremote codes
SP2 PREAMP/PROCESSOR
SP2 MANUAL 20060324 . . .STP
SUGGESTED SURROUND SPEAKER PLACEMENT
Top
Page
Image
Contents