DriveStation Setup
Congratulations on your new DriveStation Quattro! With four separate hard drives inside, the DriveStation Quattro gives you many options for large, economical capacity and
To begin, insert the DriveNavigator CD in your PC. The setup program will run. Follow the steps to connect your DriveStation Quattro.
If the setup program doesn’t run automatically, click Start, then Run, and then type “d:\drivenavi.exe” in the Open window. Click OK.
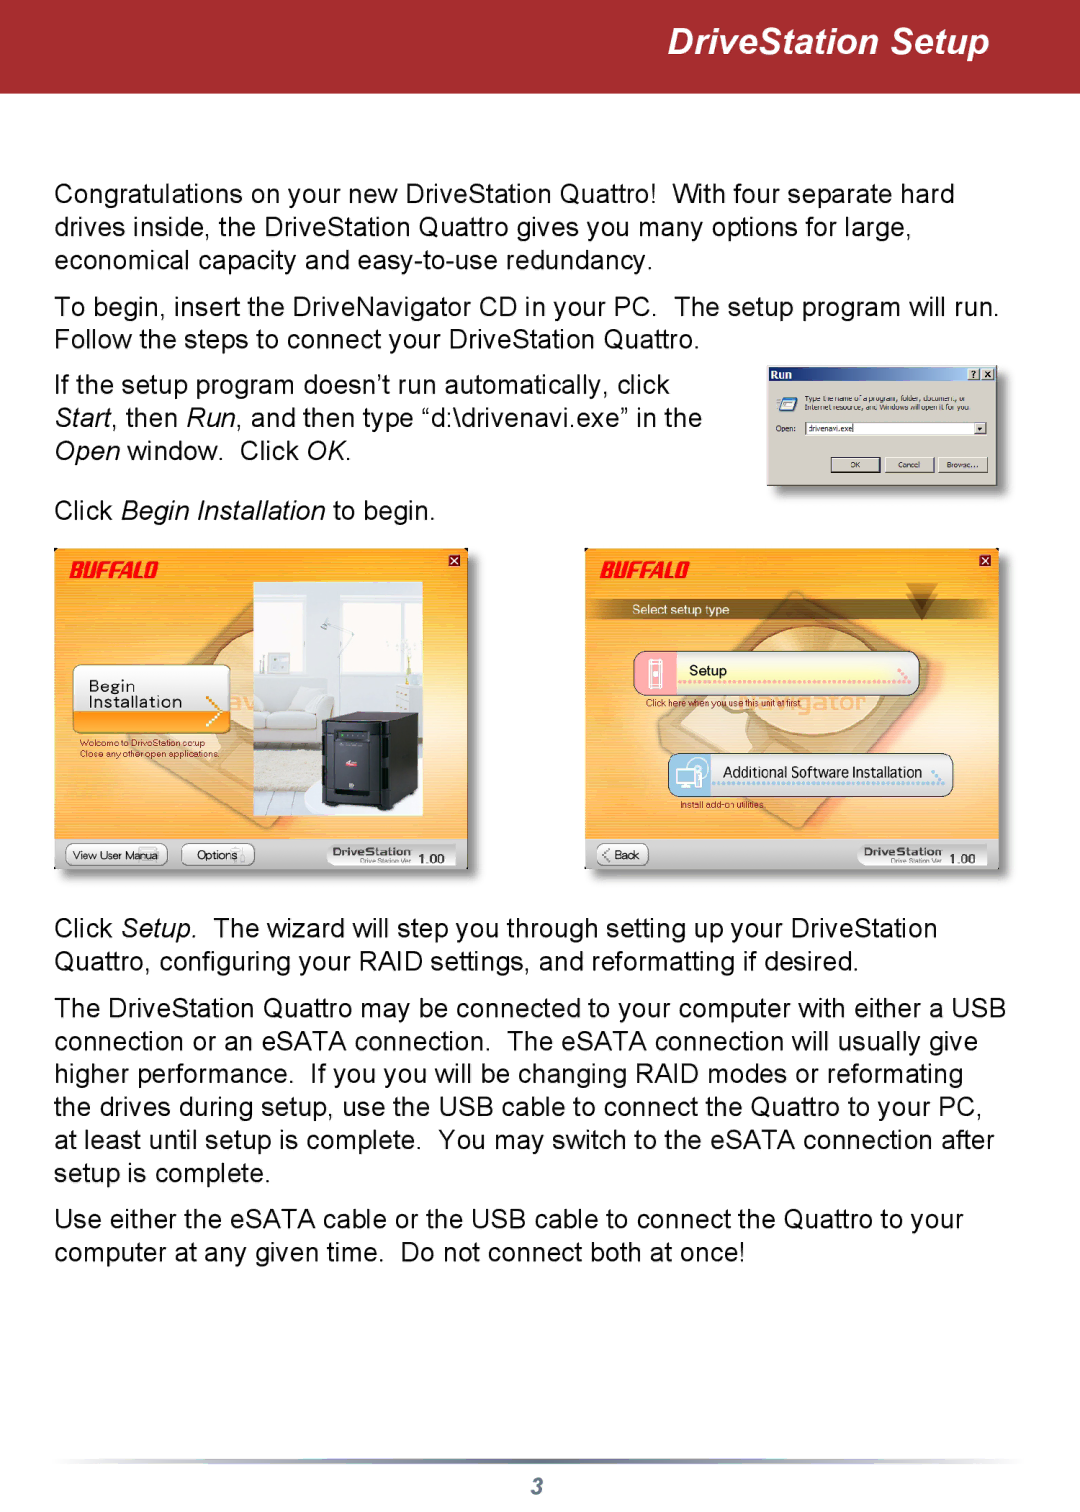
Click Begin Installation to begin.
Click Setup. The wizard will step you through setting up your DriveStation Quattro, configuring your RAID settings, and reformatting if desired.
The DriveStation Quattro may be connected to your computer with either a USB connection or an eSATA connection. The eSATA connection will usually give higher performance. If you you will be changing RAID modes or reformating the drives during setup, use the USB cable to connect the Quattro to your PC, at least until setup is complete. You may switch to the eSATA connection after setup is complete.
Use either the eSATA cable or the USB cable to connect the Quattro to your computer at any given time. Do not connect both at once!
3