USB Settings - Printer Share Installation
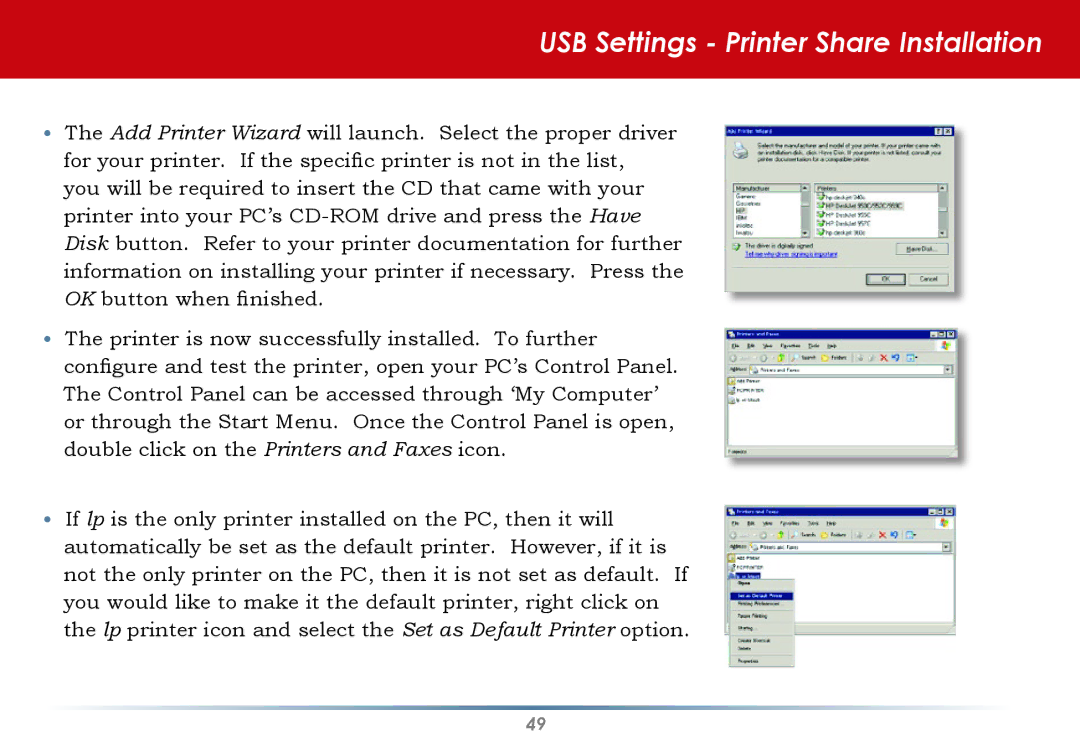
•The Add Printer Wizard will launch. Select the proper driver for your printer. If the specific printer is not in the list, you will be required to insert the CD that came with your printer into your PC’s
•The printer is now successfully installed. To further configure and test the printer, open your PC’s Control Panel. The Control Panel can be accessed through ‘My Computer’ or through the Start Menu. Once the Control Panel is open, double click on the Printers and Faxes icon.
•If lp is the only printer installed on the PC, then it will automatically be set as the default printer. However, if it is not the only printer on the PC, then it is not set as default. If you would like to make it the default printer, right click on the lp printer icon and select the Set as Default Printer option.
49