Setup
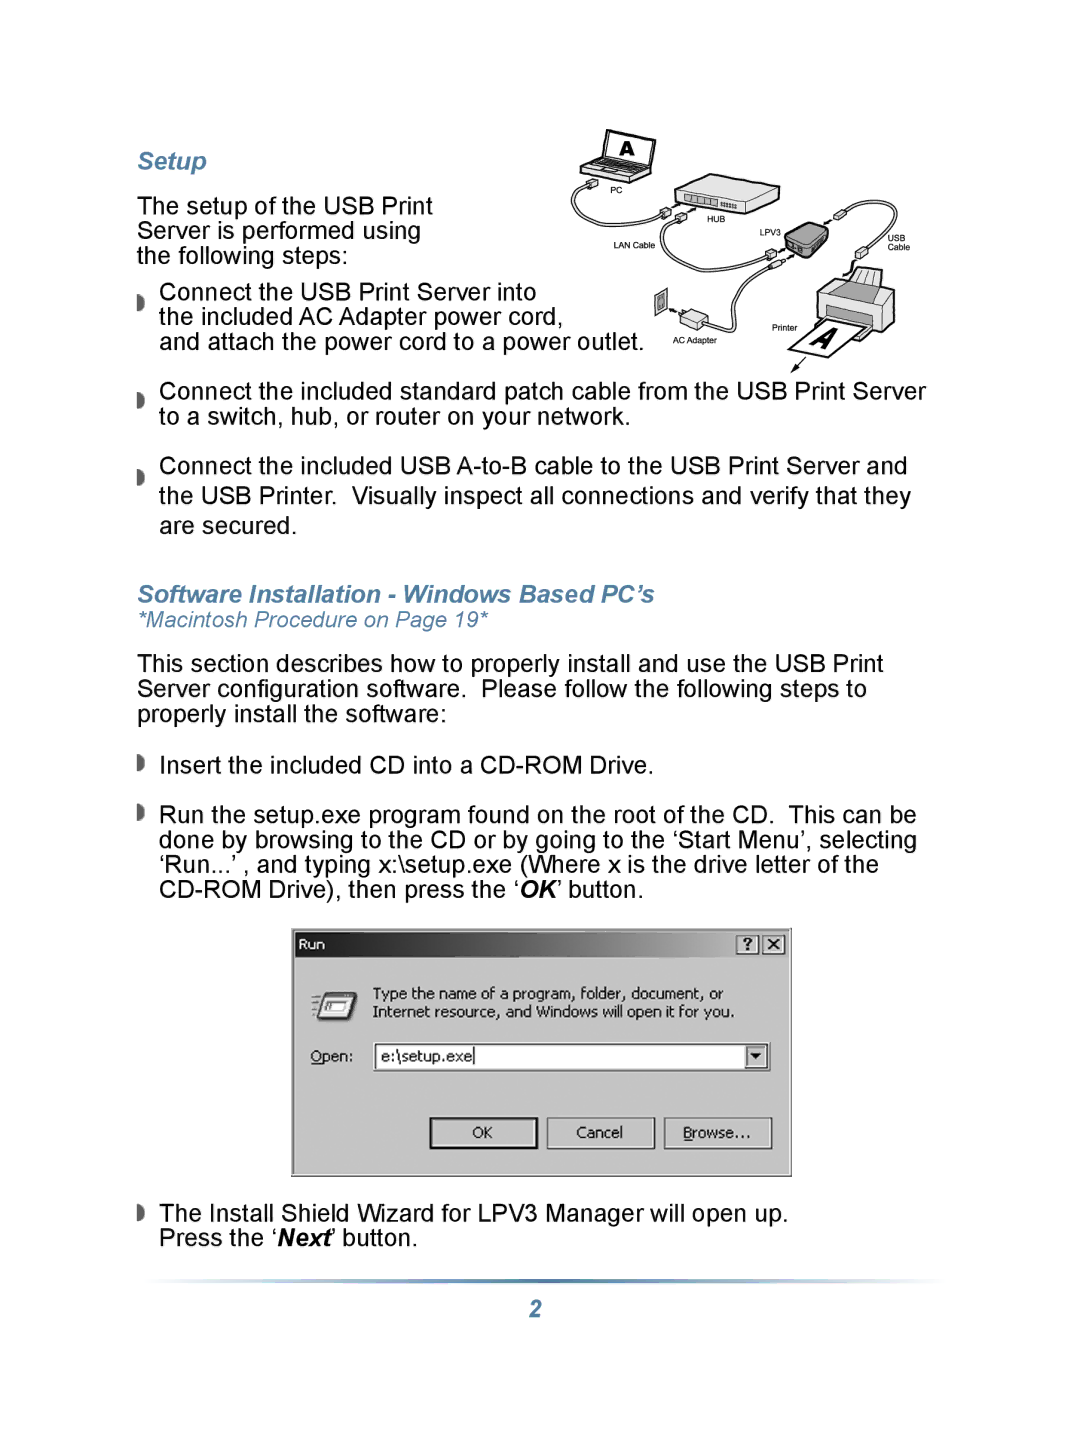
The setup of the USB Print
Server is performed using
the following steps:
Connect the USB Print Server into the included AC Adapter power cord, and attach the power cord to a power outlet.
Connect the included standard patch cable from the USB Print Server to a switch, hub, or router on your network.
Connect the included USB
Software Installation - Windows Based PC’s
*Macintosh Procedure on Page 19*
This section describes how to properly install and use the USB Print Server configuration software. Please follow the following steps to properly install the software:
Insert the included CD into a
Run the setup.exe program found on the root of the CD. This can be done by browsing to the CD or by going to the ‘Start Menu’, selecting ‘Run...’ , and typing x:\setup.exe (Where x is the drive letter of the
The Install Shield Wizard for LPV3 Manager will open up. Press the ‘Next’ button.
2