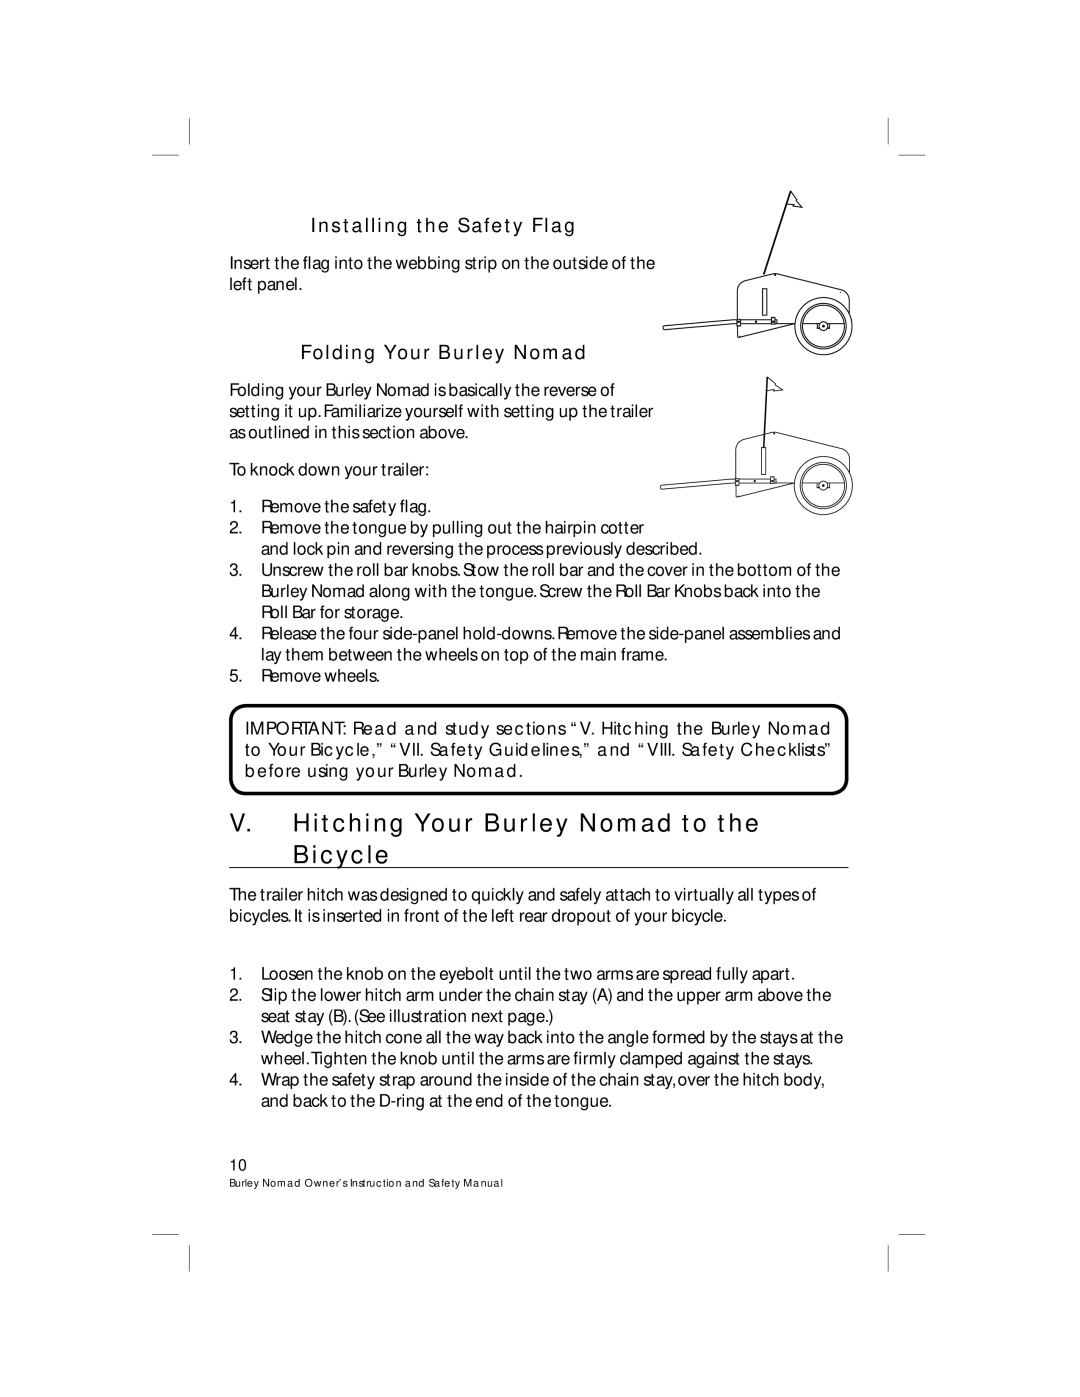
Installing the Safety Flag
Insert the flag into the webbing strip on the outside of the left panel.
Folding Your Burley Nomad
Folding your Burley Nomad is basically the reverse of setting it up. Familiarize yourself with setting up the trailer as outlined in this section above.
To knock down your trailer:
1.Remove the safety flag.
2.Remove the tongue by pulling out the hairpin cotter
and lock pin and reversing the process previously described.
3.Unscrew the roll bar knobs. Stow the roll bar and the cover in the bottom of the Burley Nomad along with the tongue. Screw the Roll Bar Knobs back into the Roll Bar for storage.
4.Release the four
5.Remove wheels.
IMPORTANT: Read and study sections “V. Hitching the Burley Nomad to Your Bicycle,” “VII. Safety Guidelines,” and “VIII. Safety Checklists” before using your Burley Nomad.
V.Hitching Your Burley Nomad to the Bicycle
The trailer hitch was designed to quickly and safely attach to virtually all types of bicycles. It is inserted in front of the left rear dropout of your bicycle.
1.Loosen the knob on the eyebolt until the two arms are spread fully apart.
2.Slip the lower hitch arm under the chain stay (A) and the upper arm above the seat stay (B). (See illustration next page.)
3.Wedge the hitch cone all the way back into the angle formed by the stays at the wheel. Tighten the knob until the arms are firmly clamped against the stays.
4.Wrap the safety strap around the inside of the chain stay, over the hitch body, and back to the
10