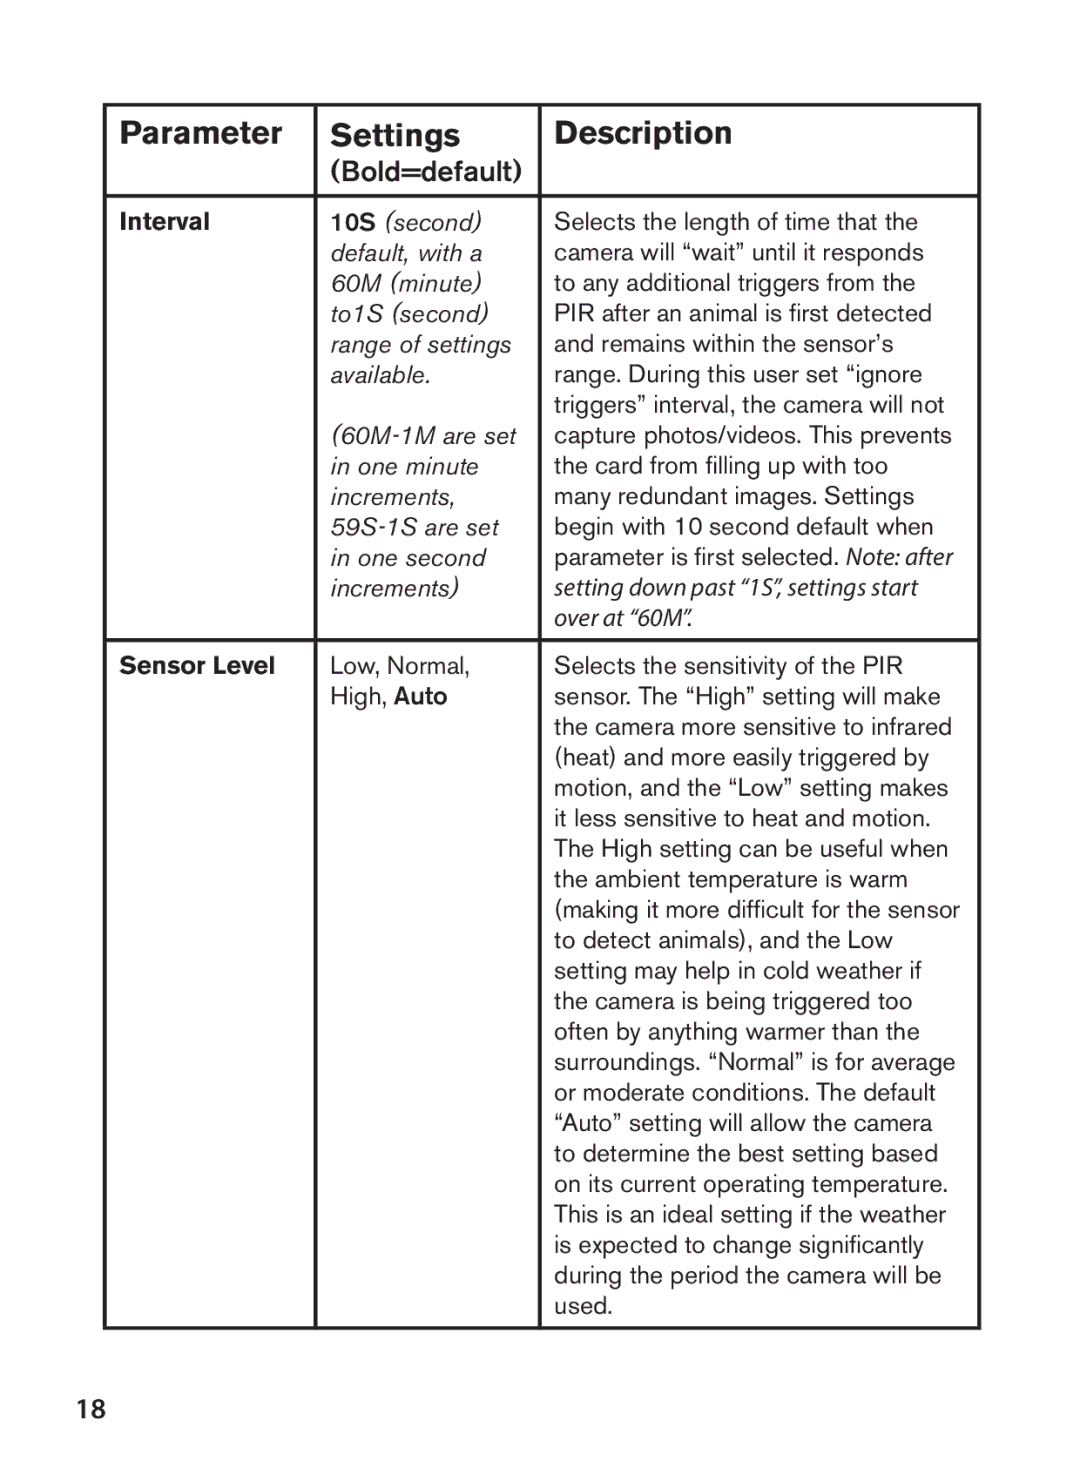
Parameter | Settings | Description |
| (Bold=default) |
|
|
|
|
Interval | 10S (second) | Selects the length of time that the |
| default, with a | camera will “wait” until it responds |
| 60M (minute) | to any additional triggers from the |
| to1S (second) | PIR after an animal is first detected |
| range of settings | and remains within the sensor’s |
| available. | range. During this user set “ignore |
|
| triggers” interval, the camera will not |
| capture photos/videos. This prevents | |
| in one minute | the card from filling up with too |
| increments, | many redundant images. Settings |
| begin with 10 second default when | |
| in one second | parameter is first selected. Note: after |
| increments) | setting down past “1S”, settings start |
|
| over at “60M”. |
|
|
|
Sensor Level | Low, Normal, | Selects the sensitivity of the PIR |
| High, Auto | sensor. The “High” setting will make |
|
| the camera more sensitive to infrared |
|
| (heat) and more easily triggered by |
|
| motion, and the “Low” setting makes |
|
| it less sensitive to heat and motion. |
|
| The High setting can be useful when |
|
| the ambient temperature is warm |
|
| (making it more difficult for the sensor |
|
| to detect animals), and the Low |
|
| setting may help in cold weather if |
|
| the camera is being triggered too |
|
| often by anything warmer than the |
|
| surroundings. “Normal” is for average |
|
| or moderate conditions. The default |
|
| “Auto” setting will allow the camera |
|
| to determine the best setting based |
|
| on its current operating temperature. |
|
| This is an ideal setting if the weather |
|
| is expected to change significantly |
|
| during the period the camera will be |
|
| used. |
|
|
|
18
