Chapter 2: Installation
2.2.1 Rack Mounting the EMC39-12
Before installing the
The following procedures explain how to install the
1.Remove four cover screws (two from each side) located along the front edges of each side of the
Do not remove the cover from the
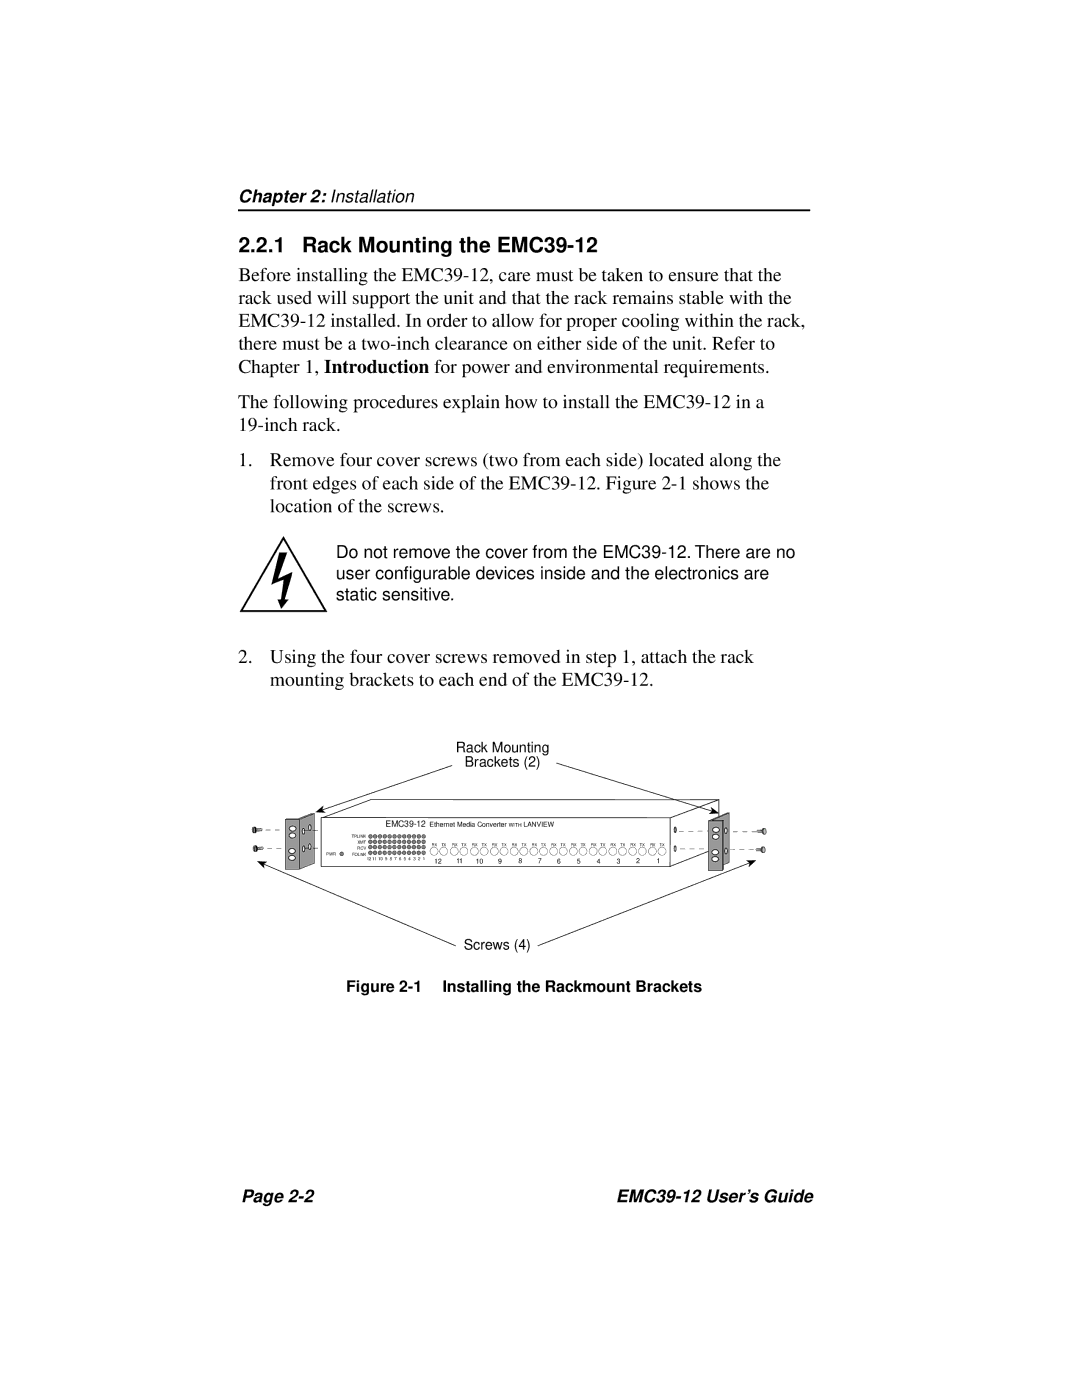
2.Using the four cover screws removed in step 1, attach the rack mounting brackets to each end of the
Rack Mounting
Brackets (2)
| TPLINK |
|
|
|
|
|
|
|
|
|
|
|
|
|
|
| XMT |
| RX | TX | RX TX | RX TX | RX TX | RX TX | RX TX | RX TX | RX TX | RX TX | RX TX | RX TX | RX TX |
| RCV |
| |||||||||||||
|
|
|
|
|
|
|
|
|
|
|
|
|
|
| |
PWR | FOLNK | 12 11 10 9 8 7 6 5 4 3 2 1 |
|
|
|
|
|
|
|
|
|
|
|
|
|
|
| 12 | 11 | 10 | 9 | 8 | 7 | 6 | 5 | 4 | 3 | 2 | 1 | ||
|
|
| |||||||||||||
Screws (4)
Figure 2-1 Installing the Rackmount Brackets
Page |
|