32 Appendix
Installing Sear Zone Burners
1.Disconnect or shut off the LP or natural gas line connected to the grill. Wait until the burners cool down.
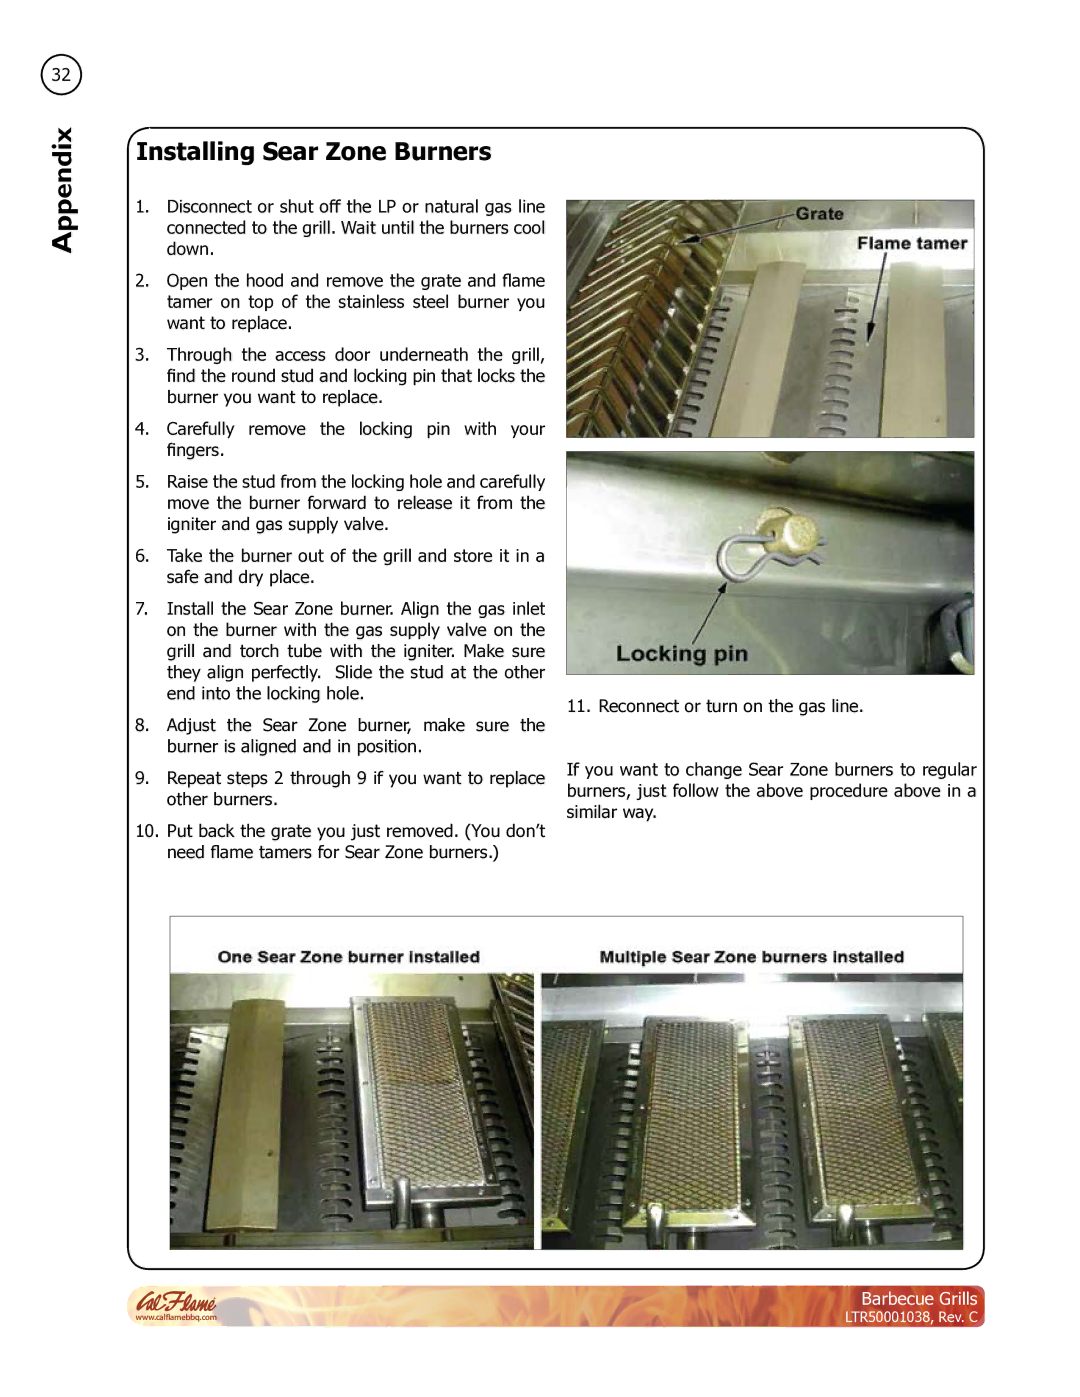
2.Open the hood and remove the grate and flame tamer on top of the stainless steel burner you want to replace.
3.Through the access door underneath the grill, find the round stud and locking pin that locks the burner you want to replace.
4.Carefully remove the locking pin with your fingers.
5.Raise the stud from the locking hole and carefully move the burner forward to release it from the igniter and gas supply valve.
6.Take the burner out of the grill and store it in a safe and dry place.
7.Install the Sear Zone burner. Align the gas inlet on the burner with the gas supply valve on the grill and torch tube with the igniter. Make sure they align perfectly. Slide the stud at the other end into the locking hole.
8.Adjust the Sear Zone burner, make sure the burner is aligned and in position.
9.Repeat steps 2 through 9 if you want to replace other burners.
10.Put back the grate you just removed. (You don’t need flame tamers for Sear Zone burners.)
11.Reconnect or turn on the gas line.
If you want to change Sear Zone burners to regular burners, just follow the above procedure above in a similar way.
Barbecue Grills
www.calflamebbq.com | LTR50001038, Rev. C |