Audio split mode
The 640R is able to allow the user to listen to one source whilst viewing another. For instance this can be useful if it is desired to watch a sports channel from say a
First select the Video channel you wish to watch in the normal way. Now press and hold down the button for the channel you wish to listen to. After 4 seconds approx “Audio Split” will scroll across the display and you will now be listening to the other source.
To cancel audio split mode simply select a new source and normal operation will be resumed.
Recorder 1 / 2
Recorder 1 as well as having various video and audio inputs has recording outputs for Composite video,
Recorder 2 has analog and digital audio outputs only. Additionally the Recorder 2 outputs are completely independent from the main listening and Recorder 1 outputs and are separately set in the OSD.
This means it’s possible to watch (and optionally record via Rec 1) one source whilst recording another source via Rec 2. Recorder 2 would typically be used with a
Select the ‘Rec.2 Output Select’ menu and press Enter. Use the Left and Right arrows to set the audio source for the Rec.2 Output:
Rec.2 Output Select
Rec.2 Output : DVD
Return To Menu | : [OSD] |
As covered in the “640R overview” section the 640R performs bass management for any speaker that is set to ‘Small’ in the OSD. This means that bass for speakers that are unable to reproduce it effectively is instead routed to the subwoofer.
The crossover adjustment in the LFE trim menu is used to determine the point as which this transition is made. In other words it sets the frequency below which bass is routed away from any ‘Small’ speakers and into the Subwoofer channel. It should be understood that bass sent to the subwoofer by bass management is different to bass encoded into the
If the source material contains a separate LFE channel (such as DD or DTS material) this is always routed to the subwoofer (if it is On) and is not affected by the crossover setting. Some encoding types (Such as Dolby PLII/IIx and Neo:6) do not actually have a LFE channel.
This means that if all the Speakers in your setup were set to Large, the subwoofer will in fact be inactive for these types. If it is desired to have the subwoofer running with these encoding types, all that is necessary is to set some speakers to ‘Small’ and then set the Crossover point to a suitable frequency by ear.
Remember that 'Small' does not mean the speaker is actually small. All it means is that if you wish the processor to perform bass management on it and
As with all adjustments it is a good idea to experiment to determine what works and sounds best with your particular setup
Note: These adjustments work in all digitally processed Stereo or Surround modes but not in Analog Stereo Direct or 7.1 Direct modes.
The Sub/LFE channel can also be trimmed by up to 10dB in 1dB steps useful for late night listening or other situations where it might be desired to reduce the sub level perhaps temporarily.
Bass/Treble adjustments can also be made from the remote without entering the OSD by pressing the Bass/Treble button and then using the Vol Up/Down buttons.
LFE Trim adjustments can also be made from the remote without the OSD by holding down the Sub On/Off button and using the Vol Up/Down buttons whilst it is kept down.
Tone/Sub/LFE configuration
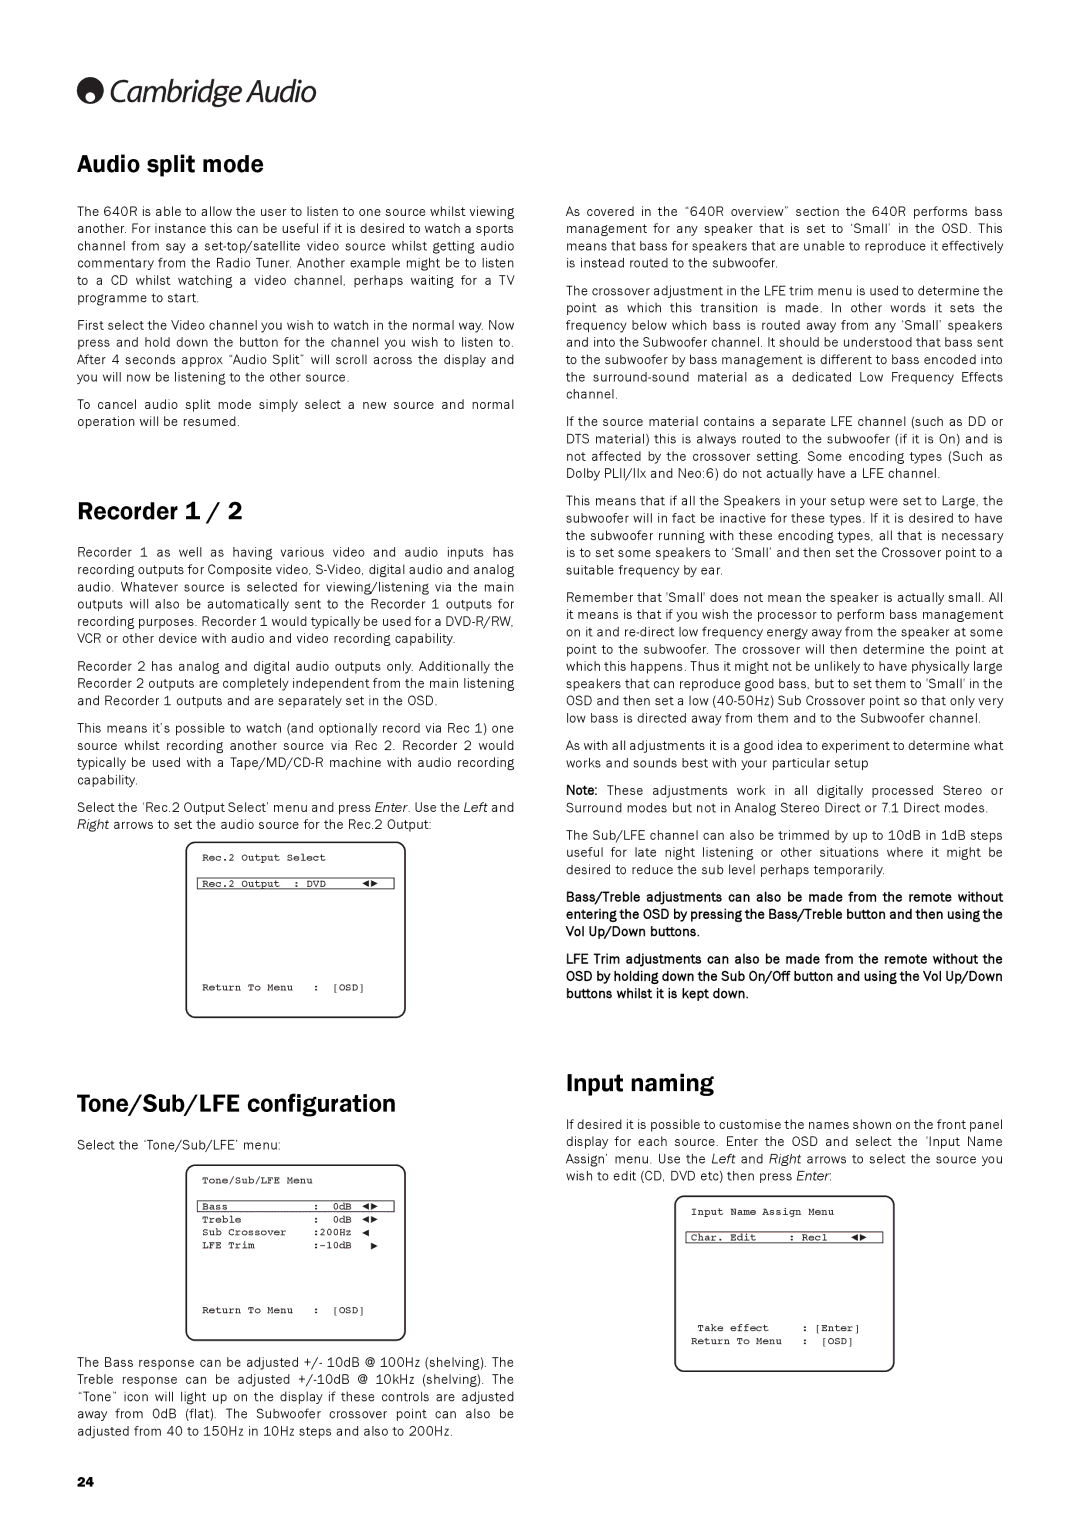
Select the ‘Tone/Sub/LFE’ menu:
Tone/Sub/LFE Menu |
|
|
|
|
|
Bass | : | 0dB |
Treble | : | 0dB |
Sub Crossover | :200Hz | |
LFE Trim | ||
Return To Menu | : | [OSD] |
The Bass response can be adjusted +/- 10dB @ 100Hz (shelving). The Treble response can be adjusted
Input naming
If desired it is possible to customise the names shown on the front panel display for each source. Enter the OSD and select the ‘Input Name Assign’ menu. Use the Left and Right arrows to select the source you wish to edit (CD, DVD etc) then press Enter:
Input Name Assign Menu
Char. Edit | : Rec1 |
Take effect | : | [Enter] |
Return To Menu | : | [OSD] |
24