azur 650BD
Setup Menu
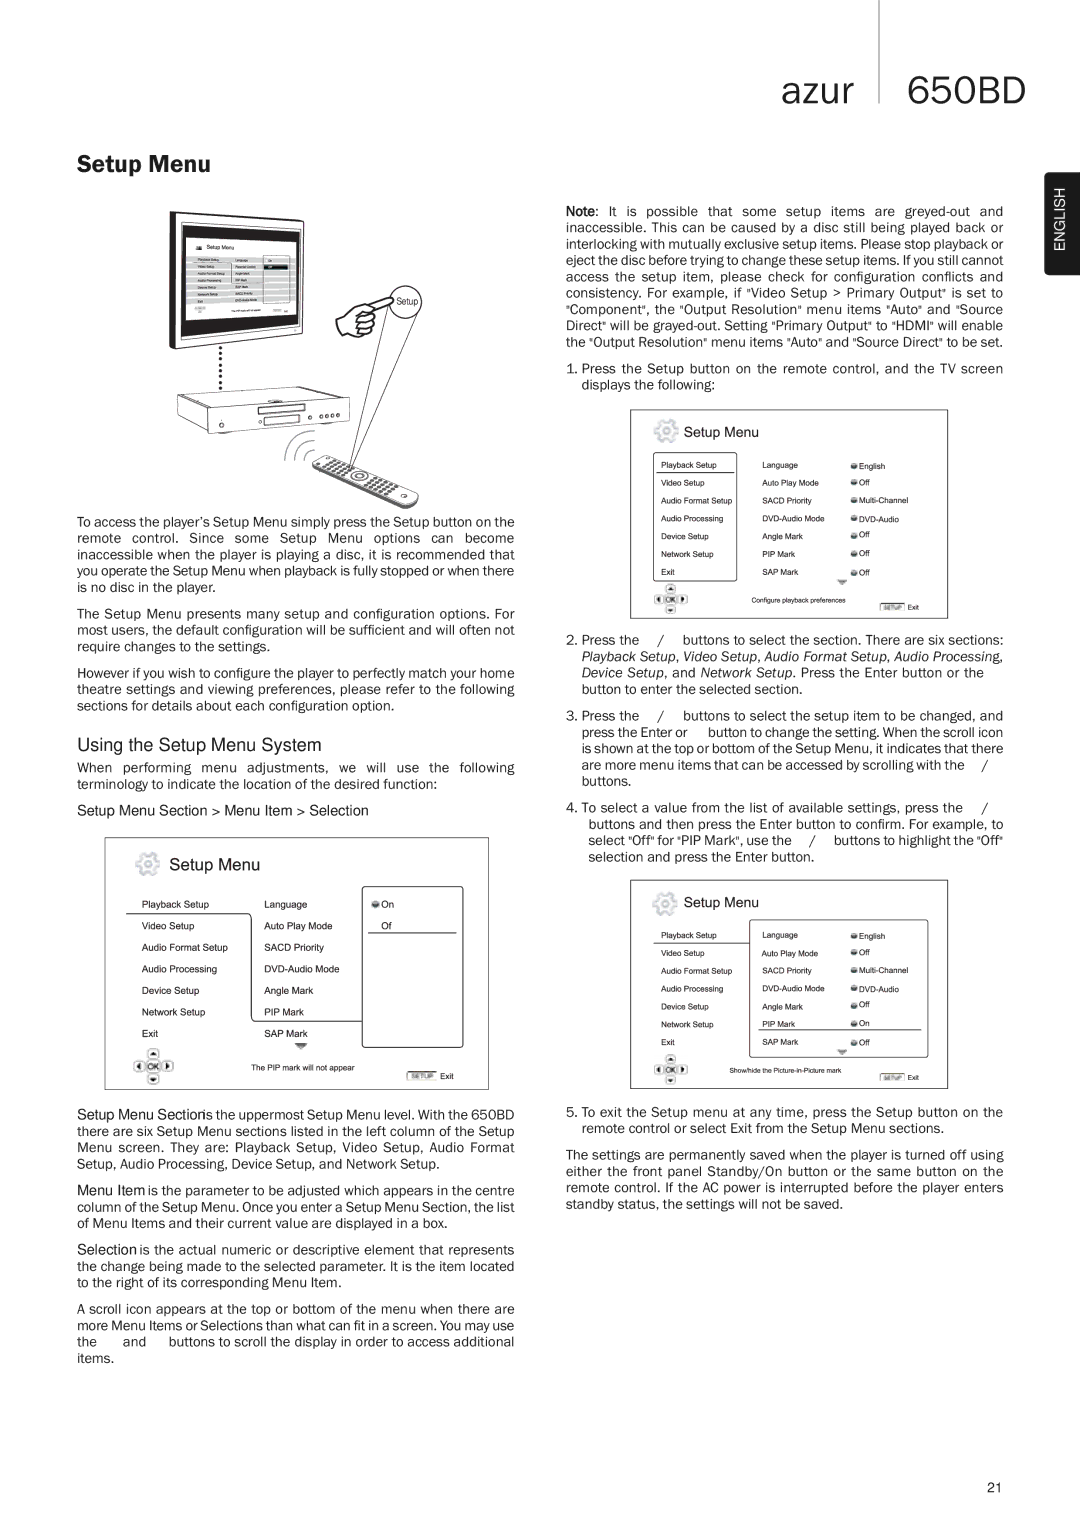
![]() Setup
Setup
Note: It is possible that some setup items are
1.Press the Setup button on the remote control, and the TV screen displays the following:
ENGLISH
To access the player’s Setup Menu simply press the Setup button on the remote control. Since some Setup Menu options can become inaccessible when the player is playing a disc, it is recommended that you operate the Setup Menu when playback is fully stopped or when there is no disc in the player.
The Setup Menu presents many setup and configuration options. For most users, the default configuration will be sufficient and will often not require changes to the settings.
However if you wish to configure the player to perfectly match your home theatre settings and viewing preferences, please refer to the following sections for details about each configuration option.
Using the Setup Menu System
When performing menu adjustments, we will use the following terminology to indicate the location of the desired function:
Setup Menu Section > Menu Item > Selection
Setup Menu Section is the uppermost Setup Menu level. With the 650BD there are six Setup Menu sections listed in the left column of the Setup Menu screen. They are: Playback Setup, Video Setup, Audio Format Setup, Audio Processing, Device Setup, and Network Setup.
Menu Item is the parameter to be adjusted which appears in the centre column of the Setup Menu. Once you enter a Setup Menu Section, the list of Menu Items and their current value are displayed in a box.
Selection is the actual numeric or descriptive element that represents the change being made to the selected parameter. It is the item located to the right of its corresponding Menu Item.
A scroll icon appears at the top or bottom of the menu when there are more Menu Items or Selections than what can fit in a screen. You may use the and buttons to scroll the display in order to access additional items.
2. | Press the | / buttons to select the section. There are six sections: | ||||||||||
| Playback Setup, Video Setup, Audio Format Setup, Audio Processing, | |||||||||||
| Device Setup, and Network Setup. Press the Enter button or the | |||||||||||
| button to enter the selected section. |
| ||||||||||
3. | Press the | / buttons to select the setup item to be changed, and | ||||||||||
| press the Enter or button to change the setting. When the scroll icon | |||||||||||
| is shown at the top or bottom of the Setup Menu, it indicates that there | |||||||||||
| are more menu items that can be accessed by scrolling with the | / | ||||||||||
| buttons. |
|
|
|
|
|
|
|
|
|
|
|
4. To select a value from the list of available settings, press the | / | |||||||||||
| buttons and then press the Enter button to confirm. For example, to | |||||||||||
| select "Off" for "PIP Mark", use the / buttons to highlight the "Off" | |||||||||||
| selection and press the Enter button. |
| ||||||||||
|
|
|
|
|
|
|
|
|
|
|
|
|
|
|
|
|
|
|
|
|
|
|
|
|
|
|
|
|
|
|
|
|
|
|
|
|
|
|
|
|
|
|
|
|
|
|
|
|
|
|
|
|
|
|
|
|
|
|
|
|
|
|
|
|
|
|
|
|
|
|
|
|
|
|
|
|
|
|
|
|
|
|
|
|
|
|
|
|
|
|
|
|
|
|
|
|
|
|
|
|
|
|
|
|
|
|
|
|
|
|
|
|
|
|
|
|
|
|
|
|
|
|
|
|
|
|
|
|
|
|
|
|
|
|
|
|
|
|
|
|
|
|
|
|
|
|
|
|
|
|
|
|
|
|
|
5.To exit the Setup menu at any time, press the Setup button on the remote control or select Exit from the Setup Menu sections.
The settings are permanently saved when the player is turned off using either the front panel Standby/On button or the same button on the remote control. If the AC power is interrupted before the player enters standby status, the settings will not be saved.
21