Operating Instructions
DG480000CK
Operation
Sanders are designed so the palm of one hand can guide tool during sanding.
1.Begin sanding process by selecting the finest grit suitable for the initial sanding pass. The grit should be coarse enough to remove burrs and excessive roughness.
2.Once the initial sanding noted above is complete, change the sandpaper by one grit range (example: coarse to medium), and continue the finishing process.
3.Continue process by changing to successively finer grits until desired finish is obtained.
NOTE: Do not change from coarse grit to very fine grit sandpaper in one step. Swirl marks that might have been made with the coarse grit will be difficult to remove.
For dust collection, a central vacuum or stand alone vacuum unit may be connected to the sander’s dust exhaust
port. |
FINISHING
Inspect the surface to be finished. If its coat is cracked or peeling, then first remove as much as possible with a brush or scraper. Then use coarse enough sandpaper to remove the remaining coating. Sand the surface flat, eliminating all spots and thusly preparing the surface for a new coat of paint or varnish.
Maintenance
Tool service must be performed only by qualified repair personnel. Service or maintenance performed by unqualified personnel could result in a risk of injury.
If the tool does not start or operate properly, return the tool to a service facility for repairs.
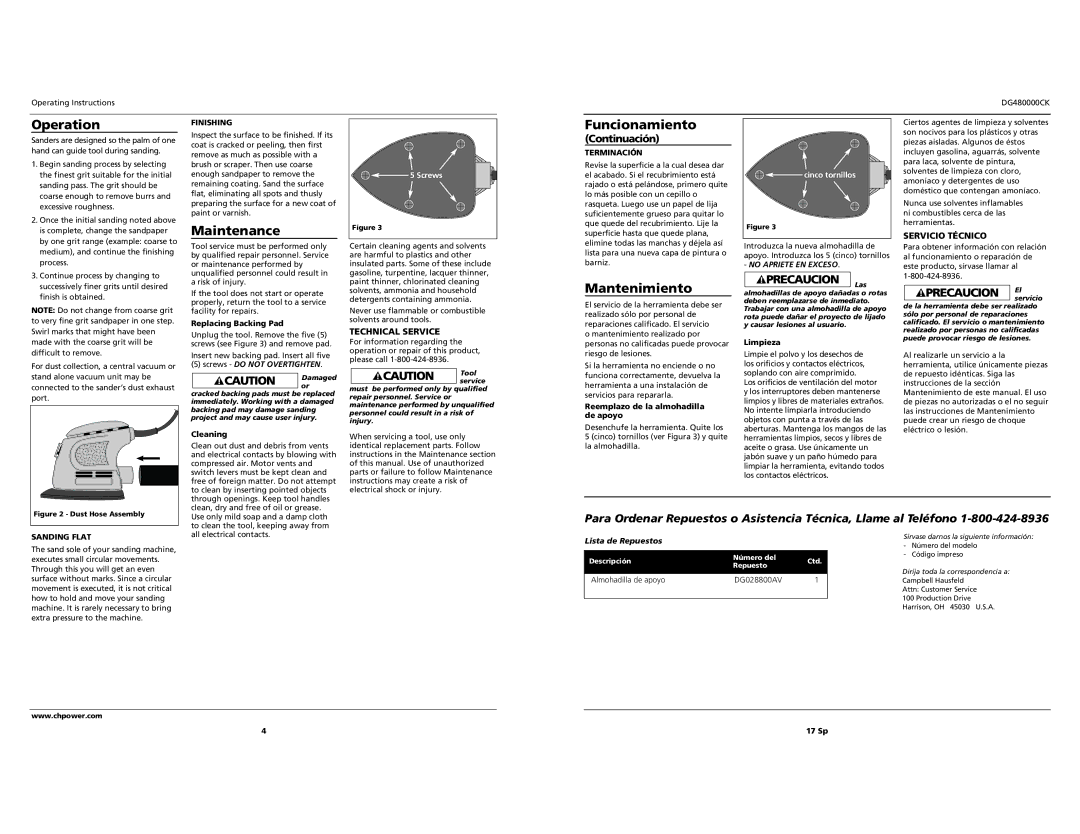
Replacing Backing Pad
Unplug the tool. Remove the five (5) screws (see Figure 3) and remove pad.
Insert new backing pad. Insert all five
(5)screws - DO NOT OVERTIGHTEN.
Damaged or
cracked backing pads must be replaced immediately. Working with a damaged backing pad may damage sanding project and may cause user injury.
Cleaning
Clean out dust and debris from vents and electrical contacts by blowing with compressed air. Motor vents and switch levers must be kept clean and free of foreign matter. Do not attempt to clean by inserting pointed objects through openings. Keep tool handles clean, dry and free of oil or grease.
5 Screws |
Figure 3 |
Certain cleaning agents and solvents are harmful to plastics and other insulated parts. Some of these include gasoline, turpentine, lacquer thinner, paint thinner, chlorinated cleaning solvents, ammonia and household detergents containing ammonia.
Never use flammable or combustible solvents around tools.
TECHNICAL SERVICE
For information regarding the operation or repair of this product, please call
Tool service
must be performed only by qualified repair personnel. Service or maintenance performed by unqualified personnel could result in a risk of injury.
When servicing a tool, use only identical replacement parts. Follow instructions in the Maintenance section of this manual. Use of unauthorized parts or failure to follow Maintenance instructions may create a risk of electrical shock or injury.
Funcionamiento
(Continuación)
TERMINACIÓN
Revise la superficie a la cual desea dar el acabado. Si el recubrimiento está rajado o está pelándose, primero quite lo más posible con un cepillo o rasqueta. Luego use un papel de lija suficientemente grueso para quitar lo que quede del recubrimiento. Lije la superficie hasta que quede plana, elimine todas las manchas y déjela así lista para una nueva capa de pintura o barniz.
Mantenimiento
El servicio de la herramienta debe ser realizado sólo por personal de reparaciones calificado. El servicio
o mantenimiento realizado por personas no calificadas puede provocar riesgo de lesiones.
Si la herramienta no enciende o no funciona correctamente, devuelva la herramienta a una instalación de servicios para repararla.
Reemplazo de la almohadilla de apoyo
Desenchufe la herramienta. Quite los
5 (cinco) tornillos (ver Figura 3) y quite la almohadilla.
cinco tornillos |
Figure 3 |
Introduzca la nueva almohadilla de apoyo. Introduzca los 5 (cinco) tornillos
-NO APRIETE EN EXCESO.
![]() Las almohadillas de apoyo dañadas o rotas deben reemplazarse de inmediato. Trabajar con una almohadilla de apoyo rota puede dañar el proyecto de lijado y causar lesiones al usuario.
Las almohadillas de apoyo dañadas o rotas deben reemplazarse de inmediato. Trabajar con una almohadilla de apoyo rota puede dañar el proyecto de lijado y causar lesiones al usuario.
Limpieza
Limpie el polvo y los desechos de los orificios y contactos eléctricos, soplando con aire comprimido.
Los orificios de ventilación del motor y los interruptores deben mantenerse limpios y libres de materiales extraños. No intente limpiarla introduciendo objetos con punta a través de las aberturas. Mantenga los mangos de las herramientas limpios, secos y libres de aceite o grasa. Use únicamente un jabón suave y un paño húmedo para limpiar la herramienta, evitando todos los contactos eléctricos.
Ciertos agentes de limpieza y solventes son nocivos para los plásticos y otras piezas aisladas. Algunos de éstos incluyen gasolina, aguarrás, solvente para laca, solvente de pintura, solventes de limpieza con cloro, amoníaco y detergentes de uso doméstico que contengan amoníaco.
Nunca use solventes inflamables ni combustibles cerca de las herramientas.
SERVICIO TÉCNICO
Para obtener información con relación al funcionamiento o reparación de este producto, sírvase llamar al
El servicio
de la herramienta debe ser realizado sólo por personal de reparaciones calificado. El servicio o mantenimiento realizado por personas no calificadas puede provocar riesgo de lesiones.
Al realizarle un servicio a la herramienta, utilice únicamente piezas de repuesto idénticas. Siga las instrucciones de la sección Mantenimiento de este manual. El uso de piezas no autorizadas o el no seguir las instrucciones de Mantenimiento puede crear un riesgo de choque eléctrico o lesión.
Figure 2 - Dust Hose Assembly |
Use only mild soap and a damp cloth to clean the tool, keeping away from
Para Ordenar Repuestos o Asistencia Técnica, Llame al Teléfono
SANDING FLAT
The sand sole of your sanding machine, executes small circular movements. Through this you will get an even surface without marks. Since a circular movement is executed, it is not critical how to hold and move your sanding machine. It is rarely necessary to bring extra pressure to the machine.
all electrical contacts.
Lista de Repuestos
Descripción | Número del | Ctd. | |
Repuesto | |||
|
| ||
|
|
| |
Almohadilla de apoyo | DG028800AV | 1 | |
|
|
|
Sirvase darnos la siguiente información:
-Número del modelo
-Código impreso
Dirija toda la correspondencia a: Campbell Hausfeld
Attn: Customer Service
100 Production Drive
Harrison, OH 45030 U.S.A.
www.chpower.com
4 | 17 Sp |