Using the Scanner Buttons
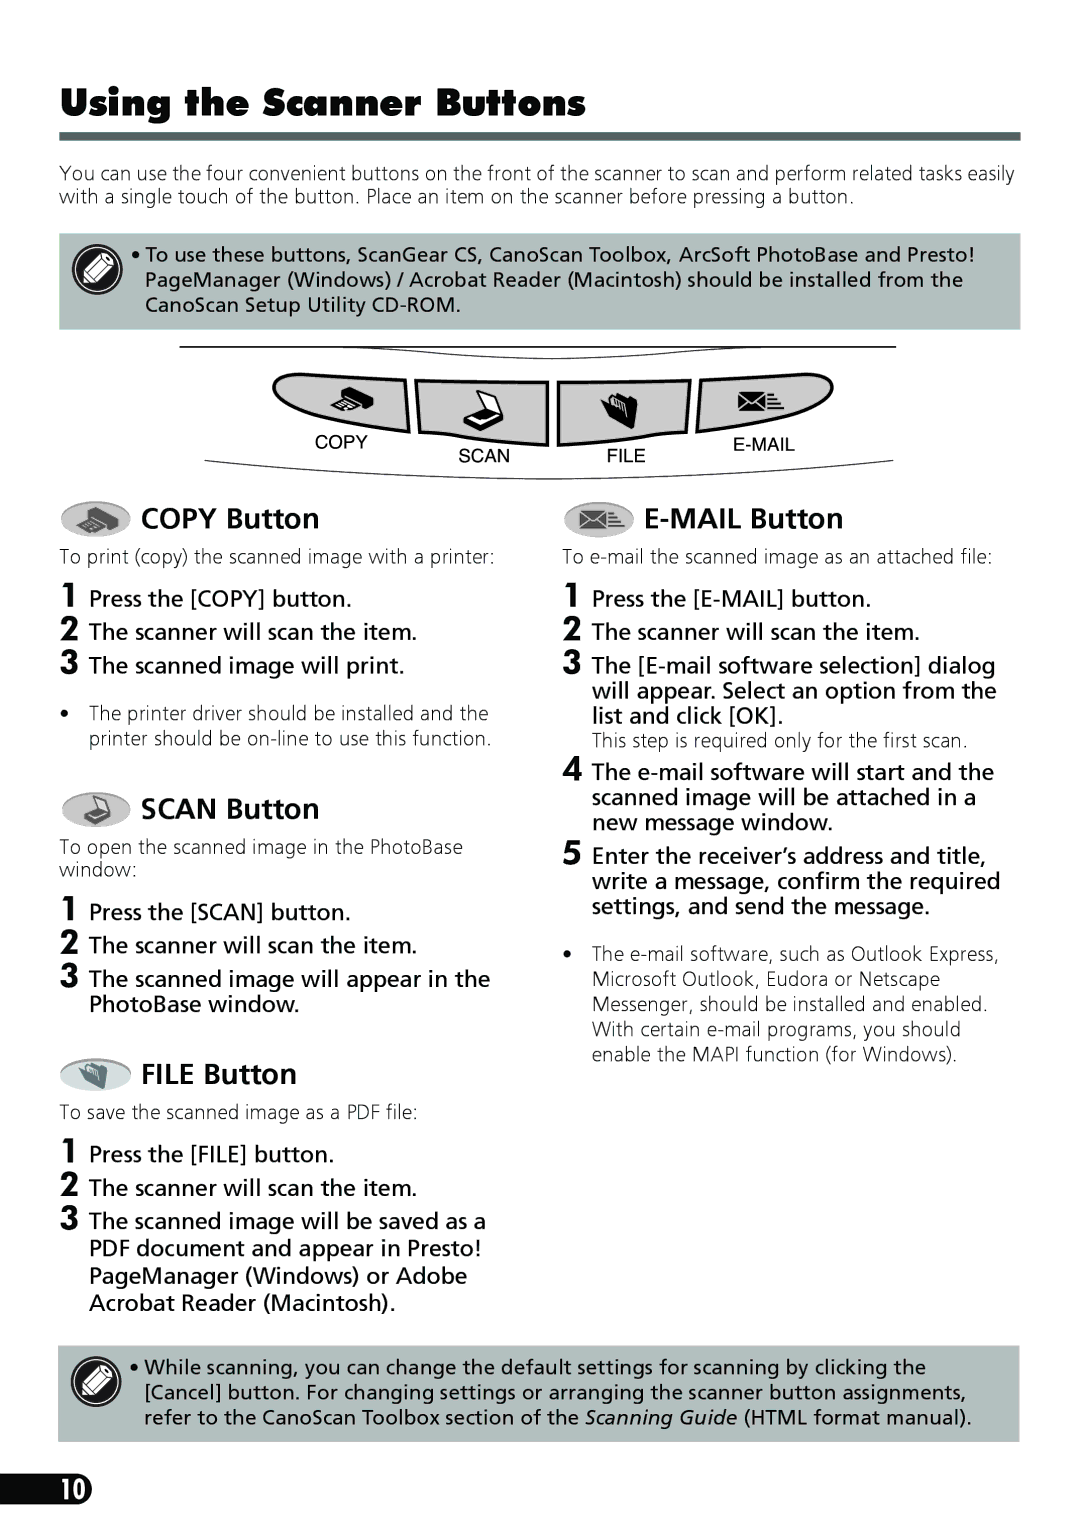
You can use the four convenient buttons on the front of the scanner to scan and perform related tasks easily with a single touch of the button. Place an item on the scanner before pressing a button.
• To use these buttons, ScanGear CS, CanoScan Toolbox, ArcSoft PhotoBase and Presto! PageManager (Windows) / Acrobat Reader (Macintosh) should be installed from the CanoScan Setup Utility
 COPY Button
To print (copy) the scanned image with a printer:

E-MAIL Button
To
1 Press the [COPY] button.
2 The scanner will scan the item.
3 The scanned image will print.
•The printer driver should be installed and the printer should be
 SCAN Button
To open the scanned image in the PhotoBase window:
1 Press the [SCAN] button.
2 The scanner will scan the item.
3
 FILE Button
To save the scanned image as a PDF file:
1 Press the [FILE] button.
2 The scanner will scan the item.
3 The scanned image will be saved as a PDF document and appear in Presto! PageManager (Windows) or Adobe Acrobat Reader (Macintosh).
1 Press the
2 The scanner will scan the item.
3 The
This step is required only for the first scan.
4 The
5 Enter the receiver’s address and title, write a message, confirm the required settings, and send the message.
•The
•While scanning, you can change the default settings for scanning by clicking the [Cancel] button. For changing settings or arranging the scanner button assignments, refer to the CanoScan Toolbox section of the Scanning Guide (HTML format manual).
10
