Playing Back a Memory Card
E
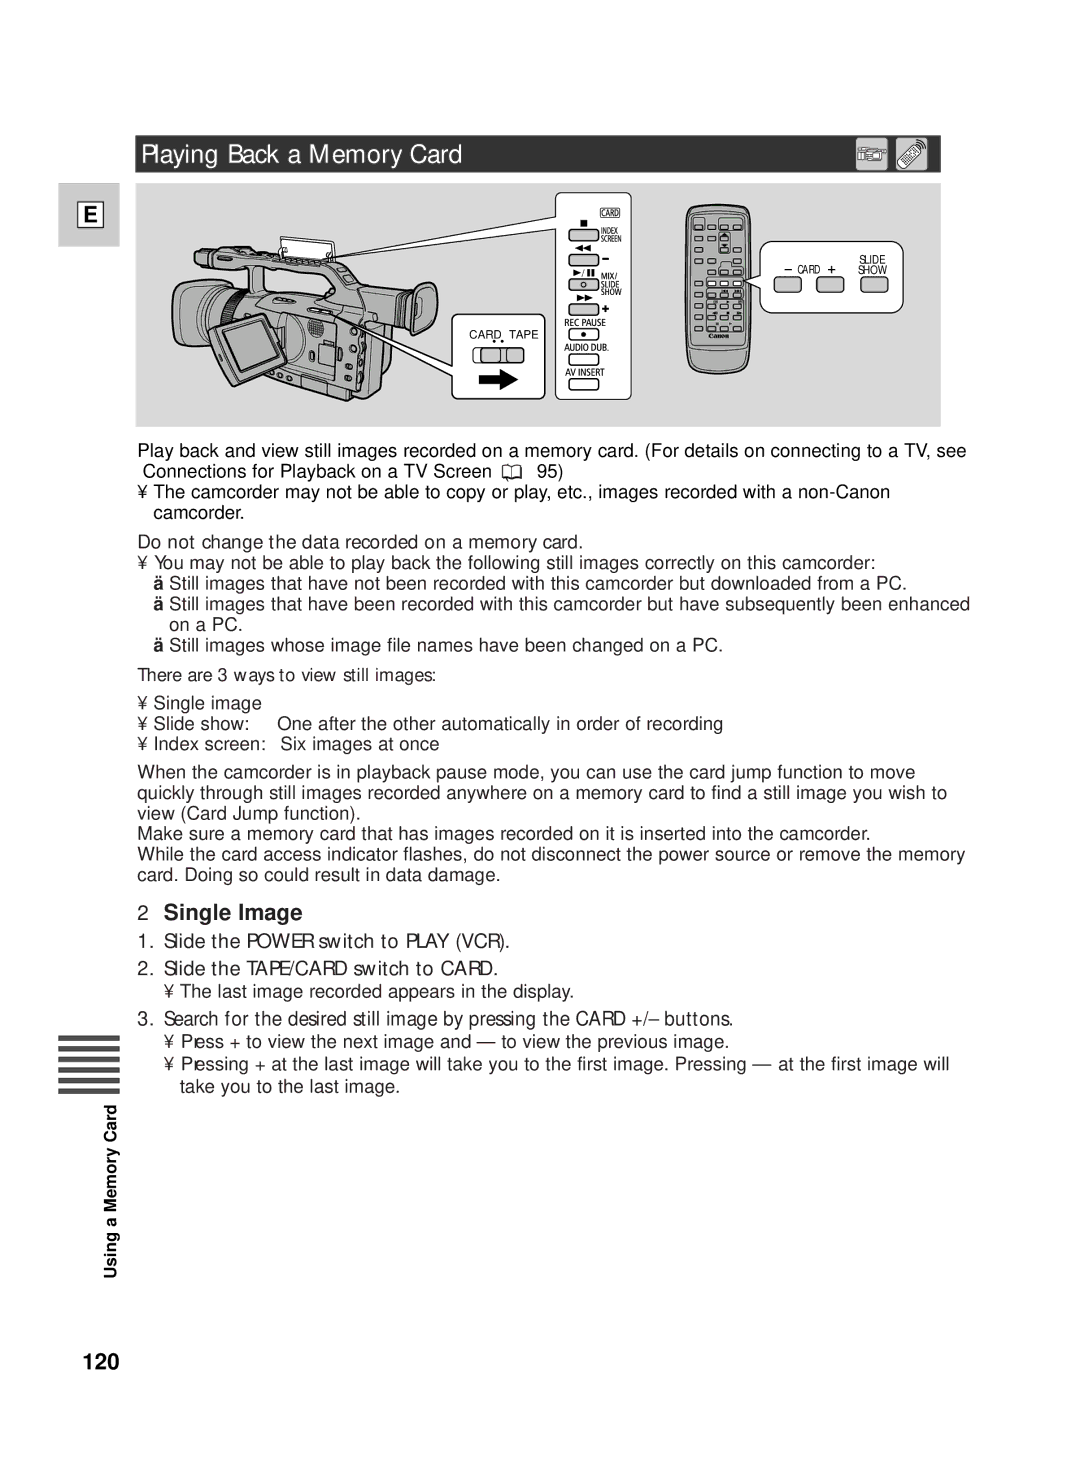
/ | CARD |
CARD TAPE
SLIDE SHOW
Play back and view still images recorded on a memory card. (For details on connecting to a TV, see “Connections for Playback on a TV Screen” ( ![]() 95)
95)
•The camcorder may not be able to copy or play, etc., images recorded with a
Do not change the data recorded on a memory card.
•You may not be able to play back the following still images correctly on this camcorder:
−Still images that have not been recorded with this camcorder but downloaded from a PC.
−Still images that have been recorded with this camcorder but have subsequently been enhanced on a PC.
−Still images whose image file names have been changed on a PC.
There are 3 ways to view still images:
•Single image
•Slide show: One after the other automatically in order of recording
•Index screen: Six images at once
When the camcorder is in playback pause mode, you can use the card jump function to move quickly through still images recorded anywhere on a memory card to find a still image you wish to view (Card Jump function).
Make sure a memory card that has images recorded on it is inserted into the camcorder.
While the card access indicator flashes, do not disconnect the power source or remove the memory card. Doing so could result in data damage.
2Single Image
1.Slide the POWER switch to PLAY (VCR).
2.Slide the TAPE/CARD switch to CARD.
•The last image recorded appears in the display.
3.Search for the desired still image by pressing the CARD +/– buttons.
•Press + to view the next image and – to view the previous image.
• Pressing + at the last image will take you to the first image. Pressing – at the first image will take you to the last image.
Using a Memory Card
120