IR2000/iR1600 Copying Guide
For Connecting and Setting the Network
About the Manuals for the Machine
How This Manual Is Organized
Appendix
Table of Contents
Iii
Buttons Used in This Manual
How to Use This Manual
Symbols Used in This Manual
Illustrations Used in This Manual
Basic Copying1
What the iR2000/1600 Series Machine Can Do
Flow of Copy Operations
Place your original
Enter DAC
If the message Enter DAC is displayed
If the message Insert Control Card is displayed
Enter the copy quantity 1 to 99 using the numeric buttons
Insert Control Card
Press Start
When you want to interrupt a copy job
Cancel COPYING?
When you want to cancel a copy job
YES
Specifying the Required Number of Copies
Entering the Copy Quantity
Auto Paper Text
Changing the Copy Quantity
Selecting the Copy Paper Size Paper Select
Automatic Paper Selection Auto Paper Selection
Specifying Paper Size and Type Manual Paper Selection
10Selecting the Copy Paper Size Paper Select
Press Light or Dark to adjust the exposure
Adjusting Exposure and Image Quality
Adjusting Copy Exposure
Photo Mode
Text Mode
Text/Photo Mode
Selecting Image Quality
Auto Paper Photo
Press Light or Dark to adjust the copy exposure
Auto Paper TEXT/PHOTO
Automatic Adjustment of Exposure and Image Quality
Place your original Press
Reduce
Enlarging/Reducing Originals to a Standard Size Preset Zoom
Changing the Copy Ratio Copy Ratio
Enlarge
Place your original Press or to change the copy ratio
Preset Ratio 141% A4A3
Specifying the Copy Ratio by % Zoom Designation
Place your original Press To set the copy ratio
Basic Copying
Collation mode and available paper sizes
Collating Copies Finisher
When Offset Is Set
When Collate Is Set
When Rotate Is Set
If you want to set Rotate collation
When Staple Is Set
Collating Copies into Sets in Page Order Collate
If you want to set Offset Collation
Collating Pages and Stapling Staple
Reserving a Copy Job While Printing
Set the desired copy mode and quantity 1 to Press Start
Reserved Copying
Once the original is scanned, remove it from the machine
Interrupting the Current Job to Make Priority Copies
Press Interrupt
Basic Copying
Useful Copy Functions2
Useful Copy Functions
Place the original on the platen glass
Opening Direction 1.LEFT Opening
Special Features 1.2PG SEP Setting
Press or to select 1.2 PG SEP SETTING, and press
Cover
Cancel COPYING? YES
Original Size
Making Copies with Margins Margin
Special Features 2.MARGIN Settings
Press or to select 2.MARGIN SETTINGS, and press
Press or to set the margin width, and press
Margin Type 1.LEFT Margin
Margin Width
Erasing Shadows and Frame Lines from Copies
Original Frame Erase
Book Frame Erase
Binding Erase
Press or to select 3.FR Erase SETTING, and press
Special Features 3.FR Erase Setting
Frame Erase Feature 1.DOC. Frame Erase
Press or to select 1.DOC. Frame ERASE, and press
Press or to select the size of the original, and press
Press or to select 2.BOOK Frame ERASE, and press
Frame Erase Feature 2.BOOK Frame Erase
Making Copies Erasing the Book Frame Book Frame Erase
Press or to select the book size of the original, and press
Making Copies Erasing Binding Holes etc. Binding Erase
Press or to select the binding hole erase width, and press
Frame Erase Feature 3.HOLE Punch Erase
Press or to select 3.HOLE Punch ERASE, and press
14Erasing Shadows and Frame Lines from Copies Frame Erase
Special Features 4.2 on 1 Setting
Press or to select 4.2 on 1 SETTING, and press
Press or to select 1.ON or 2.OFF, and press
On 1 Setting 1.ON
Select Paper Size
Press or to select the paper size, and press
Cancel COPYING? YES
Useful Copy Functions
Setting/Storing Specifications Copy Function3
Copy Settings List
Additional Function Available Settings Applicable
REGISTRATION/SETTING 2.COPY Settings
Changing the Current Standard Settings
REGISTRATION/SETTING 1.COMMON Settings
Setting the Standard Exposure
Standard Exposure
Copy Settings 1.STANDARD Exposure
Standard Exposure Manual
STD Zoom Ratio
Copy Settings 2.STD Zoom Ratio
Setting the Standard Zoom Ratio
Press or to select 2.STD Zoom RATIO, and press
Standard Copy QTY
Copy Settings 3.STANDARD Copy QTY
Setting the Standard Copy Quantity
Press or to select 3.STANDARD Copy QTY, and press
Press or to select 4.FRAME Erase WIDTH, and press
Copy Settings 4.FRAME Erase Width
Setting the Standard Frame Erase Width
Press or to set the desired frame erase width, and press
Press or to select 5.AUTO SORT, and press
Copy Settings Auto Sort
Setting the Automatic Collate On/Off
Press or to select on or OFF, and press
Press or to select 6.SORT ROTATE, and press
Copy Settings 6.SORT Rotate
Setting the Rotate Collate On/Off
Sharpness level high
Setting the Sharpness
Sharpness level low
Press or to set the desired sharpness level, and press
Copy Settings Sharpness
Press or to select 7.SHARPNESS, and press
Press to return to the standby mode
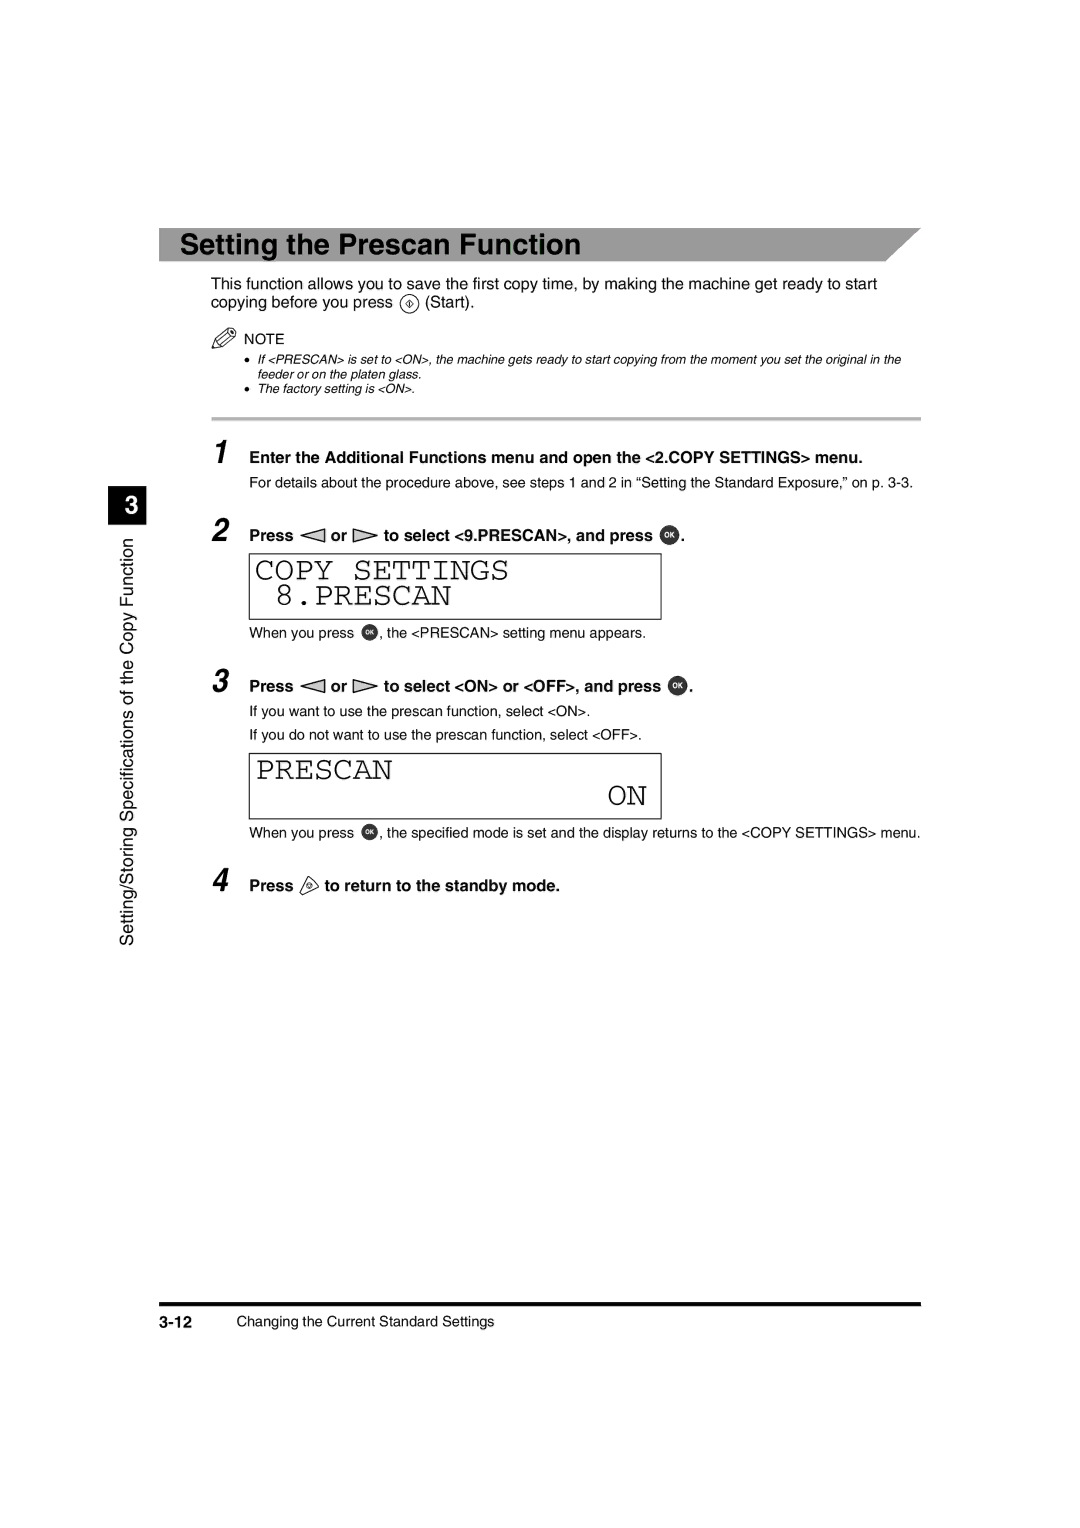
Copy Settings 8.PRESCAN
Setting the Prescan Function
Prescan
Appendix4
Chart of Available Combination of Functions
Appendix
Chart of Available Combination of Functions
Appendix
Index
Numerics
Image Quality Interrupt Mode Manual Paper Selection Margin
Zoom Zoom Designation
8Index

 or
or  to select <9.PRESCAN>, and press
  .
. or
or  to select <ON> or <OFF>, and press
  .
.