NOTE
•If there is a current job, the machine scans the original, and waits to print it. Printing starts when the current job is completed.
•When scanning is completed, remove the original.
•If you have set the Department ID Management, press ID . (See the Reference Guide.)
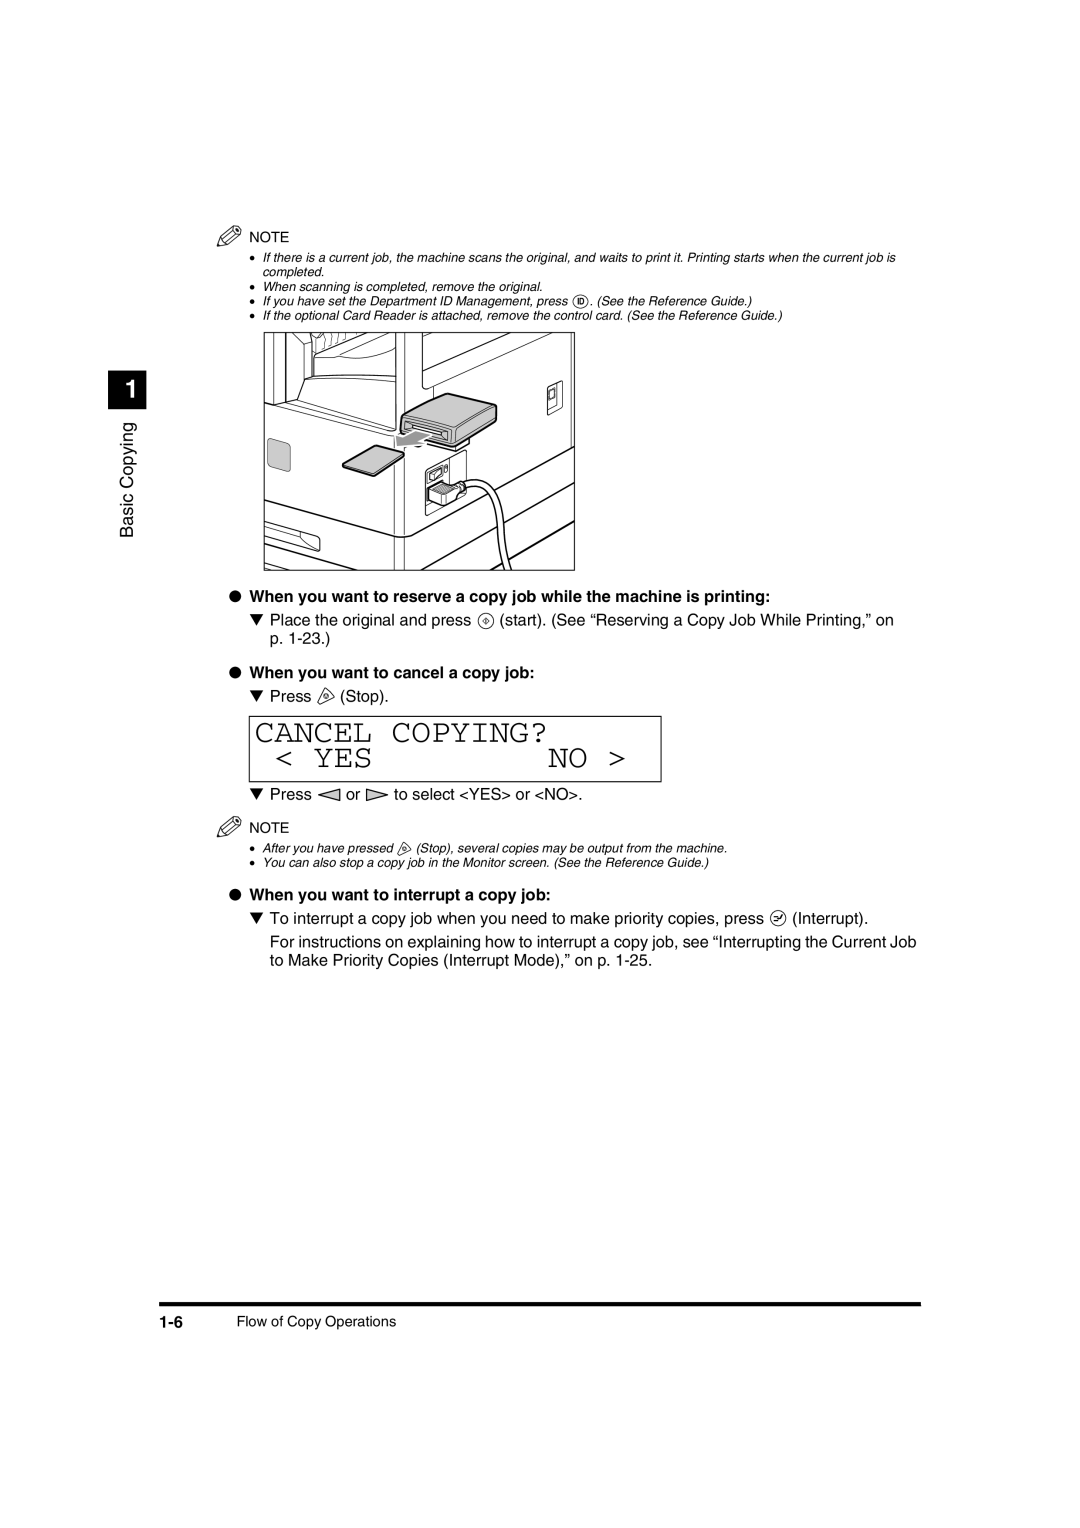
•If the optional Card Reader is attached, remove the control card. (See the Reference Guide.)
1
Basic Copying
●When you want to reserve a copy job while the machine is printing:
▼ Place the original and press ![]() (start). (See “Reserving a Copy Job While Printing,” on
(start). (See “Reserving a Copy Job While Printing,” on
p.
●When you want to cancel a copy job:
▼ Press ![]() (Stop).
(Stop).
CANCEL COPYING? | |
< YES | NO > |
|
|
▼ Press or | to select <YES> or <NO>. |
NOTE
• After you have pressed ![]() (Stop), several copies may be output from the machine.
(Stop), several copies may be output from the machine.
• You can also stop a copy job in the Monitor screen. (See the Reference Guide.)
●When you want to interrupt a copy job:
▼ To interrupt a copy job when you need to make priority copies, press ![]() (Interrupt).
(Interrupt).
For instructions on explaining how to interrupt a copy job, see “Interrupting the Current Job to Make Priority Copies (Interrupt Mode),” on p.
Flow of Copy Operations |