Computer Input
Computer System Selection
This projector automatically tunes to various types of computers based on VGA, SVGA, XGA or SXGA with its
✔Note:
The projector may display one of the following messages.
Auto | When the projector cannot recognize connected |
| signal conforming to PC Systems provided in this |
| |
| projector, Auto PC Adjustment function works to |
| display proper images and the message “Auto” is |
| displayed on the PC System menu box. When the |
| image is not projected properly, manual adjustment is |
| required. (p30, 31) |
-----There is no signal input from computer. Check the connection of your computer and the projector. (See " Troubleshooting" p54)
Mode 1 | User preset system manually adjusted in PC Adjust |
| menu. Adjustment data can be stored in Mode 1 - 5. |
| |
| (p30, 31) |
| PC Systems provided in the projector. The projector |
SVGA 1 | |
| chooses a proper system and displays it. |
|
*Mode 1 and SVGA 1 are examples.
Selecting Computer System Manually
PC system can also be selected manually.
1 | Press the MENU button and the |
| appear. Press the Point 7 8 buttons to move the red frame |
| pointer to the PC System Menu icon. |
2 | Press the Point d button to move the red arrow pointer to |
| the system that you want to set, and then press the SET |
button.
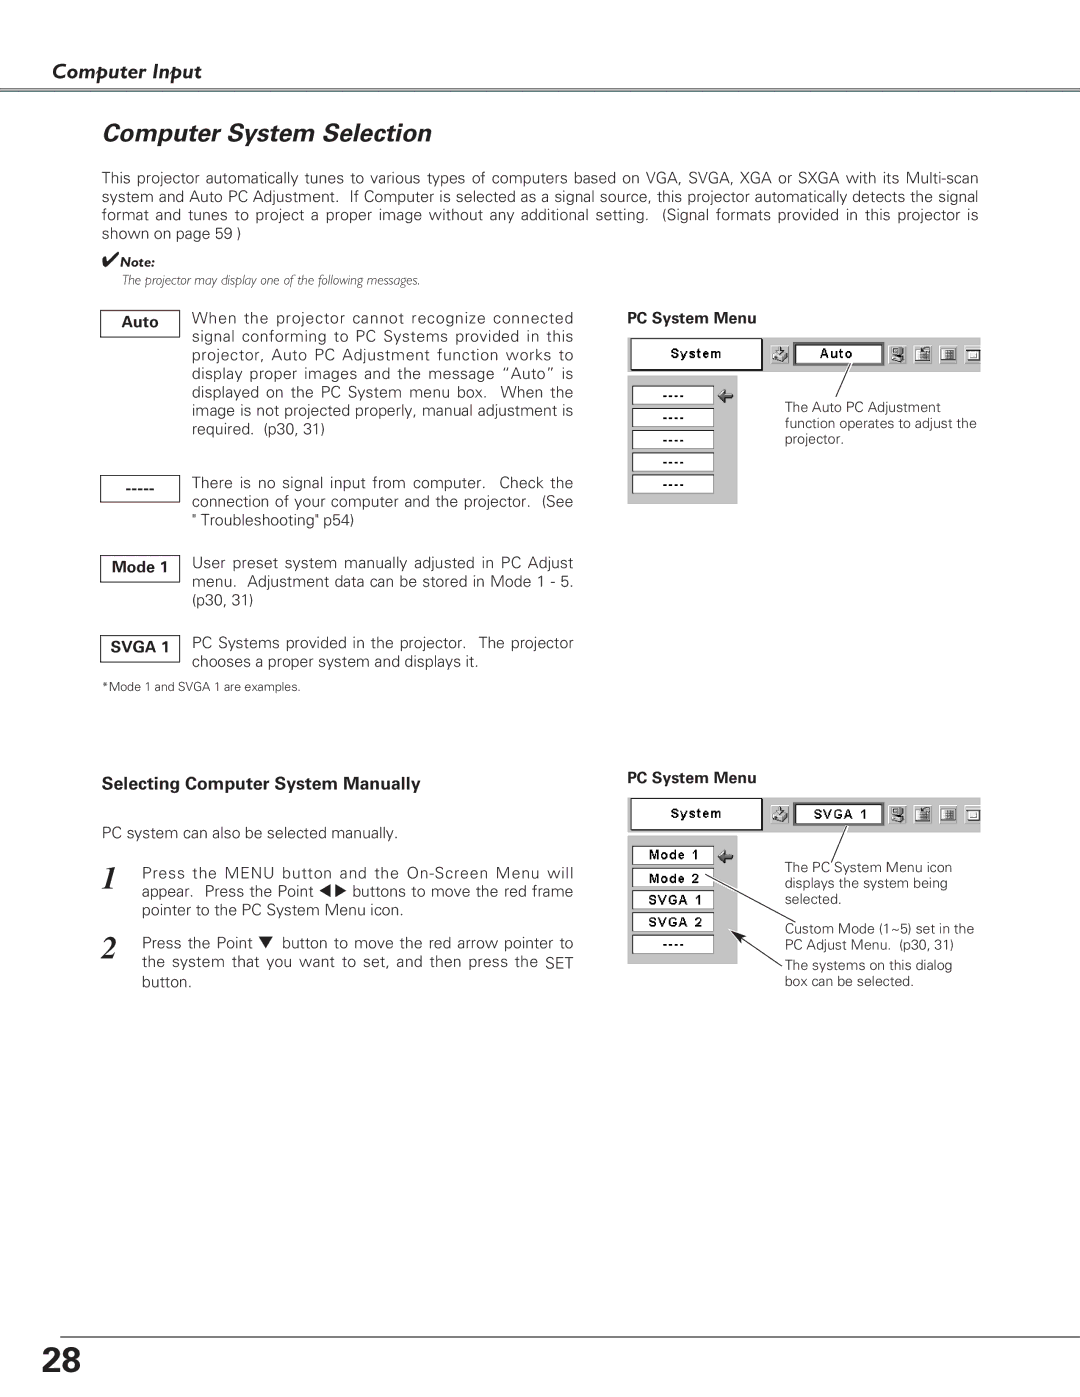
PC System Menu
The Auto PC Adjustment function operates to adjust the projector.
PC System Menu
The PC System Menu icon displays the system being selected.
Custom Mode (1~5) set in the
PC Adjust Menu. (p30, 31)
The systems on this dialog box can be selected.
28