LV-X6, LV-7250 specifications
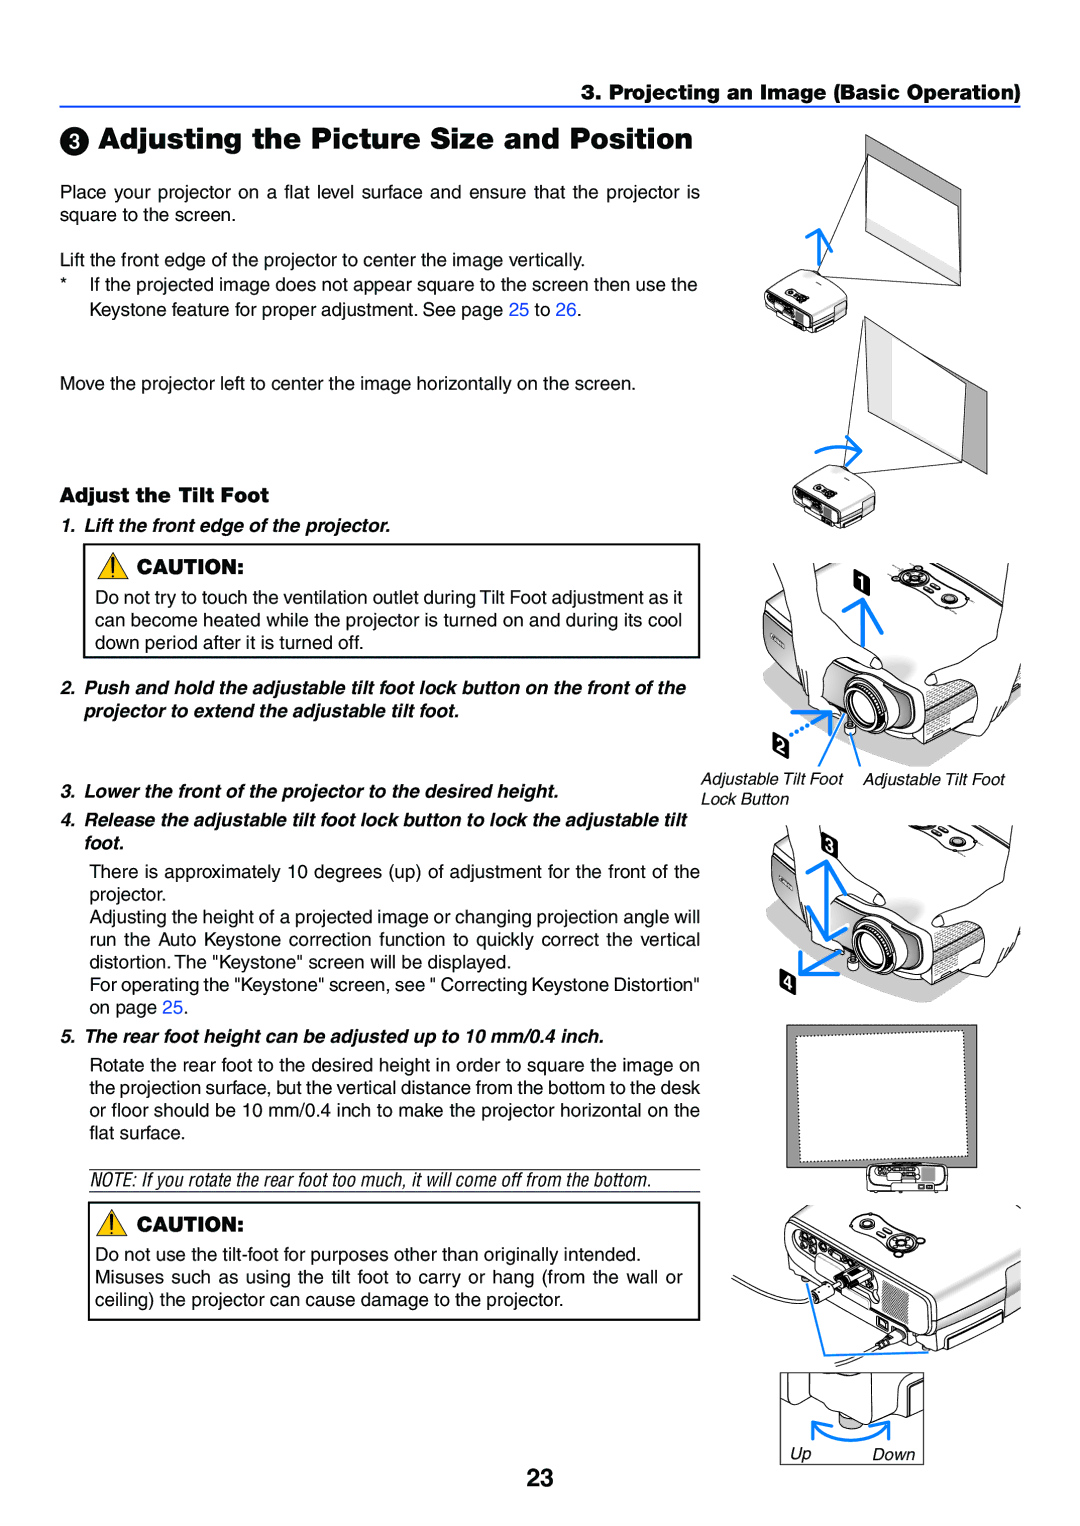
The Canon LV-7250 and LV-X6 are advanced projector models renowned for their quality, versatility, and ease of use. Designed primarily for educational and corporate environments, these projectors combine high-performance features with user-friendly technology, making them ideal for presentations, lectures, and business meetings.Starting with the Canon LV-7250, this model boasts a bright 2600 ANSI lumens lamp, ensuring clear and vivid images even in well-lit environments. Its native XGA resolution (1024 x 768) guarantees sharp text and detailed graphics, crucial for presentations and visual displays. The projector supports a variety of input options, including HDMI and standard VGA, making connectivity to various devices seamless. Additionally, the LV-7250 includes a 1.2x optical zoom and keystone correction features, allowing for flexible setup and easy alignment of images.
The Canon LV-X6, on the other hand, elevates the projection experience with its enhanced brightness of 3000 ANSI lumens and native SVGA resolution (800 x 600). This model is specifically designed for larger venues, where higher luminosity is essential. The LV-X6 features multiple connectivity options, including HDMI, USB, and composite video, accommodating different presentation formats and devices.
Both models incorporate advanced DLP technology, offering high contrast ratios that enhance the clarity and depth of projected images. They also ensure long-lasting performance with an extended lamp life of up to 6000 hours in Eco mode, reducing the need for frequent replacements and enhancing cost-effectiveness.
In terms of portability, both projectors are lightweight and compact, making them easy to transport between locations. They come equipped with built-in speakers, providing clear audio playback without the need for external sound systems, although connections for separate audio systems are available for enhanced sound quality.
The user-friendly interface and remote control availability further simplify operation, allowing users to navigate menus swiftly and access features easily. A robust cooling system ensures efficient thermal management, keeping the projectors operational for extended periods without overheating.
Overall, the Canon LV-7250 and LV-X6 models epitomize reliability, performance, and practicality, making them excellent choices for anyone seeking high-quality projection solutions in professional settings.

