
Q2 specifications
The Cardo Q2 is an innovative communication system designed specifically for motorcyclists, enhancing the riding experience through seamless connectivity and advanced features. Manufactured by Cardo Systems, a leader in the motorcycle communication industry, the Q2 sets the standard for rider intercom technology with its robust functionality and user-friendly design.One of the main features of the Cardo Q2 is its ability to facilitate intercom communication between riders. The system utilizes Bluetooth technology to connect with other Q2 units or compatible devices, allowing for clear and reliable communication over distances of up to 1.6 kilometers (approximately one mile). This range is particularly beneficial for group rides, ensuring that all participants can keep in touch without the need for cumbersome hand signals or stopovers.
The Q2 is equipped with advanced noise cancellation technology, significantly reducing the sound of wind and road noise, which can often interfere with communication. This feature is crucial for maintaining clear audio quality, allowing riders to communicate at high speeds and in varying weather conditions without distraction.
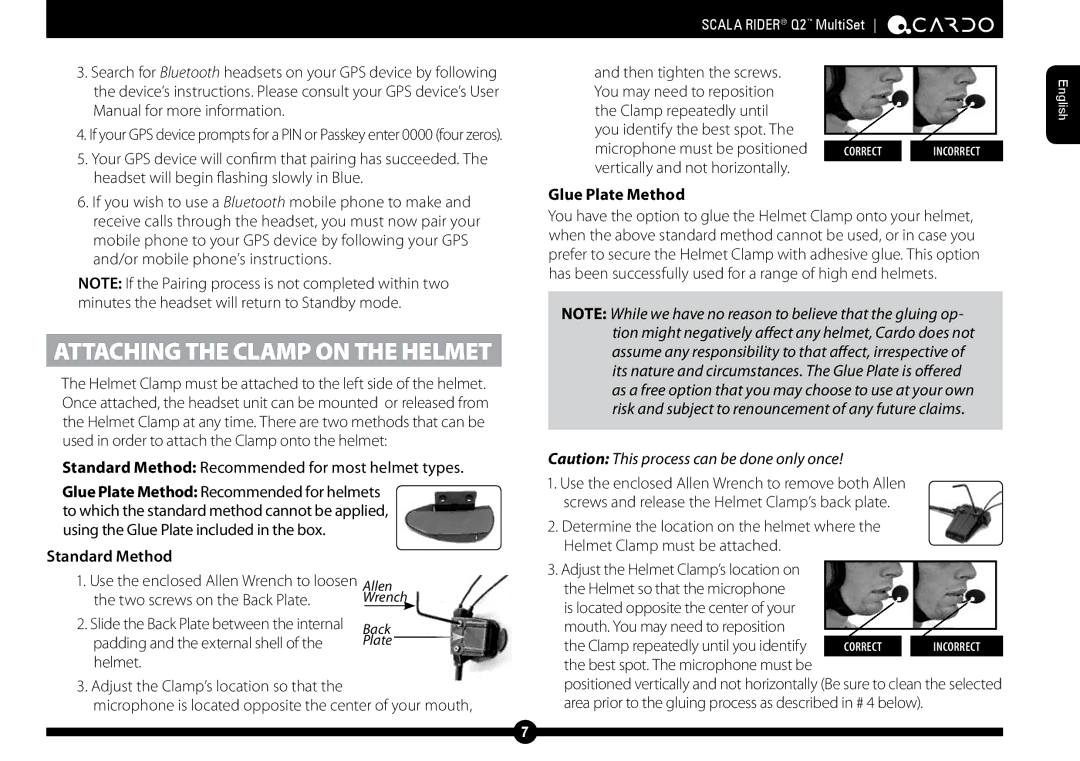
In terms of usability, the Cardo Q2 boasts an intuitive interface. It includes large, glove-friendly buttons that simplify operation, even with riding gloves on. The modular design of the Q2 allows for easy installation on various helmet types, making it a versatile choice for riders with different preferences.
Additionally, the Q2 supports music sharing and can connect to smartphones via Bluetooth, enabling riders to enjoy their favorite playlists or podcasts while on the road. The ability to seamlessly switch between music and intercom communication gives riders the flexibility to customize their riding experience.
The battery life of the Cardo Q2 is another standout feature. With up to 13 hours of talk time on a single charge, riders can rely on the system for long journeys without the worry of battery depletion.
Built to withstand the elements, the Q2 is water-resistant, ensuring durability in adverse weather conditions. Overall, the Cardo Q2 combines cutting-edge technology with practical design, making it an essential tool for motorcyclists seeking enhanced communication and connectivity on their adventures.