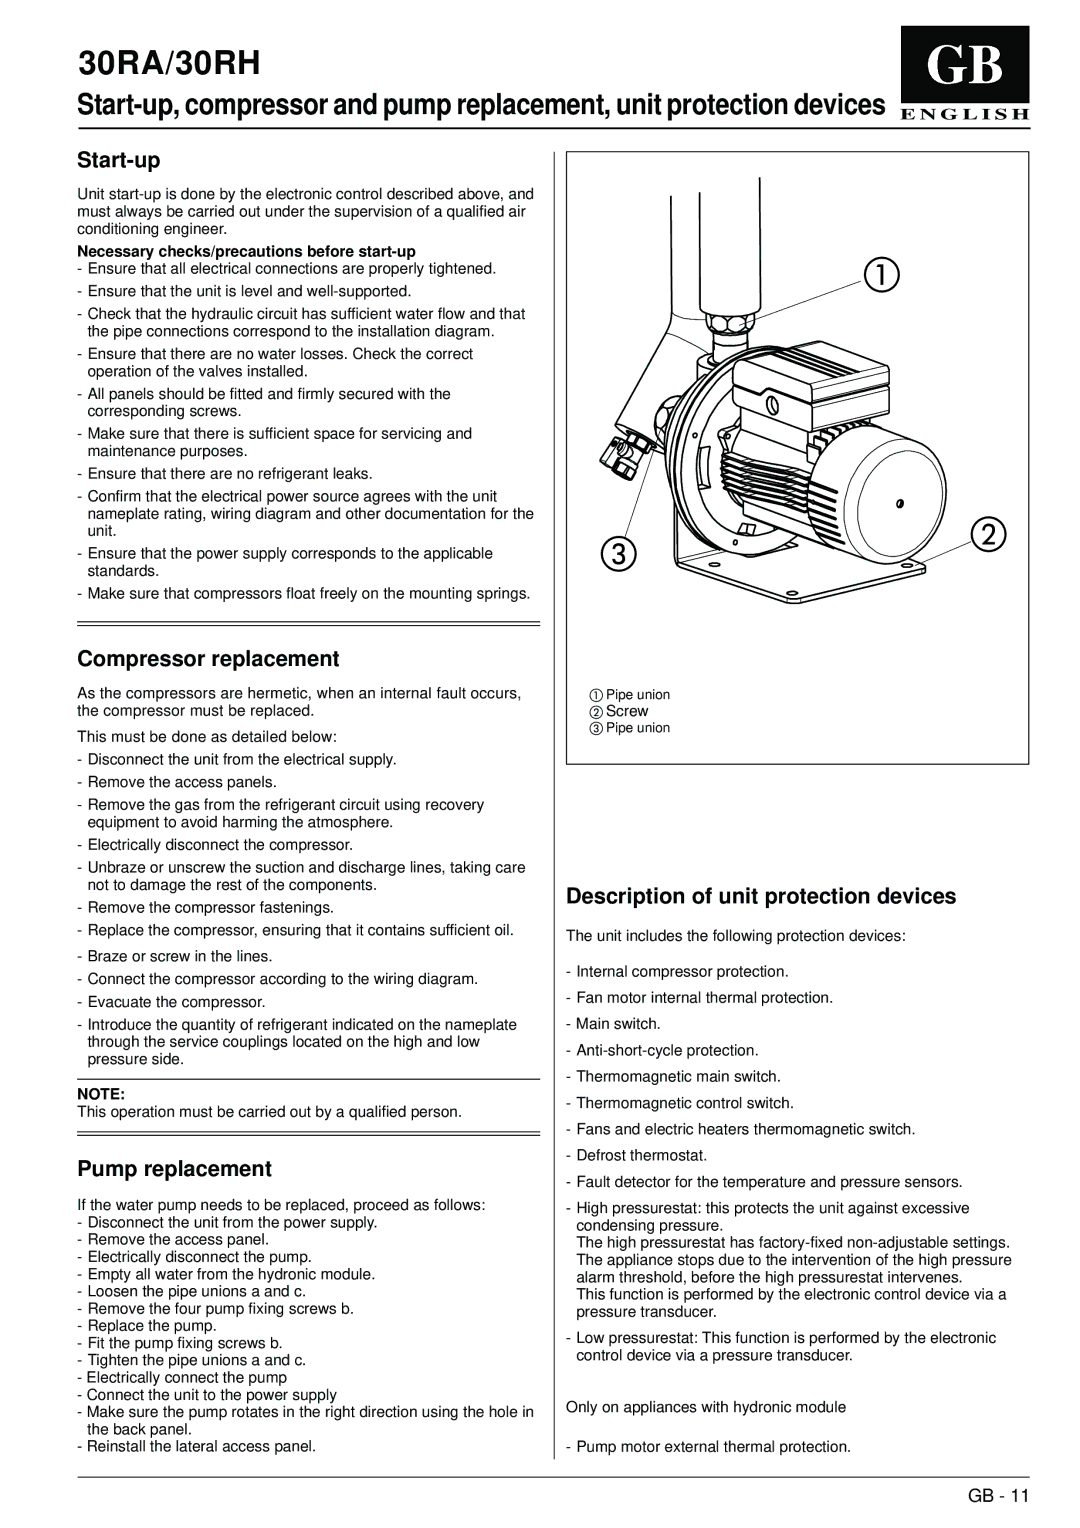
30RH, 30RA specifications
Carrier has long been a leader in the heating, ventilation, and air conditioning (HVAC) industry, and the Carrier 30RH and 30RA series showcases this legacy through a combination of advanced technology, energy efficiency, and reliability. These models are designed to meet the diverse needs of both commercial and industrial facilities, providing optimal comfort and air quality.One of the standout features of the Carrier 30RH and 30RA series is their versatility. These models are equipped with high-efficiency scroll compressors that offer exceptional performance while keeping energy consumption low. This not only translates to reduced operational costs but also helps in meeting stringent environmental regulations. The compressors work efficiently across a range of operating conditions, making these units suitable for various climates and applications.
Incorporating innovative technologies, the Carrier 30RH and 30RA series utilizes advanced controls to optimize performance. The carrier’s proprietary control system allows for seamless integration with building management systems, enabling remote monitoring and management. This connectivity ensures that operators can track energy usage and system performance in real-time, facilitating maintenance and problem-solving before issues escalate.
Both models include high-efficiency heat exchangers that enhance the heat transfer process, further promoting energy savings. The units are also designed to minimize sound levels, making them ideal for installation in noise-sensitive environments. With noise reduction features, the Carrier 30RH and 30RA units operate quietly, ensuring comfort in spaces where silence is paramount.
Durability is another core characteristic of these models. Built with robust materials and innovative engineering, the 30RH and 30RA series is designed to withstand the rigors of demanding commercial and industrial applications. Their reliable performance over time is backed by rigorous testing, ensuring longevity and reducing the likelihood of unexpected failures.
Environmental sustainability is a priority for Carrier, and the 30RH and 30RA series reflect this commitment. By utilizing environmentally friendly refrigerants and energy-efficient technologies, these units significantly reduce greenhouse gas emissions.
In summary, the Carrier 30RH and 30RA series are exemplary models that combine efficiency, advanced technology, and reliability. Their design focuses on optimizing comfort, reducing energy consumption, and ensuring longevity, making them an excellent choice for any commercial or industrial installation. Whether it’s in a bustling city center or a quiet suburban area, these units are engineered to deliver exceptional performance and value throughout their lifecycle.

