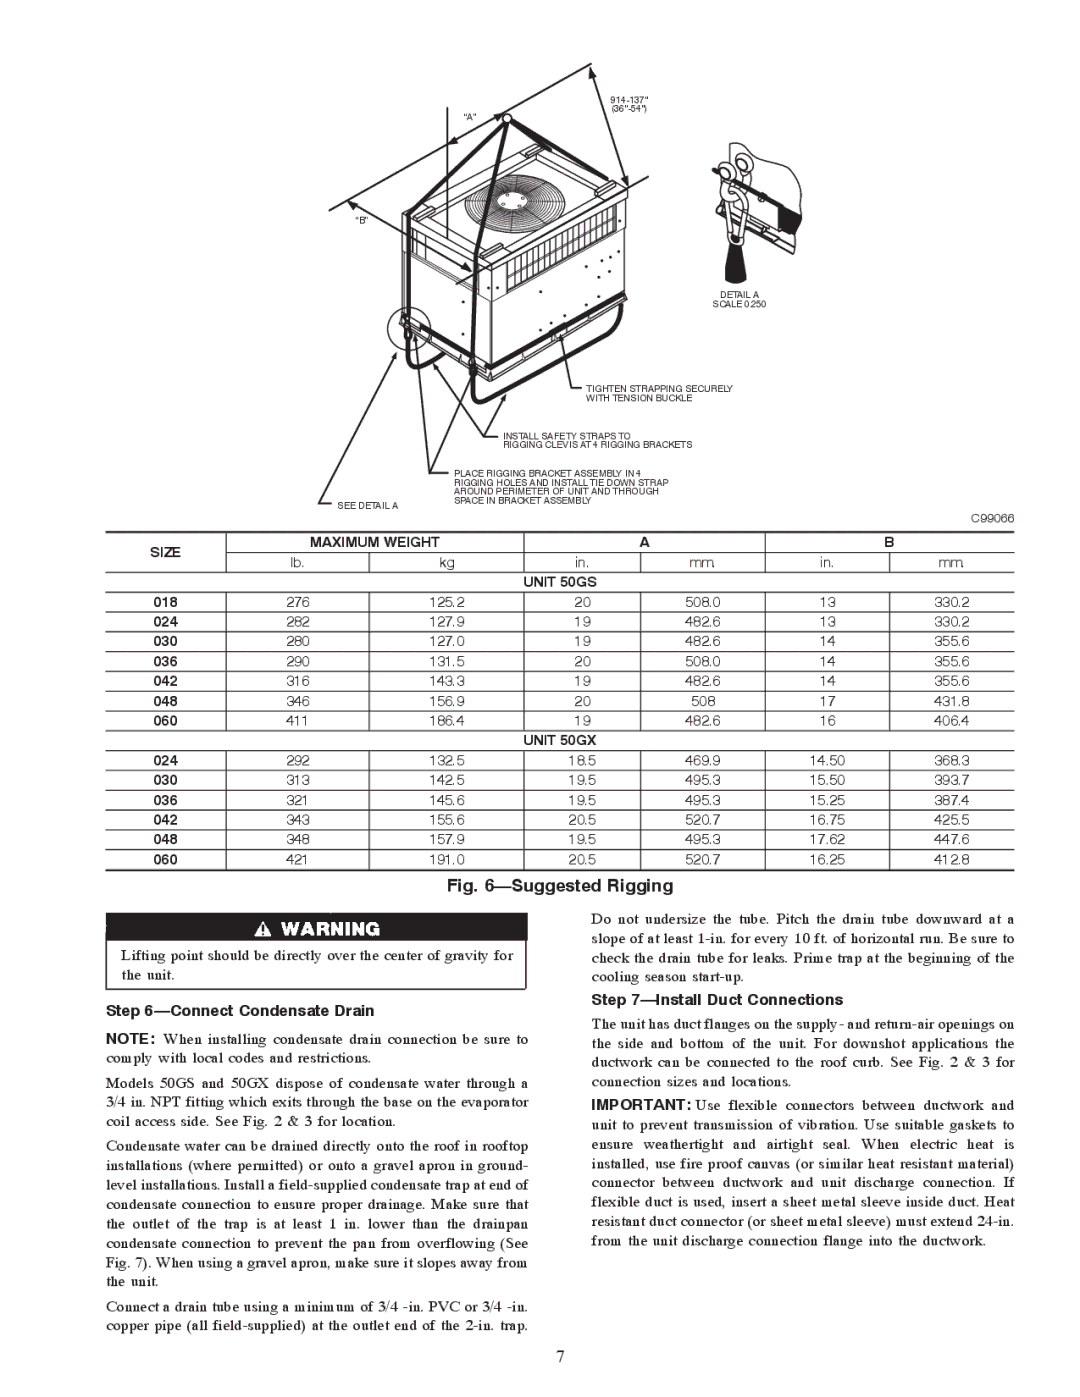
50GX, 50GS specifications
Carrier has long been a leader in the HVAC industry, and its latest offerings, the 50GX and 50GS series, continue this tradition. These units stand out for their robust design, advanced technology, and energy-efficient operation, making them ideal choices for commercial and light industrial applications.The Carrier 50GX is a packaged rooftop unit known for its innovative features aimed at enhancing energy efficiency while ensuring optimal indoor air quality. It employs a variable-speed compressor, which allows for precise temperature control and reduced energy consumption. The 50GX is equipped with microprocessor controls that optimize performance and simplify maintenance, offering real-time diagnostics and monitoring.
One of the standout technologies in the 50GX is its use of R-410A refrigerant, a greener alternative that reduces environmental impact without compromising cooling performance. This refrigerant is designed to deliver superior cooling efficiency while meeting strict environmental regulations. Additionally, the system features an integrated economizer, which takes advantage of outside air to improve energy efficiency during cooler months, reducing reliance on mechanical cooling.
The 50GS series, while similar in many respects to the 50GX, is tailored for applications requiring heating solutions. These units offer gas heat as an option, providing flexibility for varying climate conditions. The 50GS also incorporates an advanced heat exchanger design that maximizes heat transfer efficiency and reduces operational costs.
Both the 50GX and 50GS units are built with durability in mind. They feature a galvanized steel cabinet with a powder-coated finish, providing resistance to rust and corrosion. The robust construction ensures a long lifespan even in challenging environments.
Maintenance is made easier with these models, thanks to their accessible design that allows for quick servicing. Both the 50GX and 50GS units come with a host of customizable options, including different airflow configurations and additional filtration systems to enhance air quality.
In conclusion, the Carrier 50GX and 50GS series represent the pinnacle of HVAC technology with their focus on energy efficiency, environmental sustainability, and robust construction. These units are ideal for customers looking to invest in reliable and efficient climate control solutions for their facilities, combining advanced technology with time-tested engineering.

