
NS18A specifications
The Cecilware NS18A offers a compelling combination of performance, efficiency, and versatility, making it a popular choice in commercial settings. As a high-quality espresso machine, it is designed to cater to the needs of cafes, restaurants, and various establishments seeking to deliver exceptional coffee beverages.One of the standout features of the NS18A is its dual boiler system. This innovative technology allows the machine to maintain optimal brewing temperatures while simultaneously steaming milk. This not only enhances the quality of espresso shots but also ensures fast service, enabling baristas to create lattes and cappuccinos without delay. The dual boiler setup minimizes temperature fluctuations, ensuring consistency in every cup served.
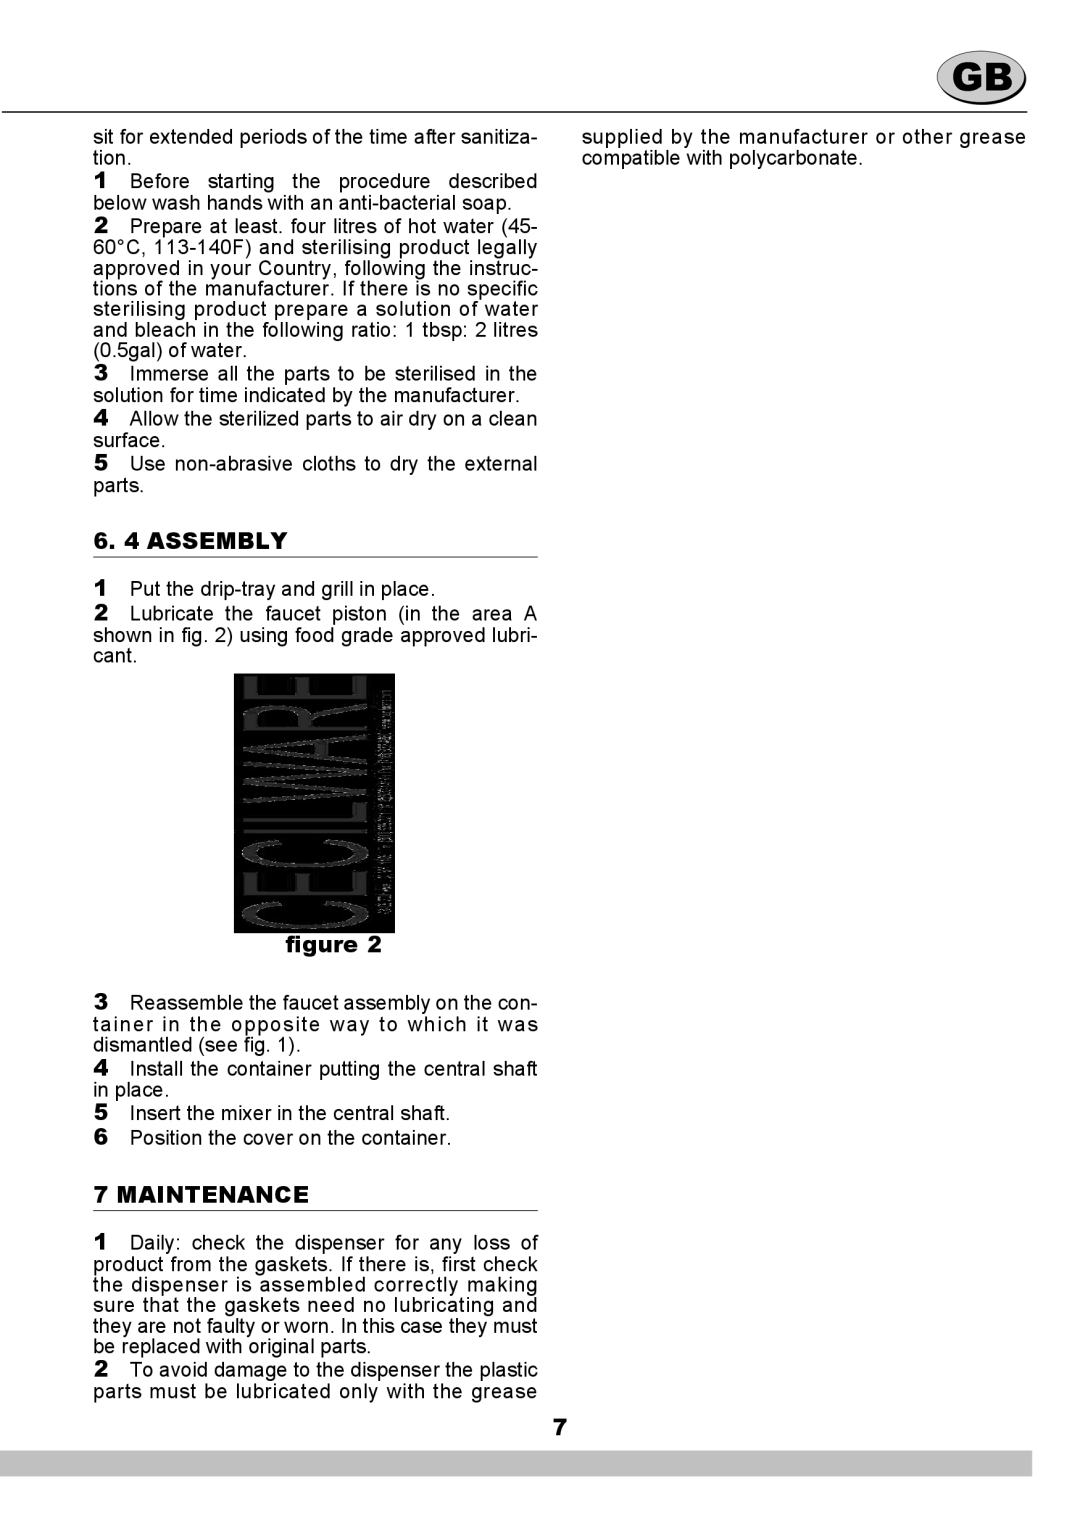
Another notable characteristic is its intuitive control panel. The NS18A features programmable shot timers that allow baristas to easily adjust the brewing time for each espresso shot. This ensures the extraction process is tailored to specific coffee beans and blends, leading to a more refined flavor profile. The machine is further equipped with individual group head controls, allowing simultaneous brewing of multiple espresso shots without compromising on quality.
In terms of build quality, the Cecilware NS18A boasts a durable stainless steel construction that not only adds an attractive aesthetic to any countertop but also guarantees longevity and resistance to wear and tear. Its heavy-duty design ensures that it can withstand the rigors of a busy commercial environment while maintaining performance standards.
The NS18A also incorporates advanced temperature stability technologies. With its PID (Proportional-Integral-Derivative) controllers, the machine provides precise temperature control throughout the brewing process. This advanced feature is crucial for achieving the ideal extraction temperature, which is essential for highlighting the unique flavors and aromas of different coffee beans.
Another significant aspect of the NS18A is its efficiency in energy usage. The machine is designed with energy-saving components that reduce overall power consumption without compromising performance. This eco-friendly approach is becoming increasingly important for businesses looking to reduce operational costs and environmental impact.
In conclusion, the Cecilware NS18A is a remarkable espresso machine that combines advanced technologies with user-friendly features. Its dual boiler system, programmable controls, durable construction, and energy efficiency make it an excellent investment for any coffee-focused establishment. With its ability to deliver exceptional espresso and consistently high-quality beverages, it stands out as a reliable choice for baristas and operators alike.