3453135556 specifications
The Chamberlain 3453135556 is a reliable and innovative garage door opener designed to enhance convenience and security for homeowners. This model stands out for its robust performance and user-friendly features, catering to a wide range of customer needs.One of the most notable features of the Chamberlain 3453135556 is its powerful motor, capable of providing up to 1/2 horsepower. This motor enables smooth and quiet operation, making it suitable for residential use where noise reduction is a priority. The opener can effortlessly lift standard and heavier garage doors, ensuring reliable functionality even for larger installations.
Equipped with advanced technologies, the Chamberlain 3453135556 incorporates MyQ smart technology, allowing users to control and monitor their garage door through a smartphone app. This feature offers real-time notifications, enabling homeowners to check if they left the door open or close it remotely. With MyQ, users can also integrate other smart home devices, enhancing the overall home automation experience.
In terms of security, the Chamberlain 3453135556 boasts a unique Security+2.0 technology that utilizes rolling code encryption. This innovation changes the access code each time the remote control is used, significantly reducing the risk of unauthorized access. Additionally, the model includes an automatic garage door lock feature, ensuring that the door remains securely closed when not in use.
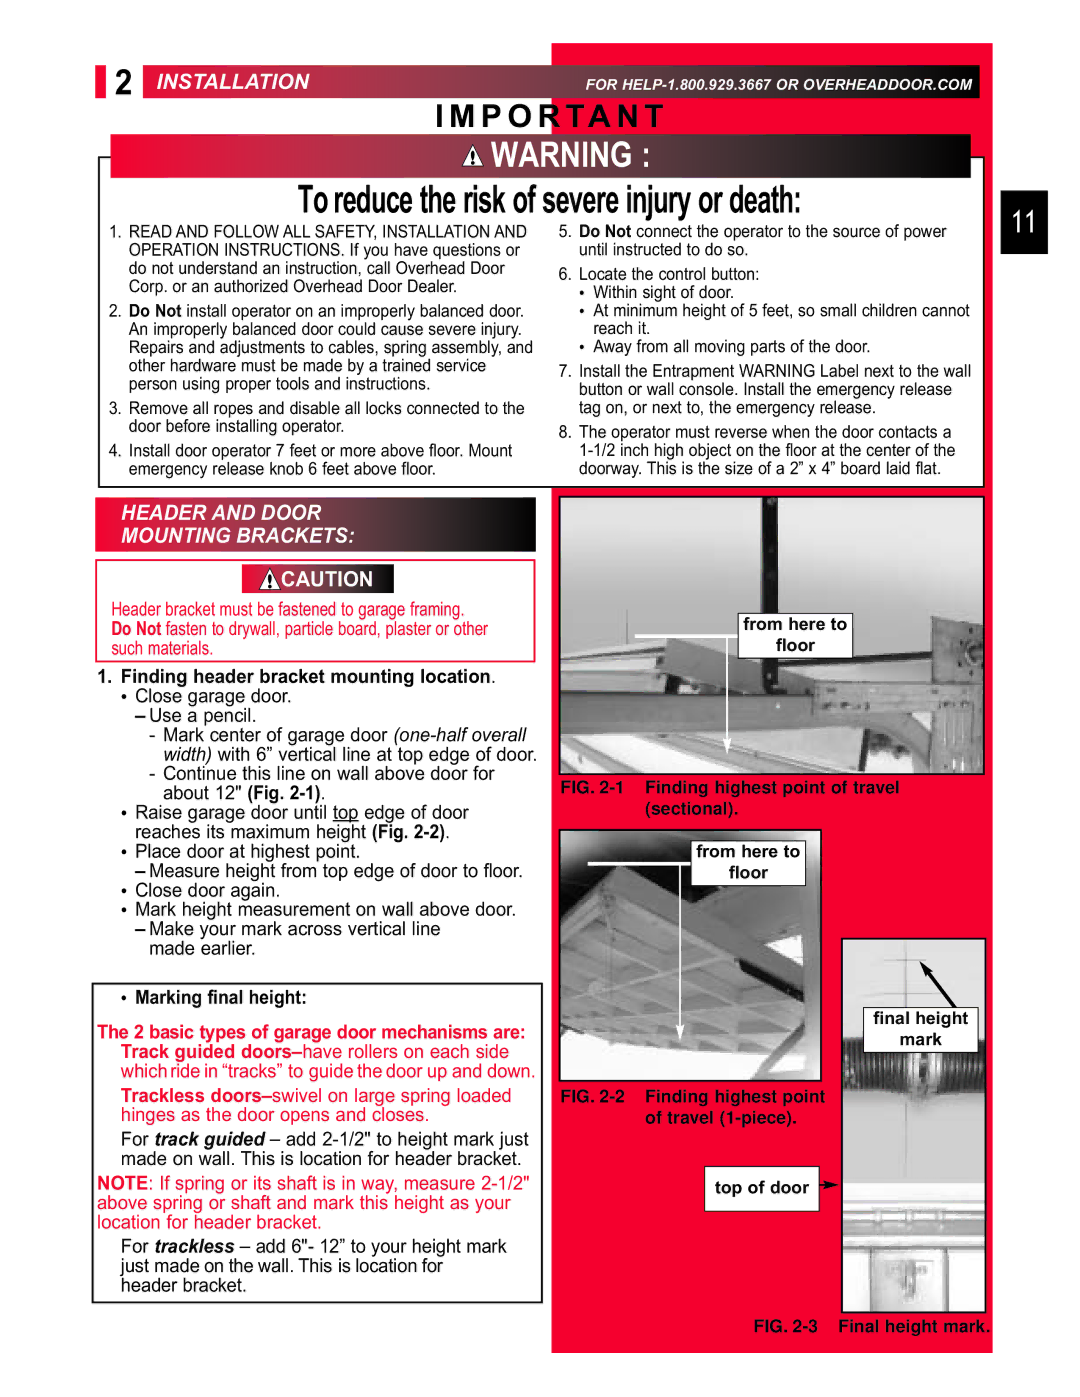
Installation is straightforward, as the Chamberlain 3453135556 comes with a clear set of instructions and necessary hardware. Its compact design allows it to fit seamlessly into most garage configurations, and it is compatible with various types of garage door systems.
Moreover, the opener features a reliable safety mechanism that includes infrared sensors, which reverse the door's motion if any obstruction is detected, preventing accidents and injuries. This attention to safety makes it an ideal choice for families with children and pets.
In summary, the Chamberlain 3453135556 stands out as a leader in garage door openers, combining power, security, and smart technology. With its user-friendly features and reliable performance, it offers an excellent solution for modern homeowners seeking to enhance their garage experience. Whether for convenience, safety, or smart home integration, this model delivers on all fronts, making it a valuable addition to any home.

