| 4 | TESTING | TH E D OOR |
| |
| Complete | the following testto ensureyourdo or iswell | |||
| ba | lanced, | and | not stickingor bindi ng: | |
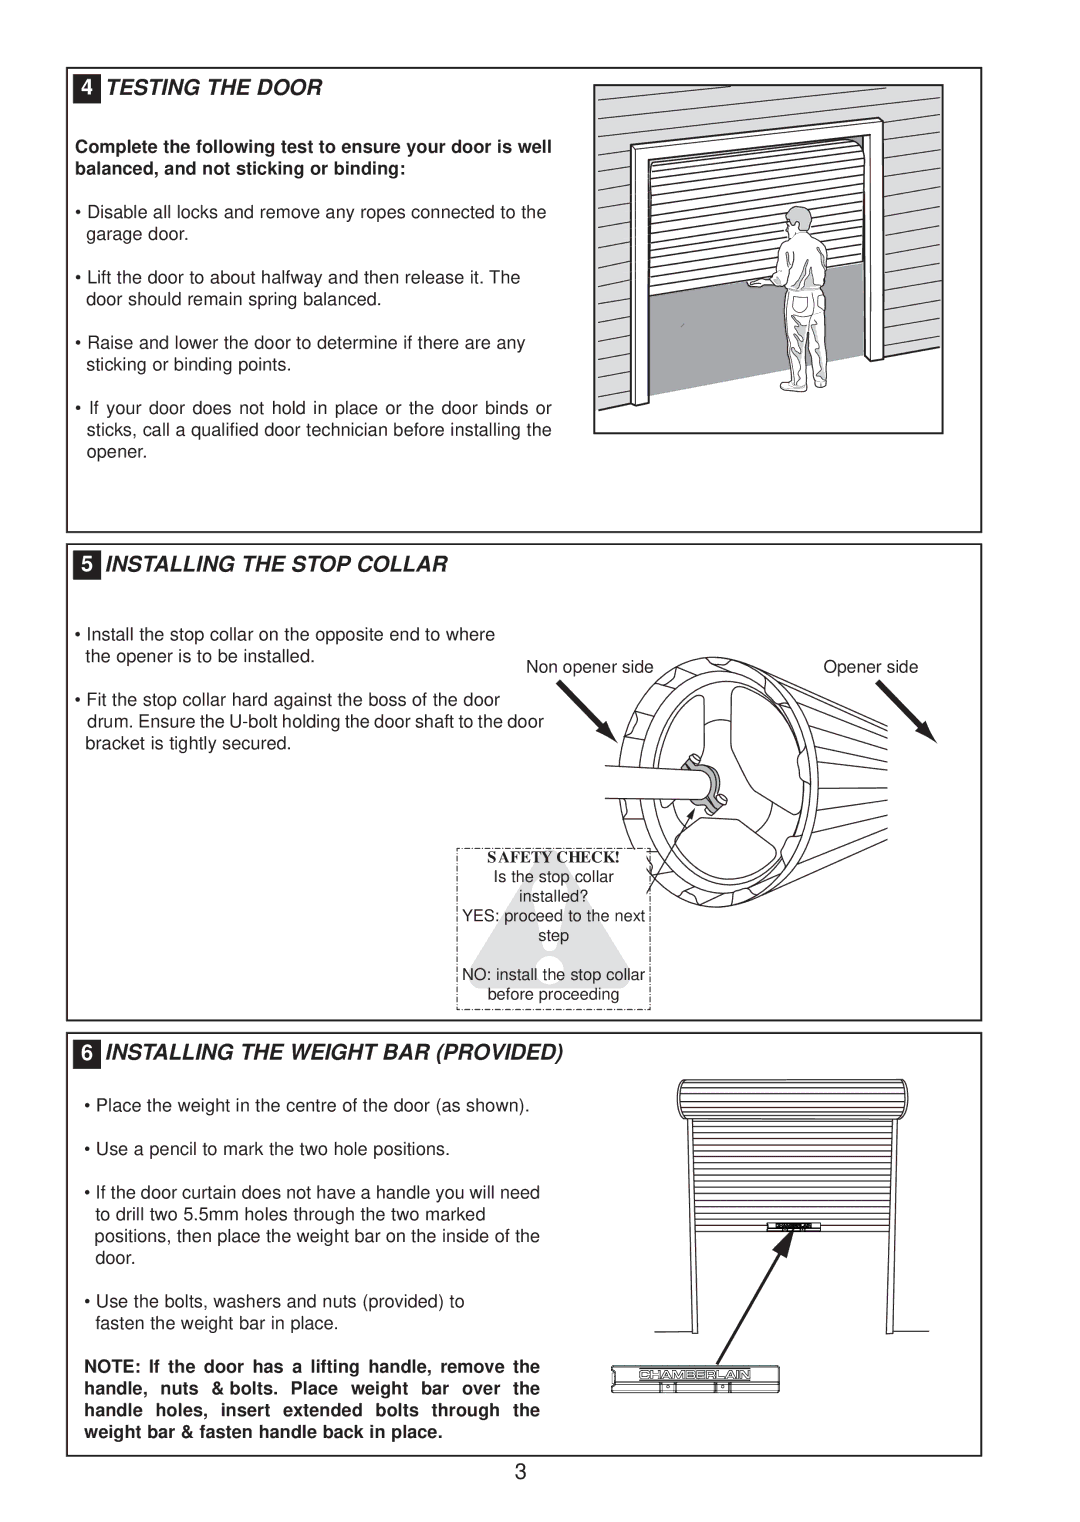
•Disablealllocksand remove any ropesconnectedtothe g arage door.
•Lifthedoortoabouth alfway and thenrelease itThe. doorshould remainspringbalanced.
•Ra iseand lowerthe doortodetermine ifthere areany stickingorbinding points.
•Ifyourdoordoes notho ldinplace orthe doorbindsor sticks,calla qualified doortechnician before installingthe opener.
5 INS TA LLI NG TH E STOP C OLL AR
•Installthestopcollaronthe oppositend tow here
the openeris to be installed. | Non opener side | Opener side |
|
•Fitthestopcolarha rdag ainstth e bossofthedoor drum.Ensure the U
SAFETY CHECK! Is the stop collar installed?
YES: proceed to the next
step
NO: install the stop collar
before proceeding
6 INSTA LL ING THE W EIGH T B A R (PROVIDED)
•Place the we ightinthecentreofthedoor(as show n).
•Use a pencilto markthe two h olepositions.
•Ifthedoorcurtaindoes notha ve a handle youwillneed todrilltwo 5.5 mmh olesthrough thetwomarked positions, then place thewe igh tbarontheinsideofthe door.
•Use thebolts,wash ersand nuts(provided)to fasten thew eigh tbarinplace.
NOTE: | If the door has a liftinghandle, | remove | the | |||
han dle, | nuts & | b olts. Place | weight bar over | the | ||
ha ndle | holes, | insert extend ed | bolts | through the | ||
weightbar & fas ten han dle ba | ck | inplace. |
| |||
3
