4.0 Reflectors and Flag Assembly
Attach the reflector to the spokes.
Insert the orange clip into the reflector and over the spoke. With a slot screwdriver, turn the clip until reflector is tight and unable to shift.
Attach the red reflector to the left grommet on the rear of the back storage bag.
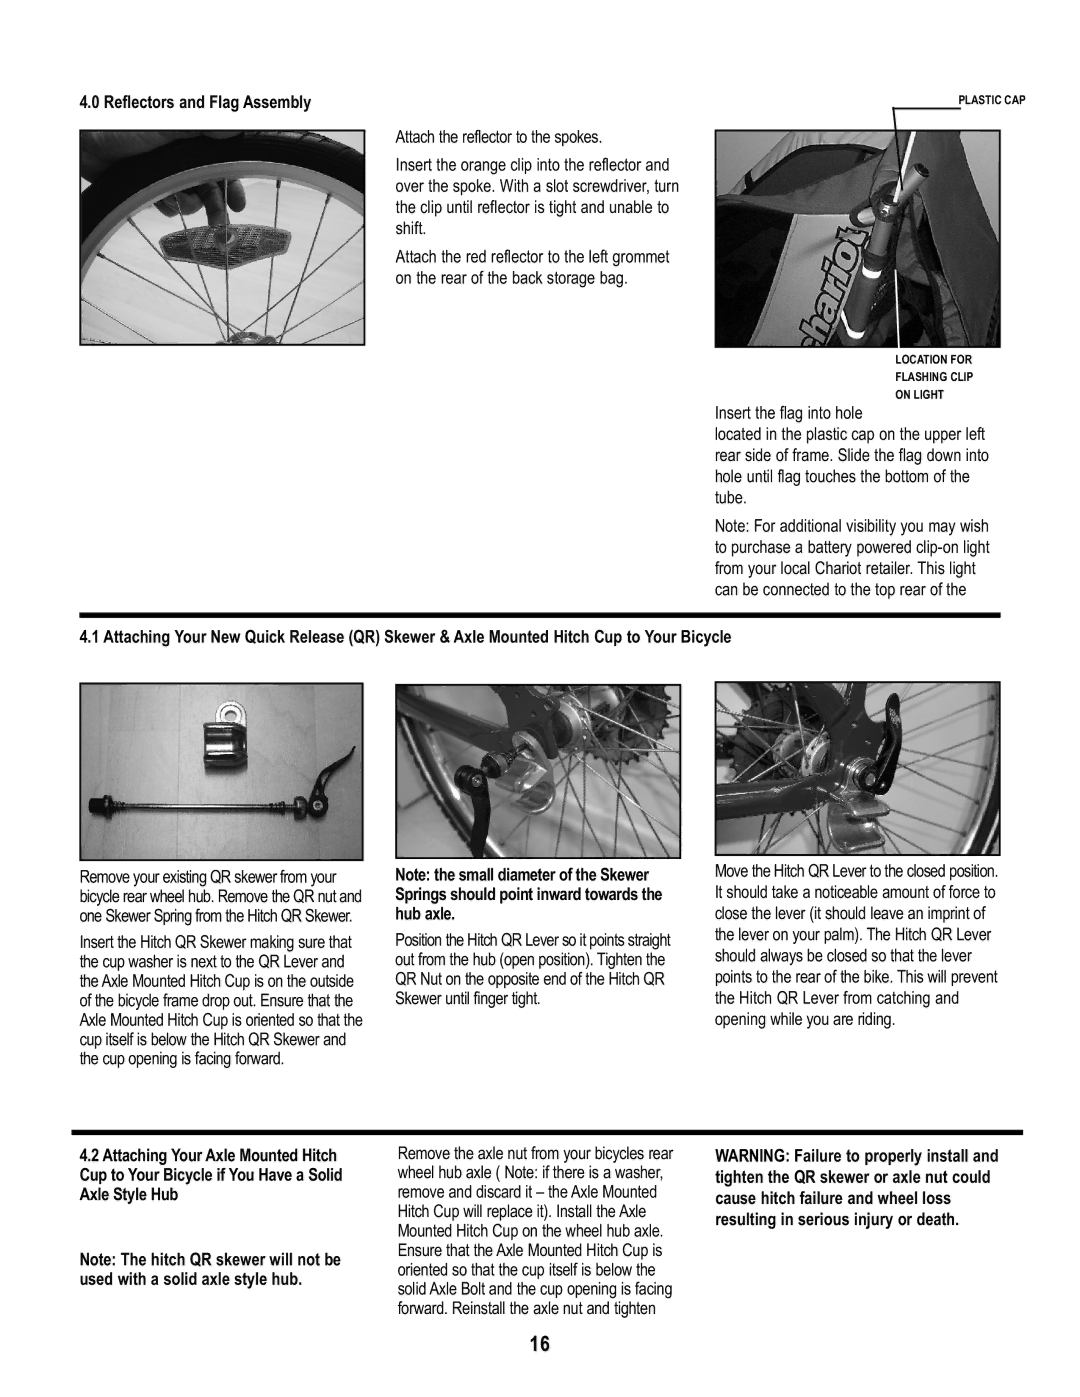
PLASTIC CAP
LOCATION FOR
FLASHING CLIP
ON LIGHT
Insert the flag into hole
located in the plastic cap on the upper left rear side of frame. Slide the flag down into hole until flag touches the bottom of the tube.
Note: For additional visibility you may wish to purchase a battery powered
4.1 Attaching Your New Quick Release (QR) Skewer & Axle Mounted Hitch Cup to Your Bicycle
Remove your existing QR skewer from your bicycle rear wheel hub. Remove the QR nut and one Skewer Spring from the Hitch QR Skewer.
Insert the Hitch QR Skewer making sure that the cup washer is next to the QR Lever and the Axle Mounted Hitch Cup is on the outside of the bicycle frame drop out. Ensure that the Axle Mounted Hitch Cup is oriented so that the cup itself is below the Hitch QR Skewer and the cup opening is facing forward.
Note: the small diameter of the Skewer Springs should point inward towards the hub axle.
Position the Hitch QR Lever so it points straight out from the hub (open position). Tighten the QR Nut on the opposite end of the Hitch QR Skewer until finger tight.
Move the Hitch QR Lever to the closed position. It should take a noticeable amount of force to close the lever (it should leave an imprint of the lever on your palm). The Hitch QR Lever should always be closed so that the lever points to the rear of the bike. This will prevent the Hitch QR Lever from catching and opening while you are riding.
4.2Attaching Your Axle Mounted Hitch Cup to Your Bicycle if You Have a Solid Axle Style Hub
Note: The hitch QR skewer will not be used with a solid axle style hub.
Remove the axle nut from your bicycles rear wheel hub axle ( Note: if there is a washer, remove and discard it – the Axle Mounted Hitch Cup will replace it). Install the Axle Mounted Hitch Cup on the wheel hub axle. Ensure that the Axle Mounted Hitch Cup is oriented so that the cup itself is below the solid Axle Bolt and the cup opening is facing forward. Reinstall the axle nut and tighten
WARNING: Failure to properly install and tighten the QR skewer or axle nut could cause hitch failure and wheel loss resulting in serious injury or death.
16