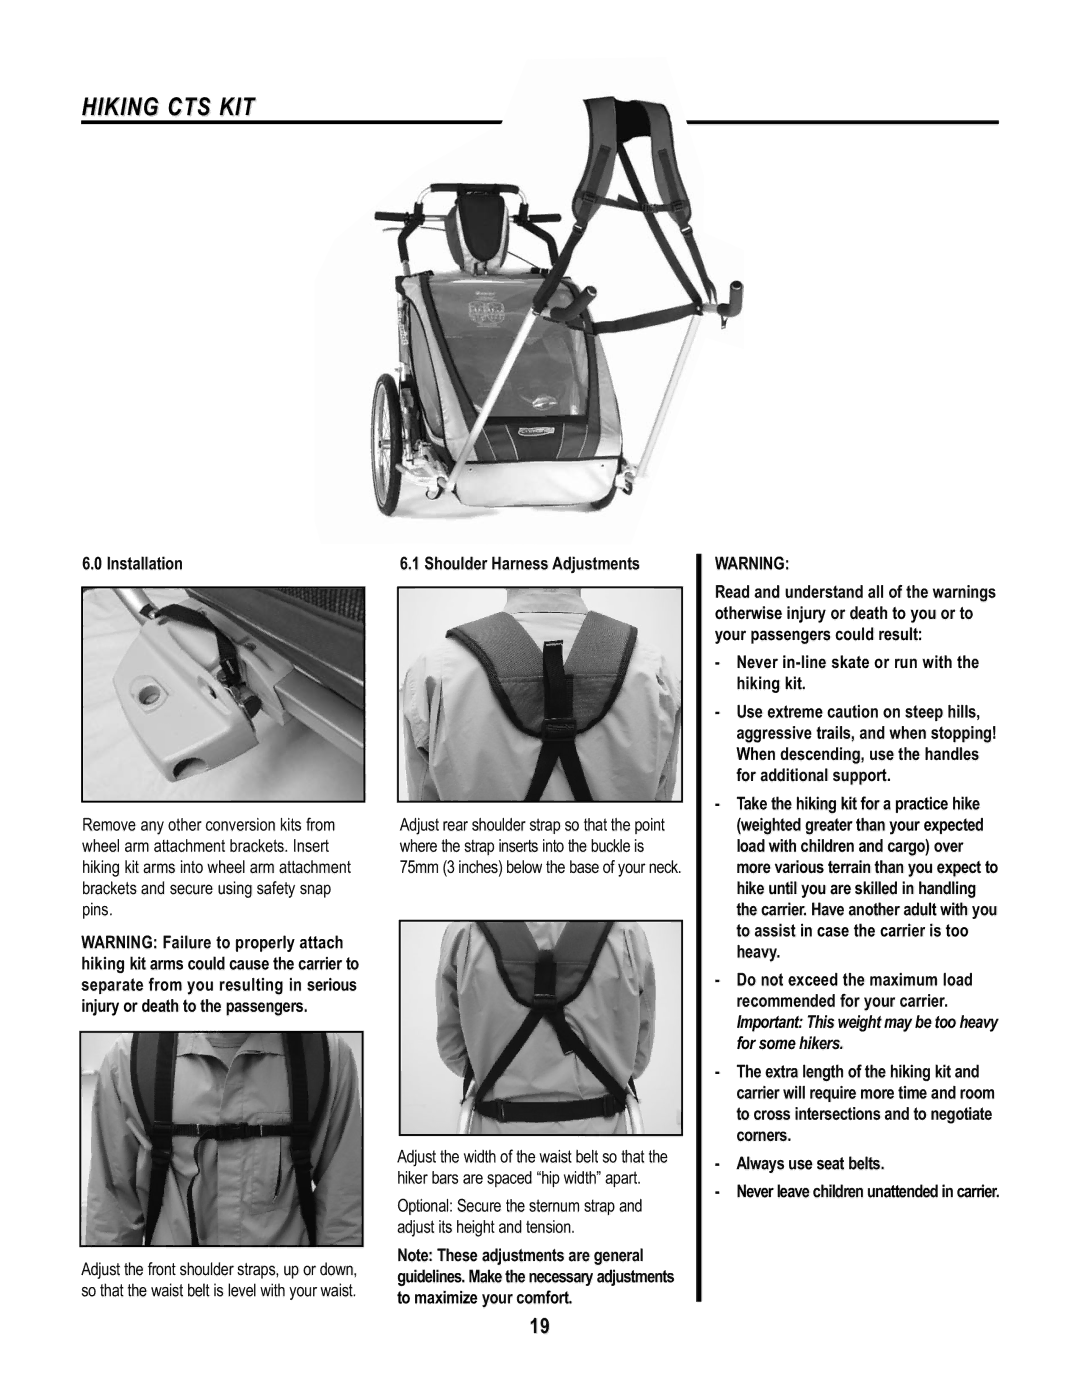
HIKING CTS KIT
6.0 Installation
Remove any other conversion kits from wheel arm attachment brackets. Insert hiking kit arms into wheel arm attachment brackets and secure using safety snap pins.
WARNING: Failure to properly attach hiking kit arms could cause the carrier to separate from you resulting in serious injury or death to the passengers.
Adjust the front shoulder straps, up or down, so that the waist belt is level with your waist.
6.1 Shoulder Harness Adjustments
Adjust rear shoulder strap so that the point where the strap inserts into the buckle is 75mm (3 inches) below the base of your neck.
Adjust the width of the waist belt so that the hiker bars are spaced “hip width” apart.
Optional: Secure the sternum strap and adjust its height and tension.
Note: These adjustments are general guidelines. Make the necessary adjustments to maximize your comfort.
WARNING:
Read and understand all of the warnings otherwise injury or death to you or to your passengers could result:
-Never
-Use extreme caution on steep hills, aggressive trails, and when stopping! When descending, use the handles for additional support.
-Take the hiking kit for a practice hike (weighted greater than your expected load with children and cargo) over more various terrain than you expect to hike until you are skilled in handling the carrier. Have another adult with you to assist in case the carrier is too heavy.
-Do not exceed the maximum load recommended for your carrier. Important: This weight may be too heavy for some hikers.
-The extra length of the hiking kit and carrier will require more time and room to cross intersections and to negotiate corners.
-Always use seat belts.
-Never leave children unattended in carrier.
19
