Operation
Warning! Unplug the unit before adjusting chain to be sharpened.
Refer to the Assembly Drawing on page 10 and the various photographs.
Note: Raise the Top Housing (4B) while adjusting the chain.
1.Clean the chain before sharpening.
Wash it with a nonflammable solvent. Do not use gasoline. Dry the chain.
FIGURE 6
Chain Stop (23)
Lock Wheel (18)
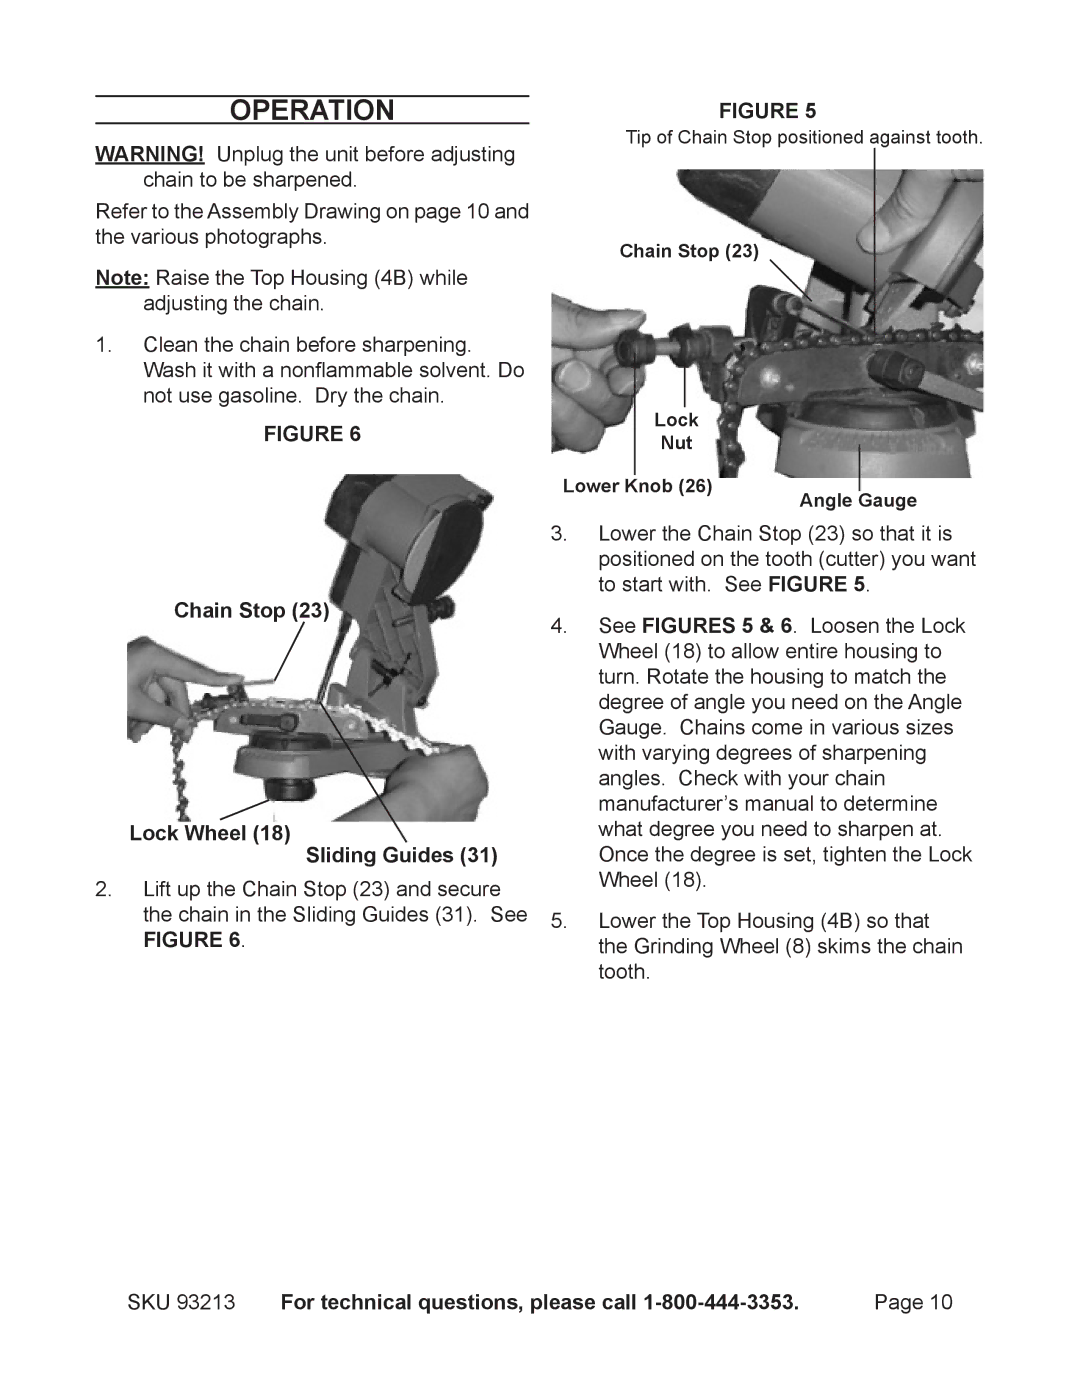
FIGURE 5
Tip of Chain Stop positioned against tooth.
Chain Stop (23)
Lock |
|
Nut |
|
Lower Knob (26) | Angle Gauge |
|
3.Lower the Chain Stop (23) so that it is positioned on the tooth (cutter) you want to start with. See FIGURE 5.
4.See FIGURES 5 & 6. Loosen the Lock Wheel (18) to allow entire housing to turn. Rotate the housing to match the degree of angle you need on the Angle Gauge. Chains come in various sizes with varying degrees of sharpening angles. Check with your chain manufacturer’s manual to determine what degree you need to sharpen at. Once the degree is set, tighten the Lock Wheel (18).
Lower the Top Housing (4B) so that the Grinding Wheel (8) skims the chain tooth.
SKU 93213 | For technical questions, please call | Page 10 |