2Verifying the Module Installation
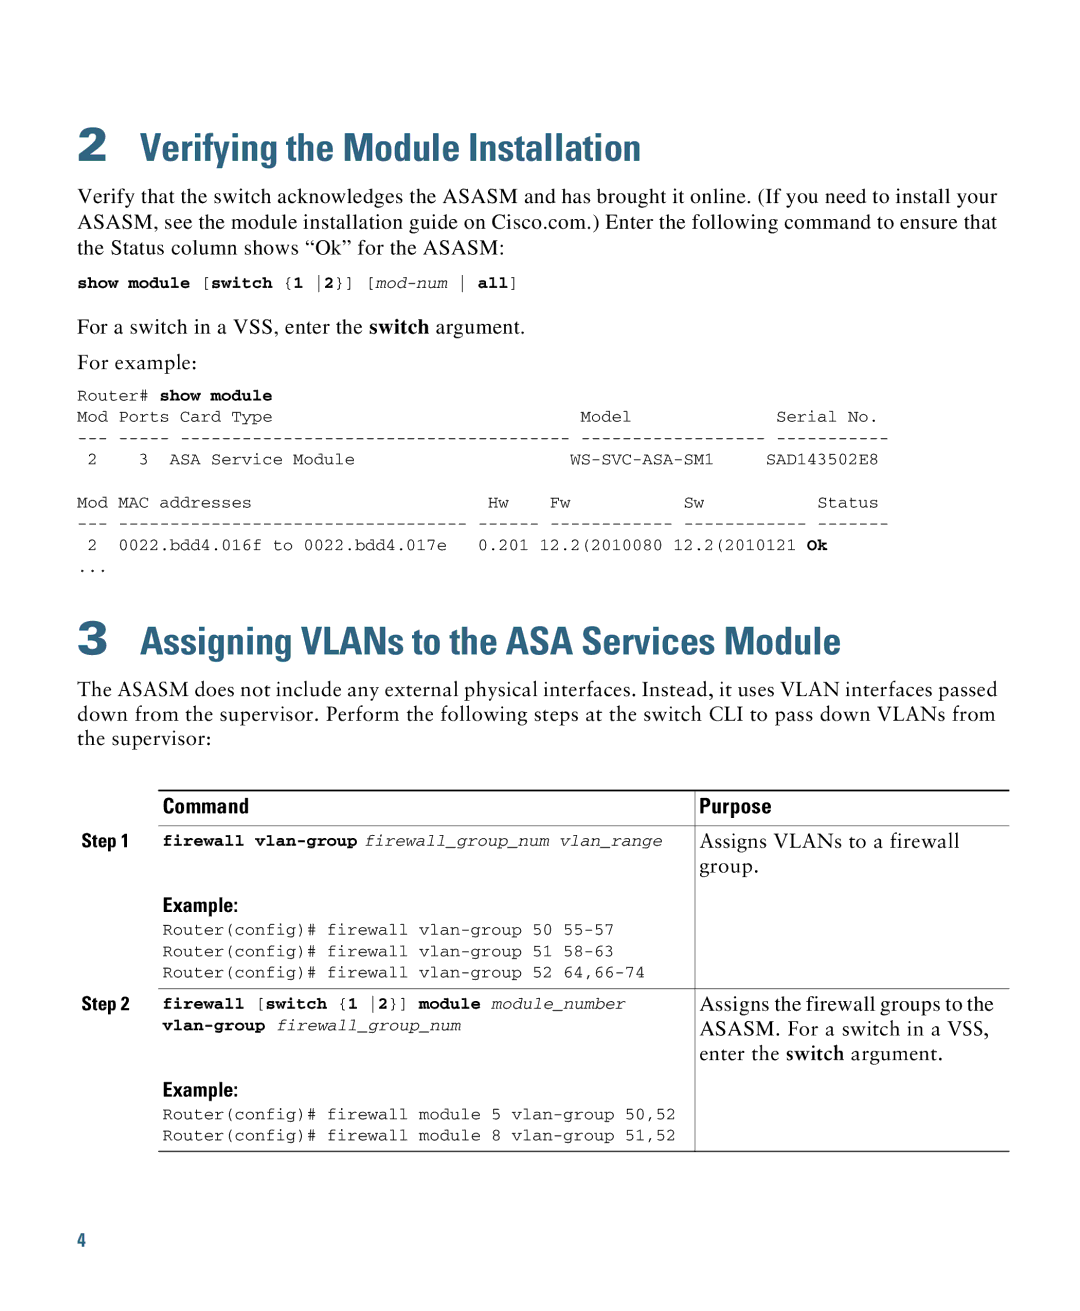
Verify that the switch acknowledges the ASASM and has brought it online. (If you need to install your ASASM, see the module installation guide on Cisco.com.) Enter the following command to ensure that the Status column shows “Ok” for the ASASM:
show module [switch {1 2}]
For a switch in a VSS, enter the switch argument.
For example:
Router# show module |
|
|
|
| |
Mod | Ports Card Type |
|
| Model | Serial No. |
2 | 3 ASA Service Module |
|
|
| SAD143502E8 |
Mod | MAC addresses | Hw | Fw | Sw | Status |
2 | 0022.bdd4.016f to 0022.bdd4.017e | 0.201 12.2(2010080 12.2(2010121 Ok | |||
... |
|
|
|
|
|
3Assigning VLANs to the ASA Services Module
The ASASM does not include any external physical interfaces. Instead, it uses VLAN interfaces passed down from the supervisor. Perform the following steps at the switch CLI to pass down VLANs from the supervisor:
| Command |
|
| Purpose |
Step 1 | firewall | Assigns VLANs to a firewall | ||
|
|
|
| group. |
| Example: |
|
|
|
| Router(config)# firewall |
| ||
| Router(config)# firewall |
| ||
| Router(config)# firewall |
| ||
Step 2 |
|
|
| |
firewall [switch {1 2}] | module module_number | Assigns the firewall groups to the | ||
|
| ASASM. For a switch in a VSS, | ||
|
|
|
| enter the switch argument. |
Example:
Router(config)# firewall module 5
Router(config)# firewall module 8
4
