WS-F6K-MSFC2 specifications
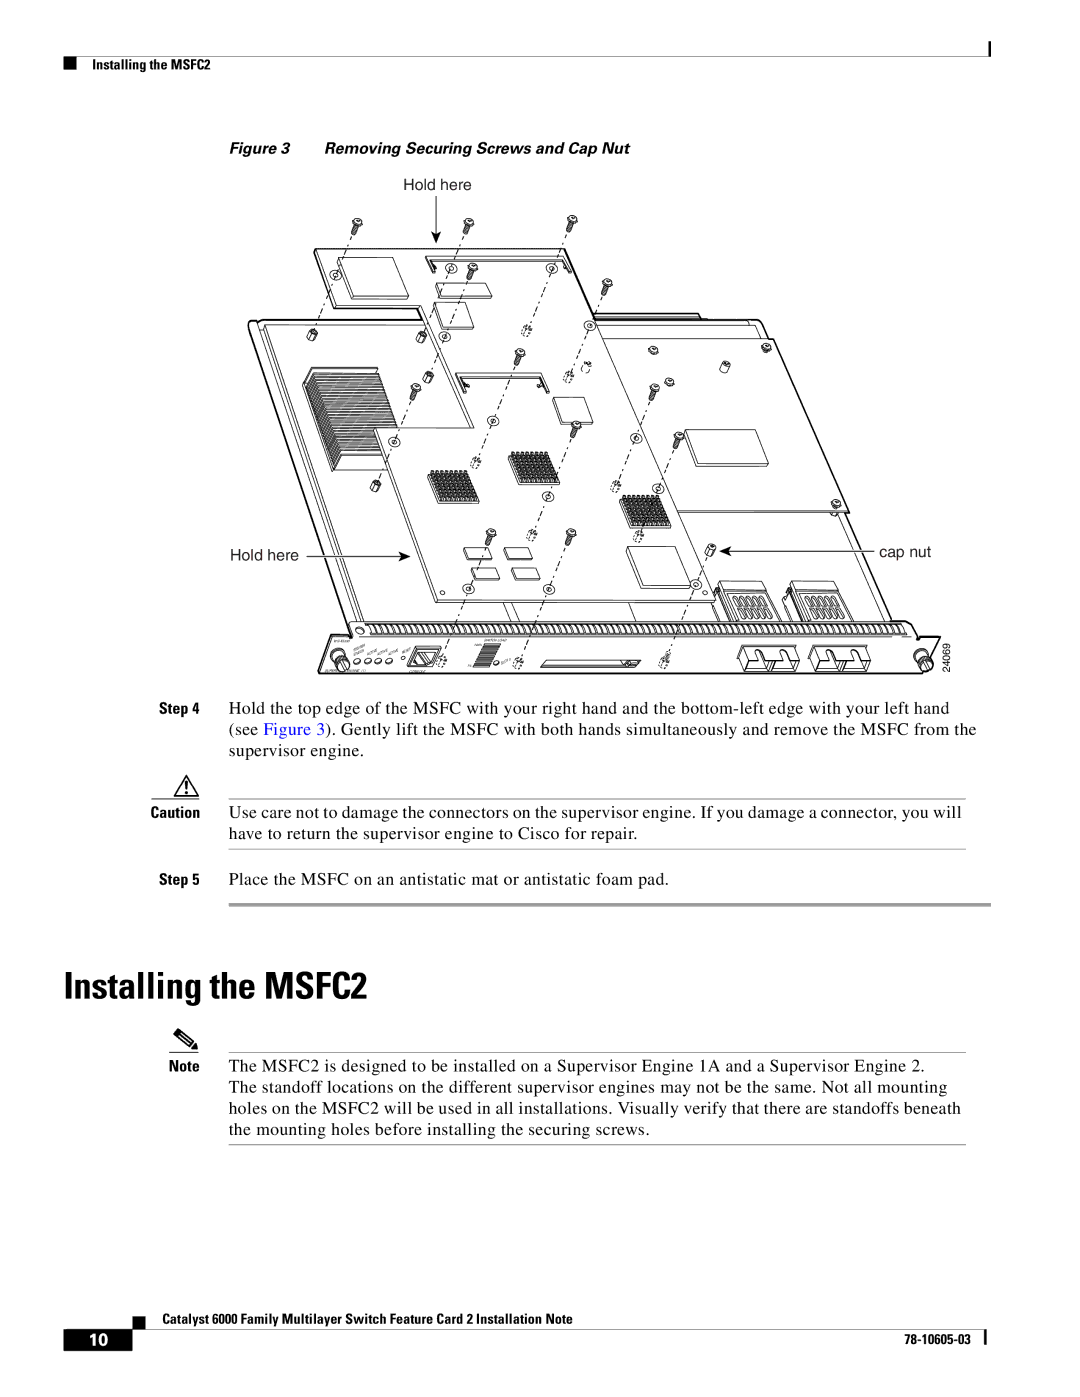
Cisco Systems WS-F6K-MSFC2, or Multi-layer Switch Feature Card 2, is an advanced component designed for use in Cisco's Catalyst 6500 series switches. This card serves a critical role in enabling advanced routing capabilities alongside traditional switching functions, making it an essential piece of network infrastructure for enterprise environments.One of the main features of the WS-F6K-MSFC2 is its support for a wide range of Layer 2 and Layer 3 protocols. This versatility allows organizations to efficiently manage both wired and wireless traffic, ensuring seamless communication across diverse networking environments. The card is designed to enhance the scalability of Cisco Catalyst switches by providing an effective means to handle high volumes of traffic, thereby supporting the growing needs of modern networks.
The WS-F6K-MSFC2 incorporates advanced technologies such as IP routing, Quality of Service (QoS), and Integrated Firewall capabilities. The IP routing feature supports routes and protocols such as OSPF, EIGRP, and BGP, facilitating robust interconnectivity within large networks. With QoS functionality, the card helps prioritize critical applications, ensuring that latency-sensitive traffic like voice and video receives the bandwidth it requires.
Additionally, the WS-F6K-MSFC2 supports Virtual Routing and Forwarding (VRF), which allows multiple virtual routing instances within a single router, thereby optimizing network resources and enhancing security. This technology is particularly beneficial for service providers and organizations that require separate data flow paths for different units.
The card is built with reliability in mind, supporting various redundancy and failover mechanisms, such as Hot Standby Router Protocol (HSRP) and redundancy protocols that ensure continuous operation even in the event of a hardware failure. Furthermore, the WS-F6K-MSFC2 is designed to integrate seamlessly with other Cisco networking components, providing a cohesive approach to network management and security.
In summary, the Cisco WS-F6K-MSFC2 Multi-layer Switch Feature Card 2 stands out due to its robust Layer 2 and Layer 3 functionality, advanced routing protocols, QoS, and redundancy features. It is highly regarded for its ability to enhance the performance and scalability of enterprise networks, making it a preferred choice for organizations looking to ensure efficient, reliable, and secure networking solutions. With its versatile capabilities, the WS-F6K-MSFC2 continues to be a vital asset in the ever-evolving landscape of networking technology.

