by one. The value of minute can be corrected in only the forward direction.)
2)Press the “Mode” switch then “Date” starts flashing. Press “SET” button to set the cor- rect date. (Each time the “Set” switch is pressed, the value of the date is increased by one. The value of hour can be corrected in only the forward direction.)
3)Press the “Mode” switch then “Hour” starts flashing. Press “SET” button to set the cor- rect date. (Each time the “Set” switch is pressed, the value of the Hour is increased by one. The value of hour can be corrected in only the forward direction.)
4)Press the “Mode” switch then “Minute” starts flashing. Press “SET” button to set the cor- rect Minute. (Each time the “Set” switch is pressed, the value of the minute is increased by one. The value of Minute can be corrected in
5)Press the mode switch to finish correction.
English
MEASUREMENT PROCEDURES
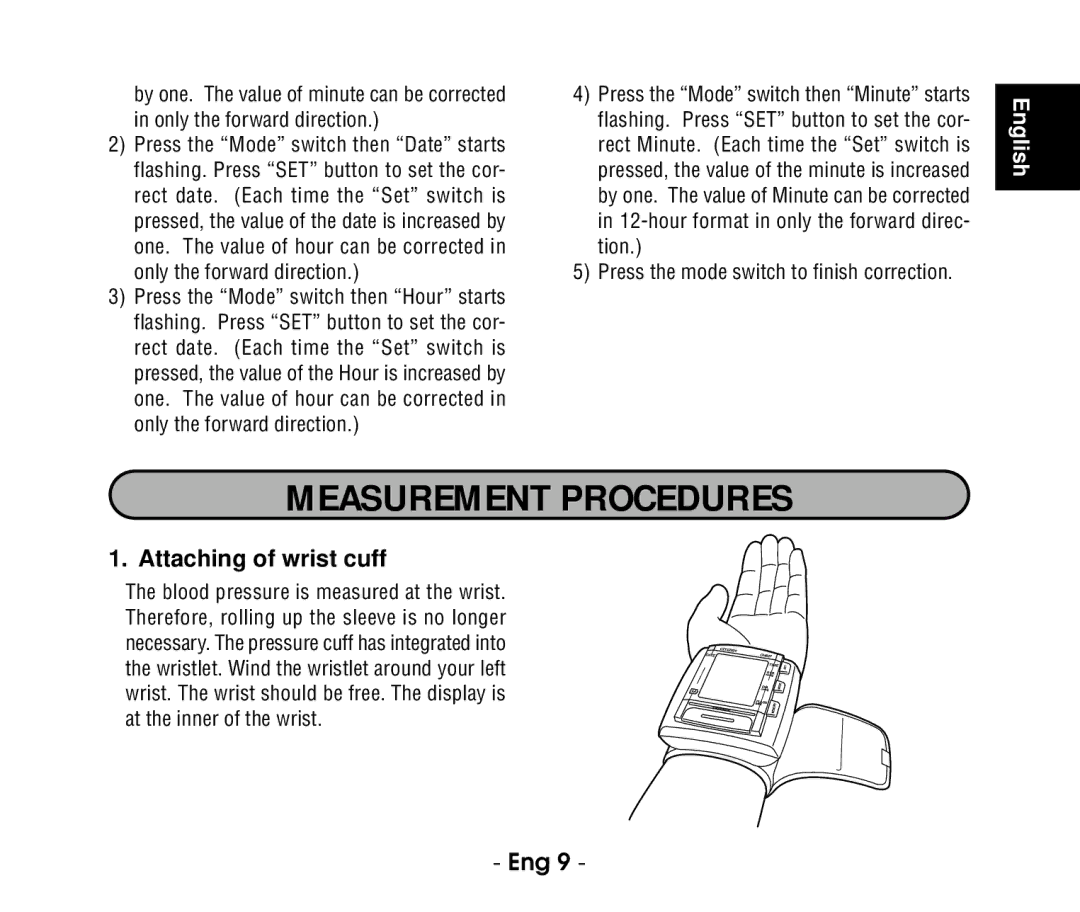
1. Attaching of wrist cuff
The blood pressure is measured at the wrist. Therefore, rolling up the sleeve is no longer necessary. The pressure cuff has integrated into the wristlet. Wind the wristlet around your left wrist. The wrist should be free. The display is at the inner of the wrist.
- Eng 9 -
