English
6 . INSTALLATION
Note: Do not attempt to install or service your player by yourself. Installation or servicing of the player by persons without training and experience in electronic equipment and automotive accessories may be dangerous and could expose you to the risk of electric shock or product failure.
Wiring and connections
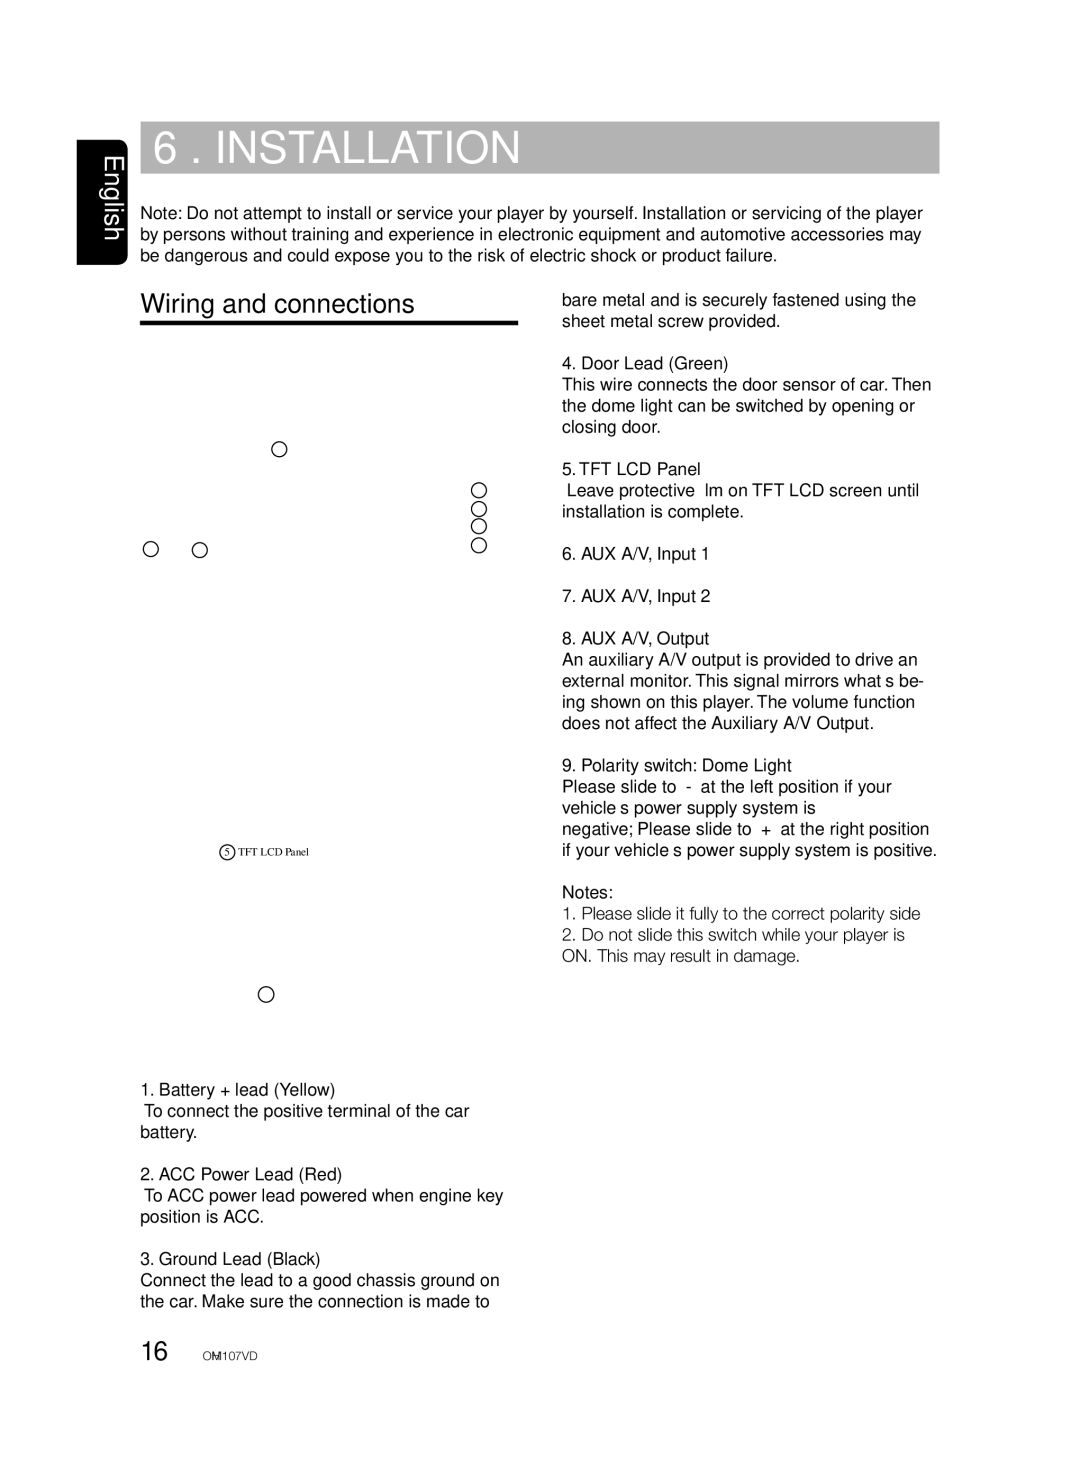
5 TFT LCD Panel
1. Battery + lead (Yellow)
To connect the positive terminal of the car battery.
2. ACC Power Lead (Red)
To ACC power lead powered when engine key position is ACC.
3. Ground Lead (Black)
Connect the lead to a good chassis ground on the car. Make sure the connection is made to
bare metal and is securely fastened using the sheet metal screw provided.
4. Door Lead (Green)
This wire connects the door sensor of car. Then the dome light can be switched by opening or closing door.
5. TFT LCD Panel
Leave protective film on TFT LCD screen until installation is complete.
6.AUX A/V, Input 1
7.AUX A/V, Input 2
8.AUX A/V, Output
An auxiliary A/V output is provided to drive an external monitor. This signal mirrors what’s be- ing shown on this player. The volume function does not affect the Auxiliary A/V Output.
9. Polarity switch: Dome Light
Please slide to
negative; Please slide to “+” at the right position if your vehicle’s power supply system is positive.
Notes:
1.Please slide it fully to the correct polarity side
2.Do not slide this switch while your player is ON. This may result in damage.
16 OHM107VD