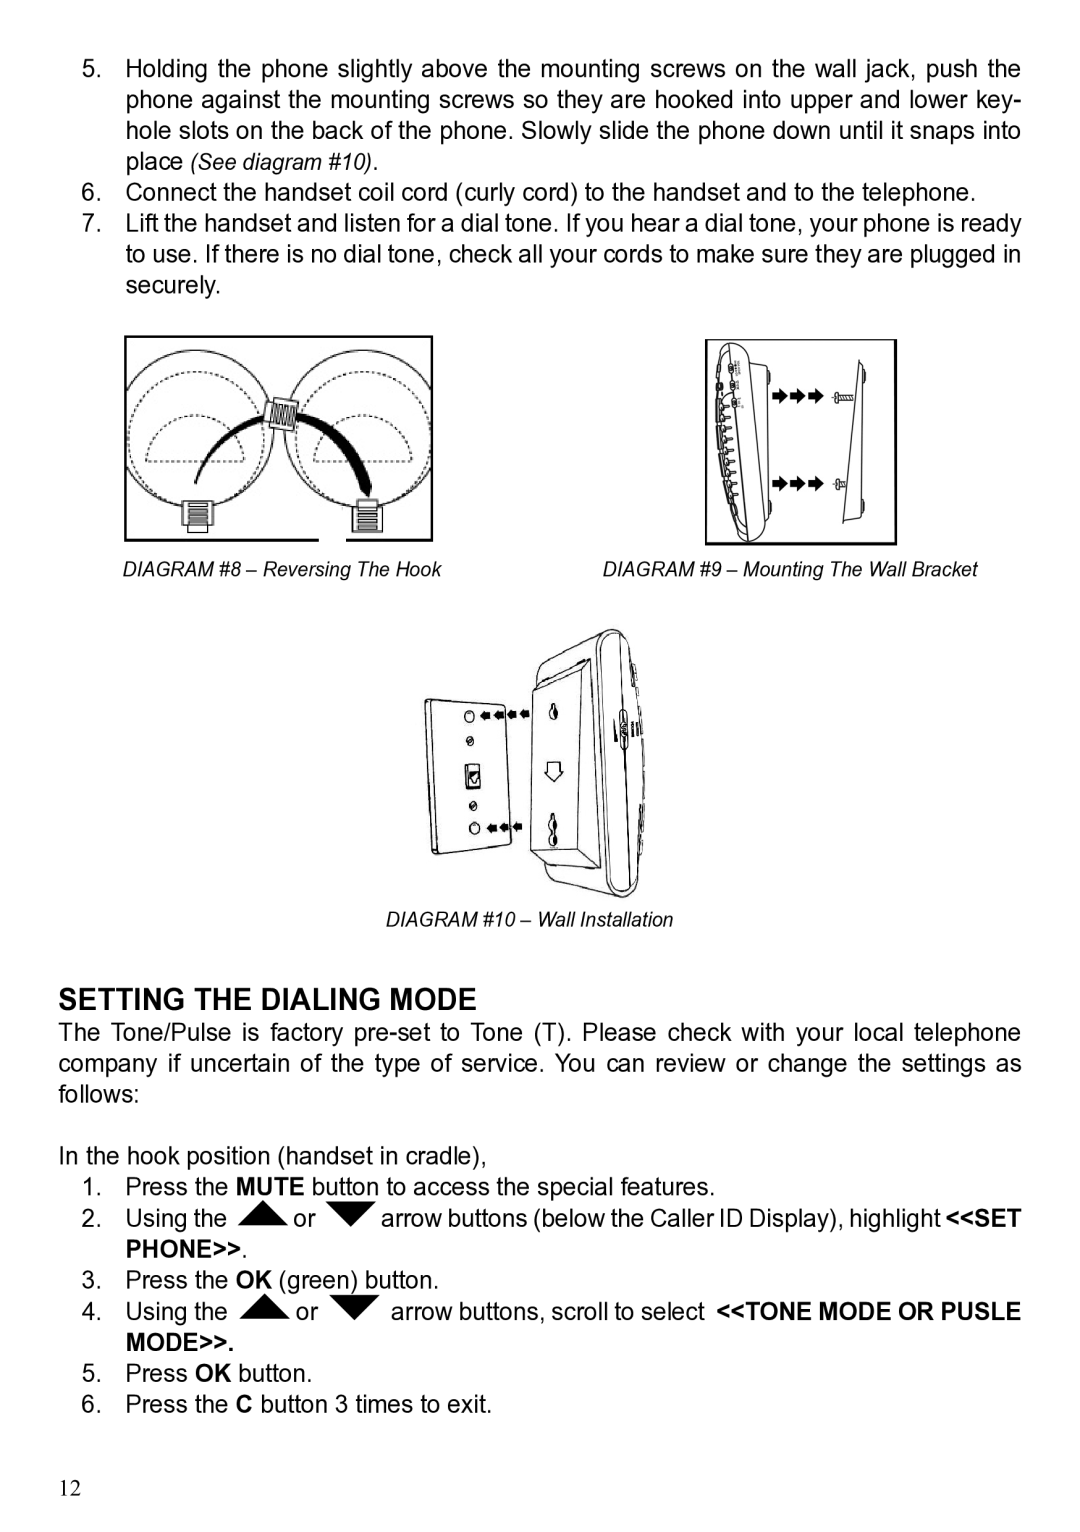
5.Holding the phone slightly above the mounting screws on the wall jack, push the phone against the mounting screws so they are hooked into upper and lower key- hole slots on the back of the phone. Slowly slide the phone down until it snaps into place (See diagram #10).
6.Connect the handset coil cord (curly cord) to the handset and to the telephone.
7.Lift the handset and listen for a dial tone. If you hear a dial tone, your phone is ready to use. If there is no dial tone, check all your cords to make sure they are plugged in securely.
DIAGRAM #8 – Reversing The Hook | DIAGRAM #9 – Mounting The Wall Bracket |
DIAGRAM #10 – Wall Installation
SETTING THE DIALING MODE
The Tone/Pulse is factory
In the hook position (handset in cradle),
1. | Press the MUTE button to access the special features. | ||
2. | Using the | or | arrow buttons (below the Caller ID Display), highlight <<SET |
| PHONE>>. |
|
|
3. | Press the OK (green) button. | ||
4. | Using the | or | arrow buttons, scroll to select <<TONE MODE OR PUSLE |
| MODE>>. |
|
|
5.Press OK button.
6.Press the C button 3 times to exit.
12
