Getting Started
2.3.1. Electrical*
A
2.3.2. Plumbing*
The water supply connection is made with a ½” hot water line to the water supply inlet on the top of the machine. The water supplied to the machine must be a minimum of 140° F for the CMA- 44L and a minimum of 180° F for the
NOTE: The High Temp machine
There are two 2” drain connections to be made. One connection is made at either end of the horizontal drainpipe coming from the wash tank and the other connection is made at the scrap tray drain. (Instructions for installing the scrap tray assembly are provided in section 2.3.4 Scrap Tray Assembly and Overflow Chute Installation.) One of the ends of the horizontal drainpipe has a cap on it – simply move the cap to the other end if it’s currently on the end needed for the drain connection.
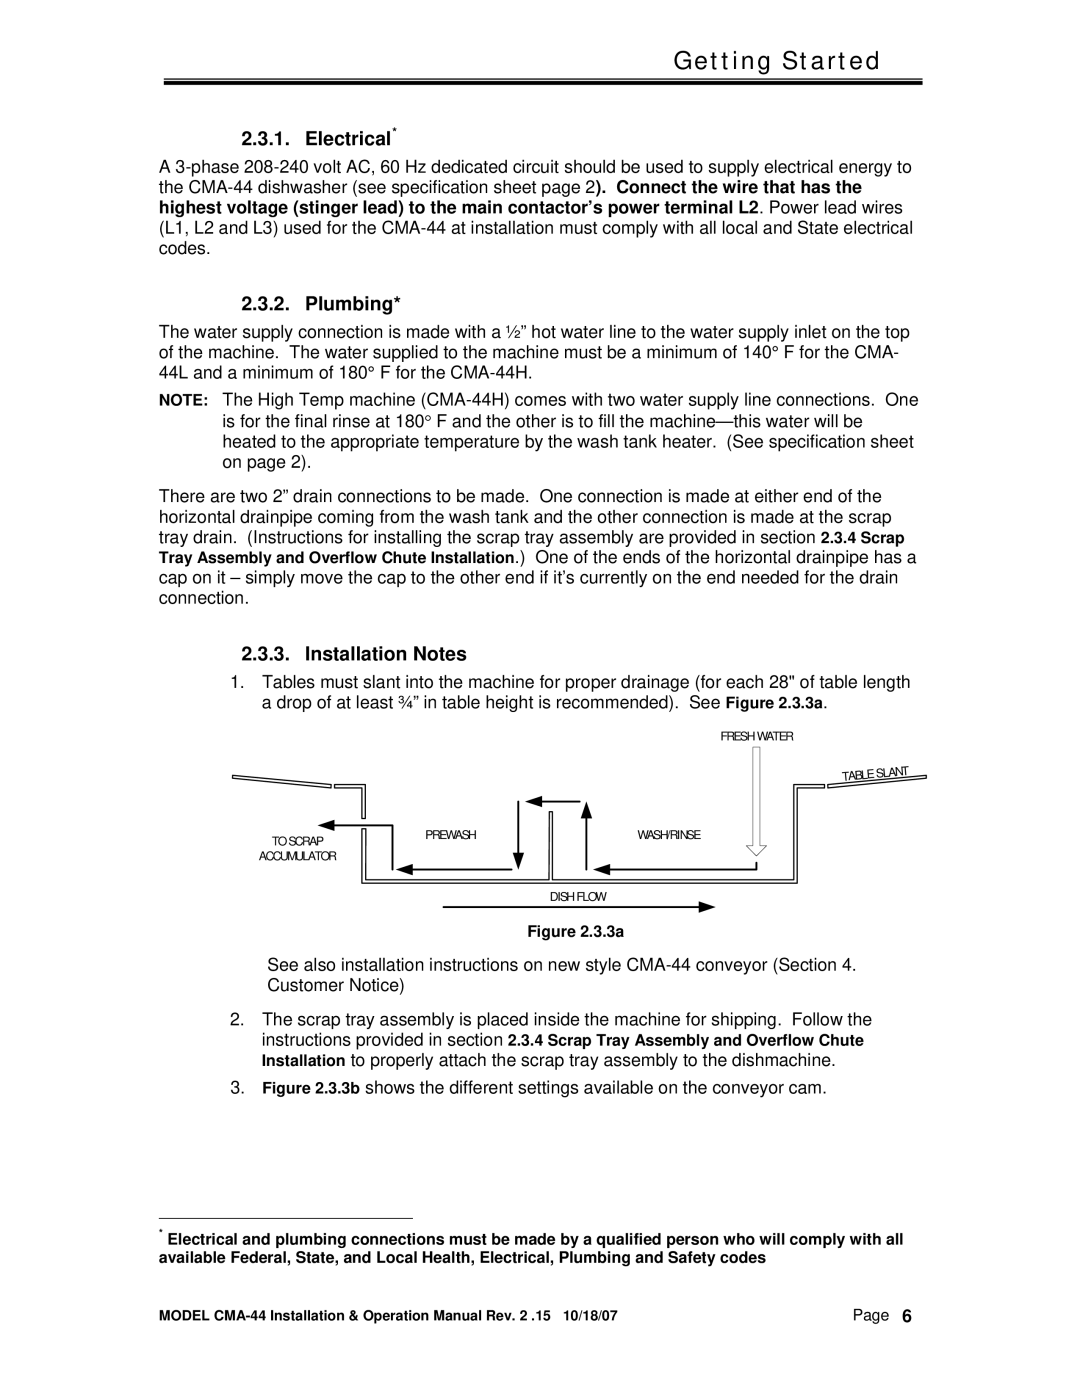
2.3.3. Installation Notes
1.Tables must slant into the machine for proper drainage (for a drop of at least ¾” in table height is recommended). See
each 28" of table length Figure 2.3.3a.
FRESH WATER
TO SCRAP
ACCUMULATOR
PREWASH
WASH/RINSE
DISH FLOW
Figure 2.3.3a
See also installation instructions on new style
2.The scrap tray assembly is placed inside the machine for shipping. Follow the instructions provided in section 2.3.4 Scrap Tray Assembly and Overflow Chute Installation to properly attach the scrap tray assembly to the dishmachine.
3.Figure 2.3.3b shows the different settings available on the conveyor cam.
*Electrical and plumbing connections must be made by a qualified person who will comply with all available Federal, State, and Local Health, Electrical, Plumbing and Safety codes
MODEL | Page 6 |