
9947A726 specifications
The Coleman 9947A726 is a portable propane gas grill that combines practicality, performance, and innovative design, making it an ideal choice for outdoor cooking enthusiasts. Whether you’re tailgating, camping, or simply enjoying a picnic in the park, this grill brings the flavor and convenience of grilling to any outdoor setting.One of the standout features of the Coleman 9947A726 is its compact and lightweight design. Weighing just around 24 pounds, this grill is easy to transport and store. Its folding design allows for quick setup and takedown, making it an ideal companion for those who love to cook on the go. The grill is designed with sturdy legs that provide stability on various surfaces, ensuring a reliable cooking experience.
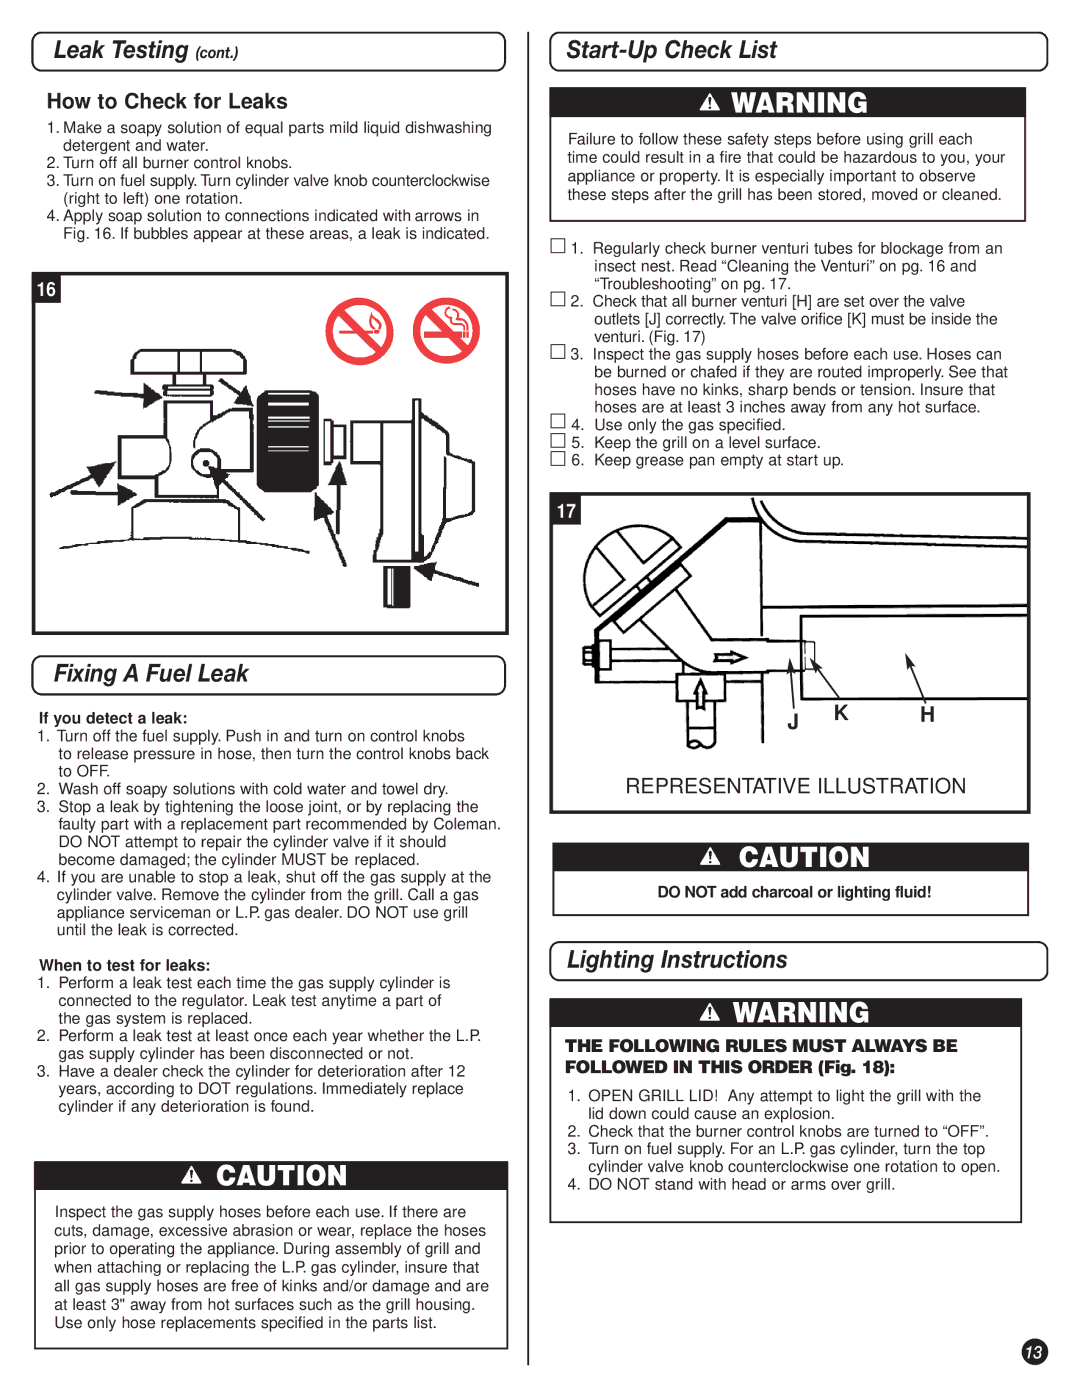
The cooking area is spacious, offering a total cooking surface of 285 square inches, which is enough to grill meals for several people at once. The grill features dual adjustable burners, allowing for precise temperature control and the flexibility to cook different types of food simultaneously. From burgers to vegetables, the Coleman 9947A726 can handle a variety of cooking styles, making it a versatile addition to any outdoor cooking arsenal.
Equipped with the innovative PerfectFlow pressure control system, this grill provides consistent heat output, ensuring that your food cooks evenly every time. The integrated wind-blocking plates help to shield the flames from wind, maintaining the grill's performance even on breezy days.
User-friendly operation is at the forefront of the Coleman 9947A726 design. The grill ignites with a simple push-button ignition, eliminating the need for matches or lighters. This feature enhances safety and convenience, allowing you to start grilling quickly and effortlessly.
Cleaning is made easy with the removable grease tray that catches drippings, reducing mess and simplifying maintenance. The durable porcelain-coated grate also adds to the grill's longevity, helping it withstand the rigors of outdoor cooking.
Overall, the Coleman 9947A726 is a reliable and efficient propane grill that caters to outdoor cooking enthusiasts. Its thoughtful design, versatile cooking capabilities, and ease of use make it a standout option for anyone looking to enjoy flavorful grilled dishes outdoors.