Windows Only
Using ArcSoft PhotoImpression (PC Mode)
1.Set the camera to PC Driver mode.
2.Connect the camera to the computer.
3.Launch ArcSoft PhotoImpression software by clicking on Start-
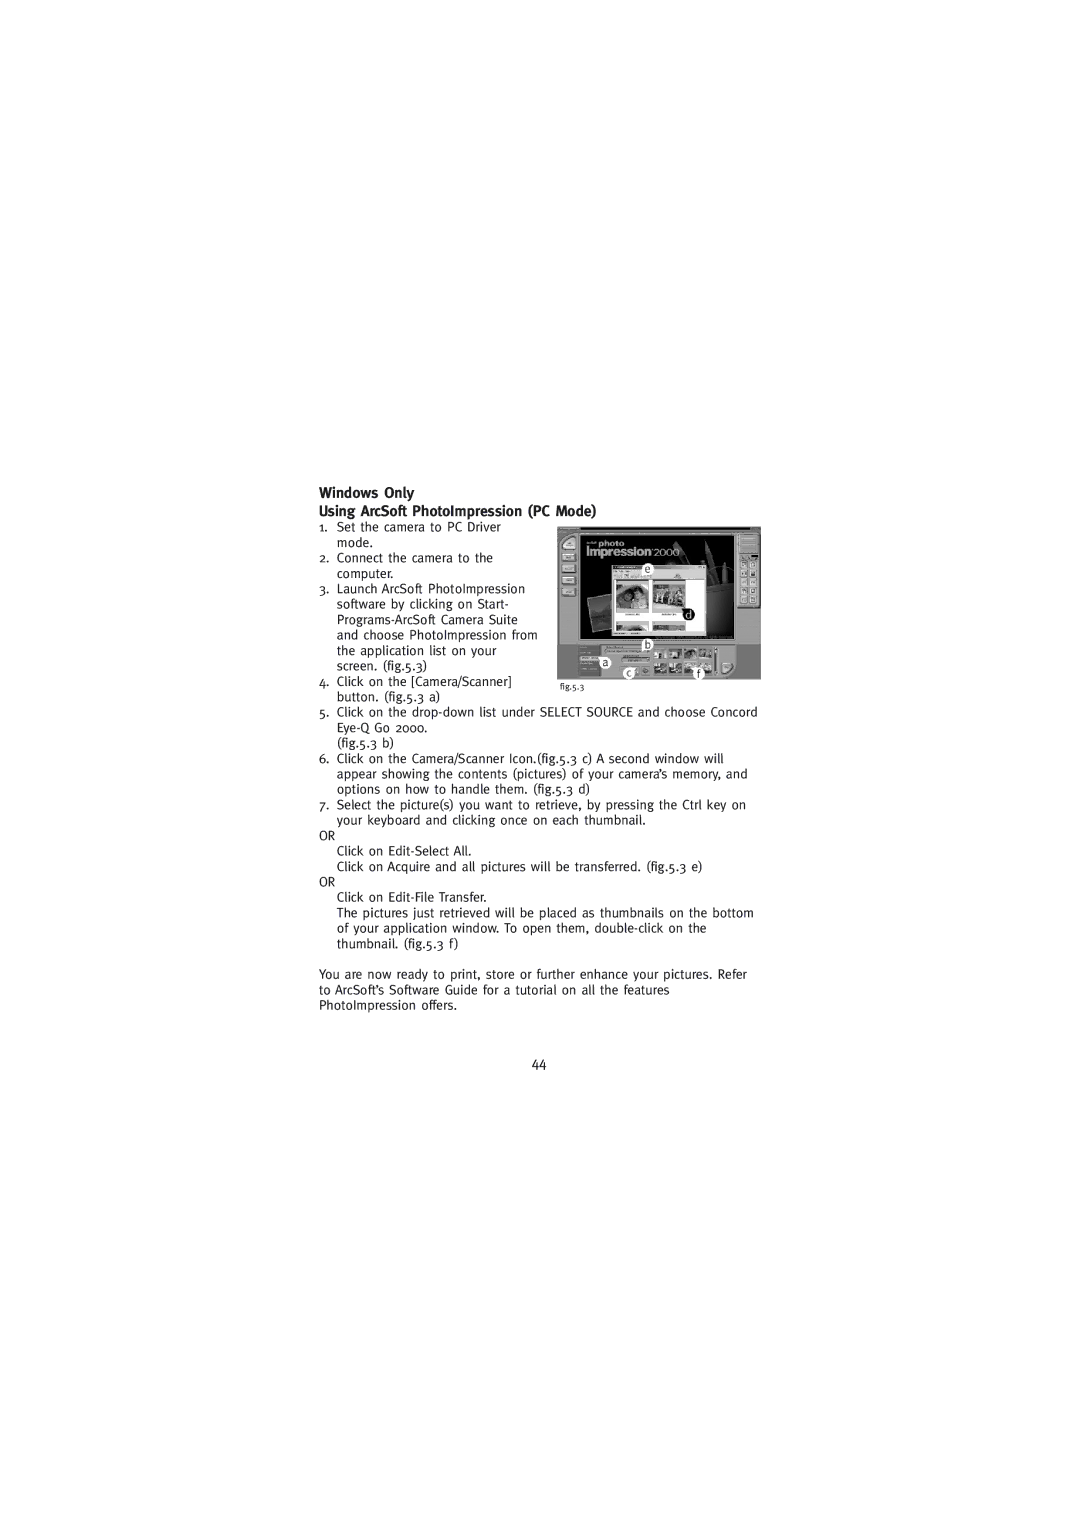
4. Click on the [Camera/Scanner] | fig.5.3 | |
button. (fig.5.3 a) | ||
|
5.Click on the
(fig.5.3 b)
6.Click on the Camera/Scanner Icon.(fig.5.3 c) A second window will appear showing the contents (pictures) of your camera’s memory, and options on how to handle them. (fig.5.3 d)
7.Select the picture(s) you want to retrieve, by pressing the Ctrl key on your keyboard and clicking once on each thumbnail.
OR
Click on
Click on Acquire and all pictures will be transferred. (fig.5.3 e)
OR
Click on
The pictures just retrieved will be placed as thumbnails on the bottom of your application window. To open them,
You are now ready to print, store or further enhance your pictures. Refer to ArcSoft’s Software Guide for a tutorial on all the features PhotoImpression offers.
44