MD42FLW_FLB
•Fixture should be installed by persons with experience in household wiring or by a qualified electrician. The electrical system, and method of electrically connecting the fixture to it, must be in accordance with the National Electrical Code and local building codes.
•Always use same wattage and type of bulb that was included with the fixture. Failure to do so will void the warranty.
Putting up your fixture
Note: This fixture is intended to be installed either on a standard lampholder mounting plate, or with conduit, connected to a properly installed and properly grounded metal weatherproof junction box (not included). All coverplates, conduit connections, conduit, and junction boxes (not included) should be Listed suitable for wet locations.
Mounting to wall or post:
Step 1: Using the pattern on the box, mark and drill holes for mounting.
Note: This fixture should be mounted in an upright position.
Step 2:
Step 3:
Step 4:
Step 5:
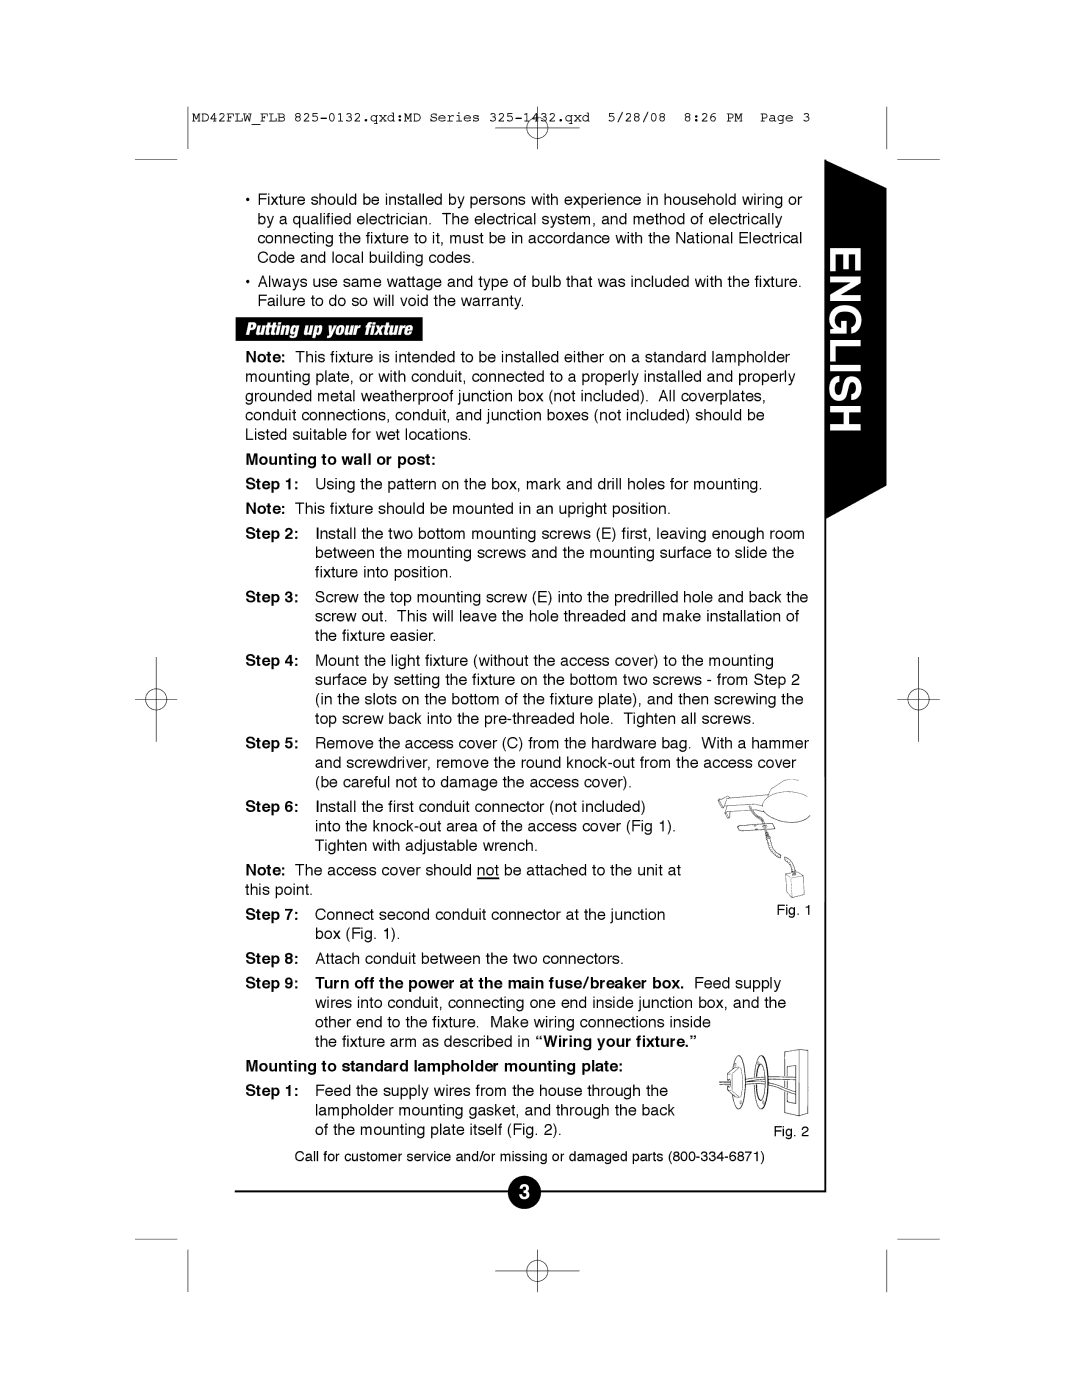
Step 6: Install the first conduit connector (not included) into the
Note: The access cover should not be attached to the unit at |
|
this point. | Fig. 1 |
Step 7: Connect second conduit connector at the junction | |
box (Fig. 1). |
|
Step 8: Attach conduit between the two connectors.
Step 9: Turn off the power at the main fuse/breaker box. Feed supply
wires into conduit, connecting one end inside junction box, and the other end to the fixture. Make wiring connections inside
the fixture arm as described in “Wiring your fixture.”
Mounting to standard lampholder mounting plate: |
|
Step 1: Feed the supply wires from the house through the |
|
lampholder mounting gasket, and through the back |
|
of the mounting plate itself (Fig. 2). | Fig. 2 |
Call for customer service and/or missing or damaged parts
ENGLISH
3