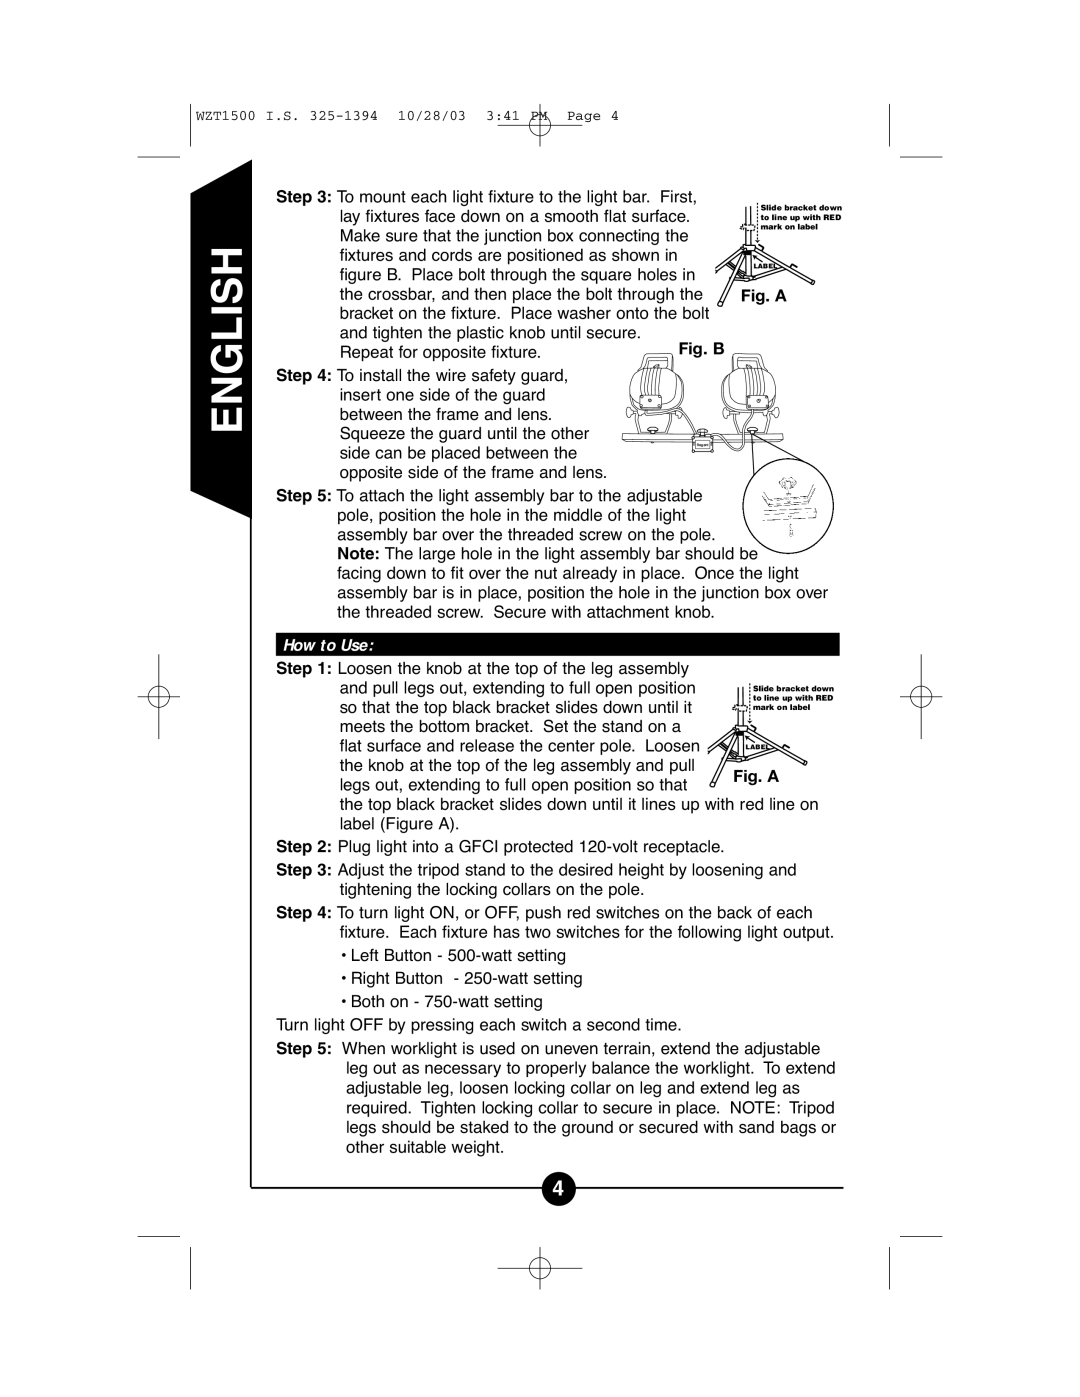
WZT1500 specifications
Cooper Lighting's WZT1500 is a cutting-edge lighting solution that combines performance, energy efficiency, and versatility, making it an ideal choice for various commercial and industrial applications. This luminaire is designed to deliver high-quality illumination while ensuring ease of installation and maintenance, which makes it particularly appealing for facility managers and lighting designers alike.One of the standout features of the WZT1500 is its impressive lumen output. It provides bright and uniform light, making it suitable for large open areas such as warehouses, gymnasiums, and production floors. The high lumen efficacy not only enhances visibility but also contributes to reduced energy consumption, thus lowering overall operational costs.
The WZT1500 is built with advanced LED technology, which offers a long lifespan and minimizes the need for frequent replacements. This reliability is crucial in environments that rely on consistent and efficient lighting. Additionally, LED fixtures like the WZT1500 produce less heat compared to traditional lighting systems, which helps maintain a comfortable and safe atmosphere in enclosed spaces.
An important characteristic of the WZT1500 is its versatility. It features various mounting options, making it adaptable to a range of installation requirements. Whether it's suspended, surface-mounted, or even wall-mounted, the WZT1500 can be configured to meet specific lighting needs, ensuring optimal performance in different environments.
Moreover, the WZT1500 incorporates smart lighting technologies, including motion sensors and dimming capabilities. These features enhance energy efficiency significantly, as lighting levels can be adjusted based on occupancy, thereby further reducing energy costs.
In terms of construction, the WZT1500 boasts a durable design that can withstand the rigors of industrial settings. It features robust materials and an IP rating that ensures protection against dust and water, enhancing its suitability for harsh environments.
To sum up, the Cooper Lighting WZT1500 is a versatile, efficient, and durable lighting solution that excels in delivering high-quality illumination for commercial and industrial applications. With its advanced features, including high lumen output, long lifespan, and smart technology capabilities, the WZT1500 is an excellent investment for any facility looking to improve its lighting solutions while saving on energy costs and maintenance efforts.

