113.244513 specifications
The Craftsman 113.244513 is a versatile and powerful table saw designed to cater to both amateur woodworkers and seasoned professionals. With its impressive combination of features, technologies, and practical characteristics, it stands out in the market for home woodworking projects.At the heart of the Craftsman 113.244513 is a robust 1.5 HP motor that ensures smooth and efficient operation. This powerful motor allows the saw to handle various materials, from soft pine to harder hardwoods, with ease. Its ability to sustain high-speed performance even during tough cuts not only enhances productivity but also provides users with confidence in achieving precise results.
One of the key features of this table saw is its precision-engineered cast iron table surface. This provides an exceptionally flat and stable platform for cutting, which is critical for achieving accurate measurements. The table’s ample working area allows for larger workpieces, making it ideal for cabinet making, furniture construction, and other demanding tasks.
The Craftsman 113.244513 includes a reliable and adjustable fence system. This easy-to-use fence ensures that users can make straight cuts consistently, thanks to its locking mechanism that reduces the chance of any movement during operation. Additionally, the saw features a miter gauge for angled cuts, allowing for greater versatility in woodworking projects.
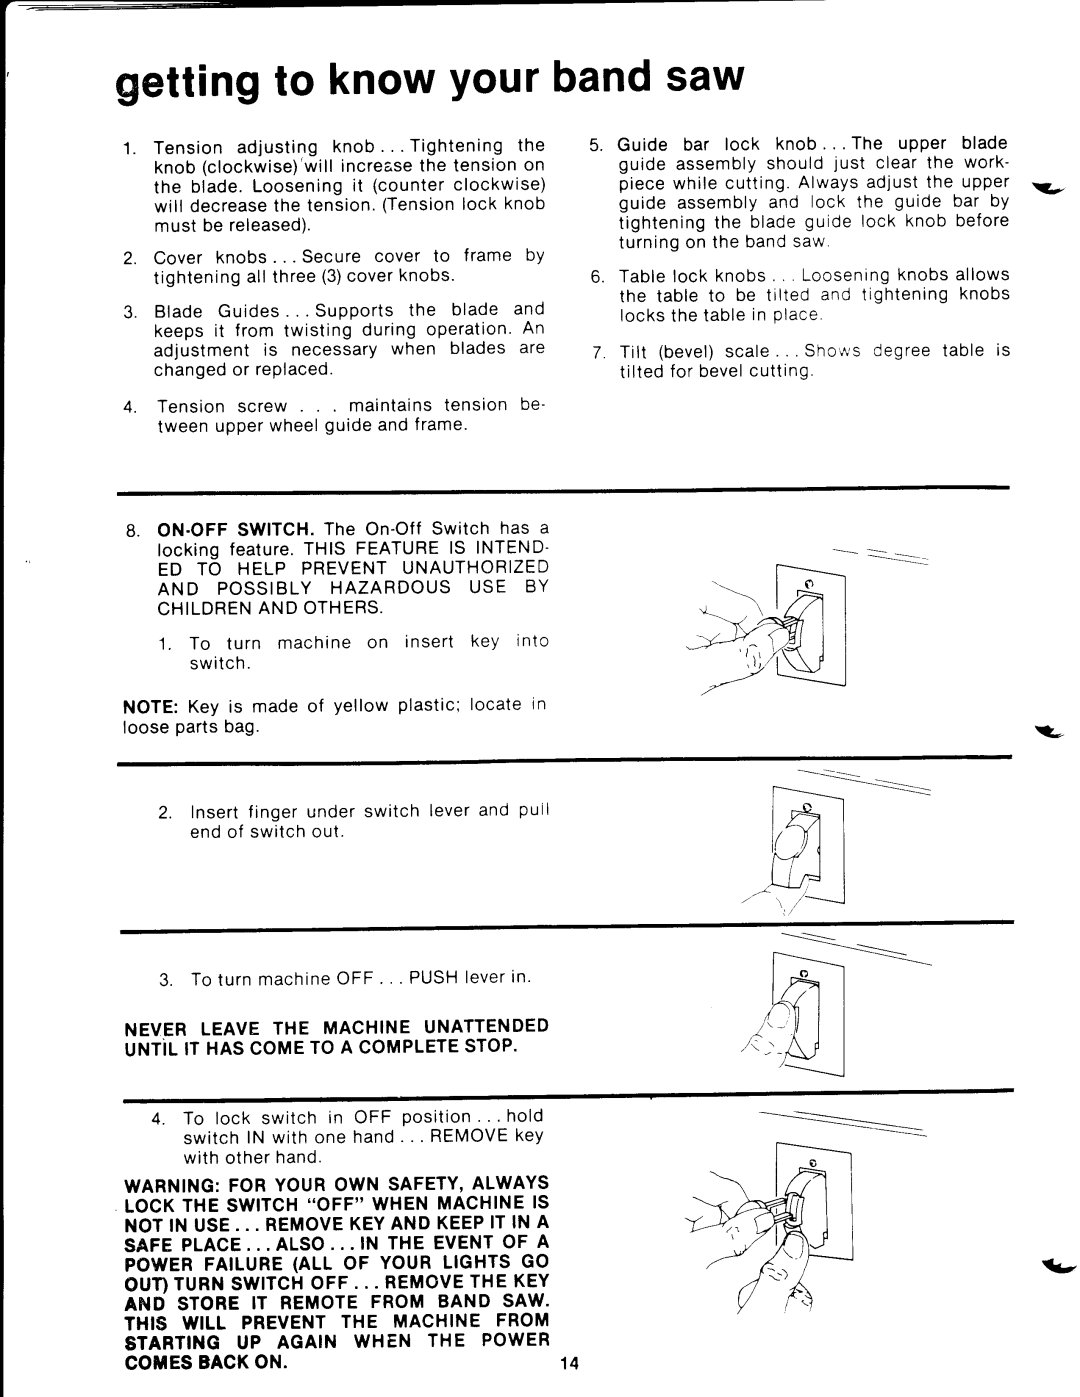
Safety is paramount with the Craftsman 113.244513, as it is designed with various safety features to protect users while operating the saw. A blade guard covers the saw blade during use, while a push stick is included to help users safely maneuver smaller pieces of wood without risking injury. The saw also features a power switch that is conveniently placed for quick access, facilitating immediate shut-off when needed.
Another noteworthy characteristic of the Craftsman 113.244513 is its portability. While it is a robust table saw, it is equipped with wheels and a foldable stand, making it easy to move and store when not in use. This feature is particularly beneficial for woodworkers who may work in different locations or have limited storage space.
In summary, the Craftsman 113.244513 table saw is a well-rounded tool that offers outstanding performance, precision, and safety features. With its powerful motor, durable construction, easy-to-use adjustments, and focus on safety, it is an excellent choice for anyone looking to enhance their woodworking capabilities. Whether for hobbyist or professional use, this table saw promises reliable results in various woodworking applications.

