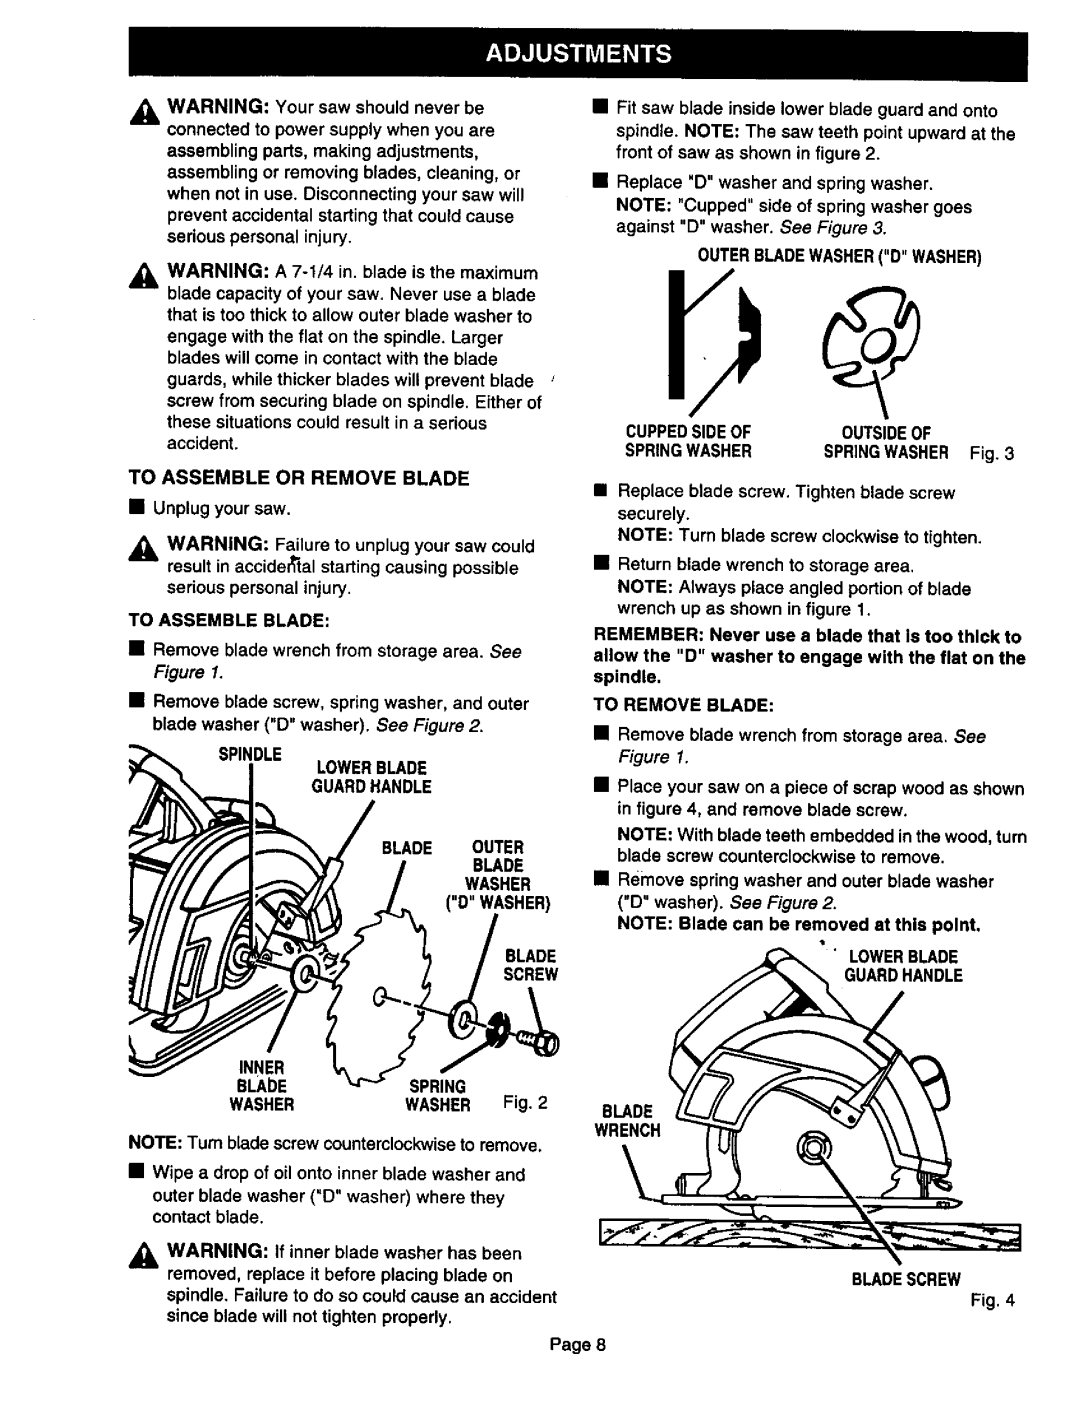
315.10833, 315.10834 specifications
The Craftsman 315.10834 and 315.10833 are powerful and versatile tools designed for both professionals and DIY enthusiasts alike. Engineered with a focus on performance and ease of use, these models showcase the reliability that Craftsman is known for in the power tool industry.One of the standout features of the Craftsman 315.10834 is its robust 15-amp motor, offering ample power to tackle various tasks, from simple home repairs to more demanding projects. Its variable speed control allows users to adjust the RPMs, ensuring optimal performance on a wide range of materials. This flexibility makes it suitable for an array of applications, whether you're drilling through wood, metal, or plastic.
The Craftsman 315.10833 complements its counterpart with an equally impressive set of features. This tool includes a high-torque motor designed to deliver maximum power without compromising on performance. Its dual-speed settings offer enhanced control when working on different tasks, enhancing user experience and allowing greater precision in every application.
Both models include an ergonomic design that enhances comfort during extended use. The soft-grip handle reduces vibration and provides a firm grip, allowing for improved accuracy and reduced fatigue. The tools are also designed to be lightweight, making them easier to handle and maneuver in tight spaces or at awkward angles.
In terms of safety, the Craftsman 315.10834 and 315.10833 come equipped with built-in safety features such as a trigger lock, which prevents accidental starts and ensures added security during operation. The durable housing protects the internal components, ensuring longevity and resilience, even in demanding conditions.
These Craftsman models also prioritize ease of use with quick-change chuck systems that allow for rapid bit swaps without the need for additional tools. This feature significantly enhances productivity, especially during multi-tasking scenarios.
The technologies integrated into both tools reflect a commitment to innovation. Their powerful motors are complemented by cooling systems designed to prevent overheating, allowing for sustained use without compromising performance. Furthermore, the compatibility with a wide range of accessories makes them a versatile addition to any tool collection.
In summary, the Craftsman 315.10834 and 315.10833 are distinguished by their powerful motors, ergonomic designs, safety features, and versatility. Ideal for both hobbyists and professionals, these tools not only make tasks easier but also elevate the overall quality of the work performed. Whether you are drilling, driving, or mixing, these Craftsman tools stand ready to meet your needs with efficiency and reliability.

