
917.271554 specifications
The Craftsman 917.271554 is a reliable and efficient lawn tractor designed to meet the needs of homeowners looking for a sturdy, user-friendly, and durable machine for lawn care. This model is particularly well-regarded for its combination of performance, comfort, and advanced features, making it a popular choice among casual gardeners and landscaping enthusiasts alike.One of the standout characteristics of the Craftsman 917.271554 is its powerful engine. Featuring a 20 HP Kohler engine, this lawn tractor delivers the torque and reliability required for tackling various mowing tasks. The engine provides ample power for a variety of terrains, ensuring a consistent and clean cut across your lawn. Its reliable starting system also guarantees that the tractor is ready to go whenever you are, minimizing downtime and maximizing efficiency.
The Craftsman 917.271554 incorporates a wide 42-inch cutting deck, allowing users to cover more ground in fewer passes. The deck is adjustable with multiple cutting heights, providing versatility for different grass types and seasonal conditions. Users can easily switch between heights with a simple lever, ensuring optimal cutting performance throughout the year.
Another notable feature is the hydrostatic transmission, which allows for smooth and effortless speed adjustments. This technology enhances the overall driving experience, enabling users to control their mowing speed effectively without the hassle of shifting gears. This characteristic is especially beneficial when navigating around yard obstacles or mowing in tight spaces.
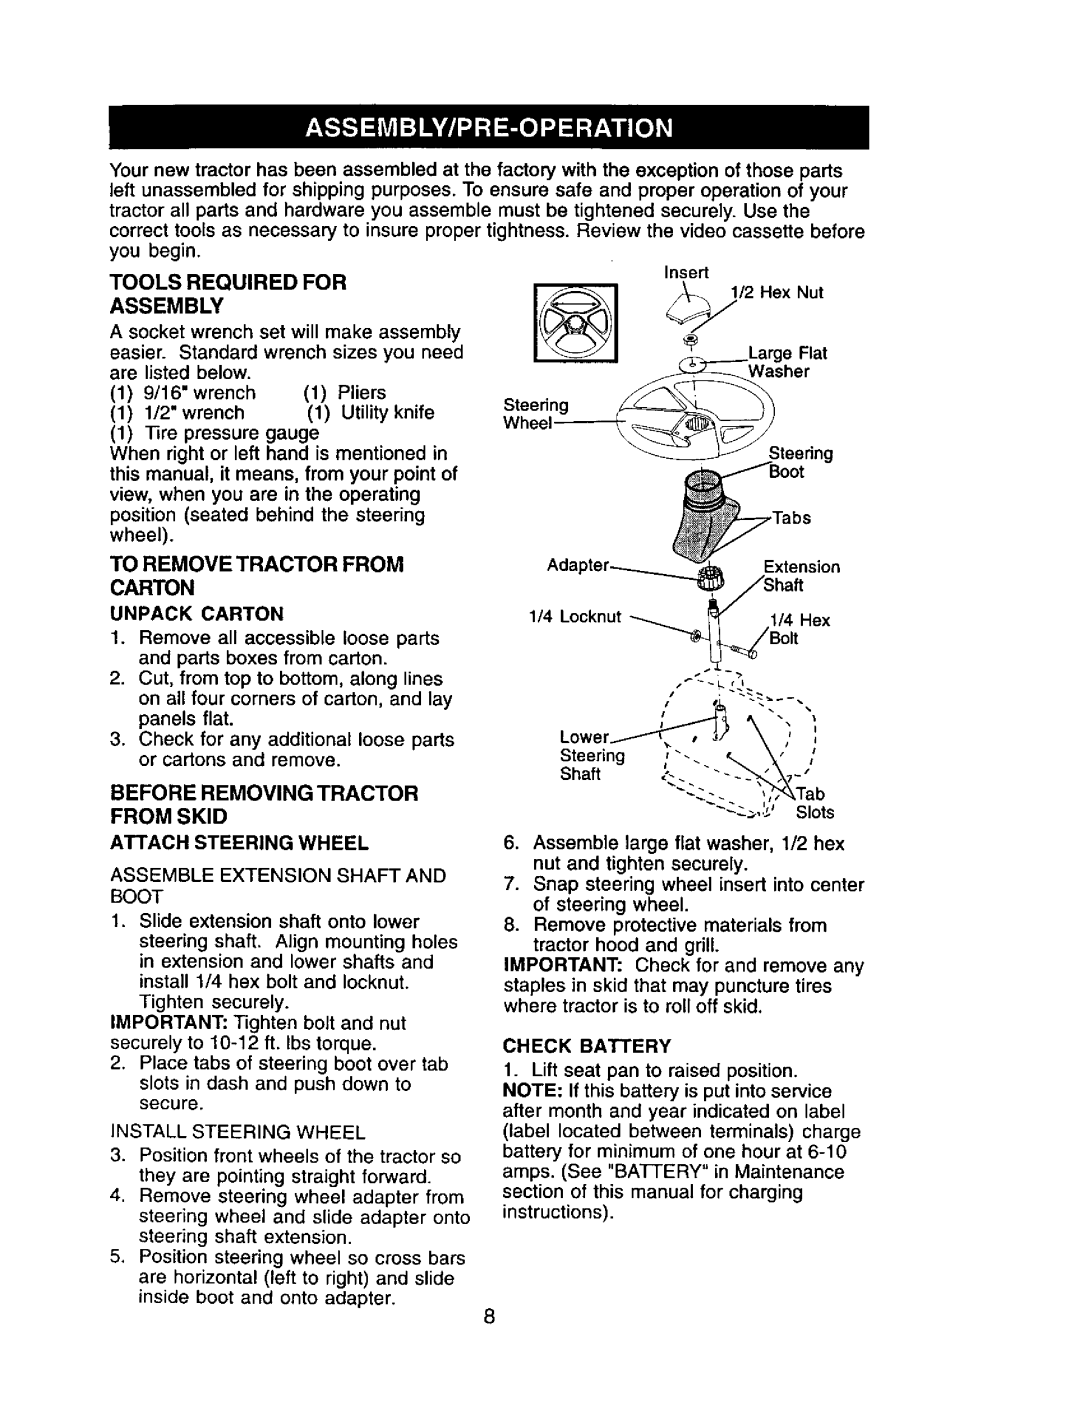
Comfort is a priority in the Craftsman 917.271554 design. It boasts a high-back seat cushioned for support during extended mowing sessions, and the ergonomically designed controls allow users to operate the machine with ease. The design includes a tilt steering wheel, providing additional comfort for users of varying heights.
Further enhancing its capability, the Craftsman 917.271554 is equipped for versatility. It has optional attachments such as baggers, mulchers, and snow plows, allowing it to be used for tasks beyond mowing. This adaptability makes it a valuable investment for homeowners who seek a multi-functional machine.
In conclusion, the Craftsman 917.271554 lawn tractor combines power, efficiency, and comfort, making it an excellent choice for homeowners who want a dependable and versatile lawn care solution. With its robust engine, adjustable cutting deck, hydrostatic transmission, and various attachments, this model stands out as a top contender in the realm of residential lawn tractors.