Installing Hardware
Step 1:
Prepare the System for Hardware Installation
To install your Live! Drive IR, you need to perform the following:
❑Step 1: Prepare the System for Hardware Installation
❑Step 2: Insert the Live! Drive IR into the System
❑Step 3: Connect to the SB Live! Card
❑Step 4: (Optional) Install the Digital DIN Metal Bracket (To connect to FPS2000, DTT2500 or DTT3500 digital speakers)
❑Step 5: (Optional) Connect to the Digital I/O Card (Only if you have one)
❑Step 6: Complete the Installation
1. Switch off your system and all peripheral devices.
2. Touch a metal plate on your system to ground yourself and to discharge any static electricity, and then unplug the power cord from the wall outlet.
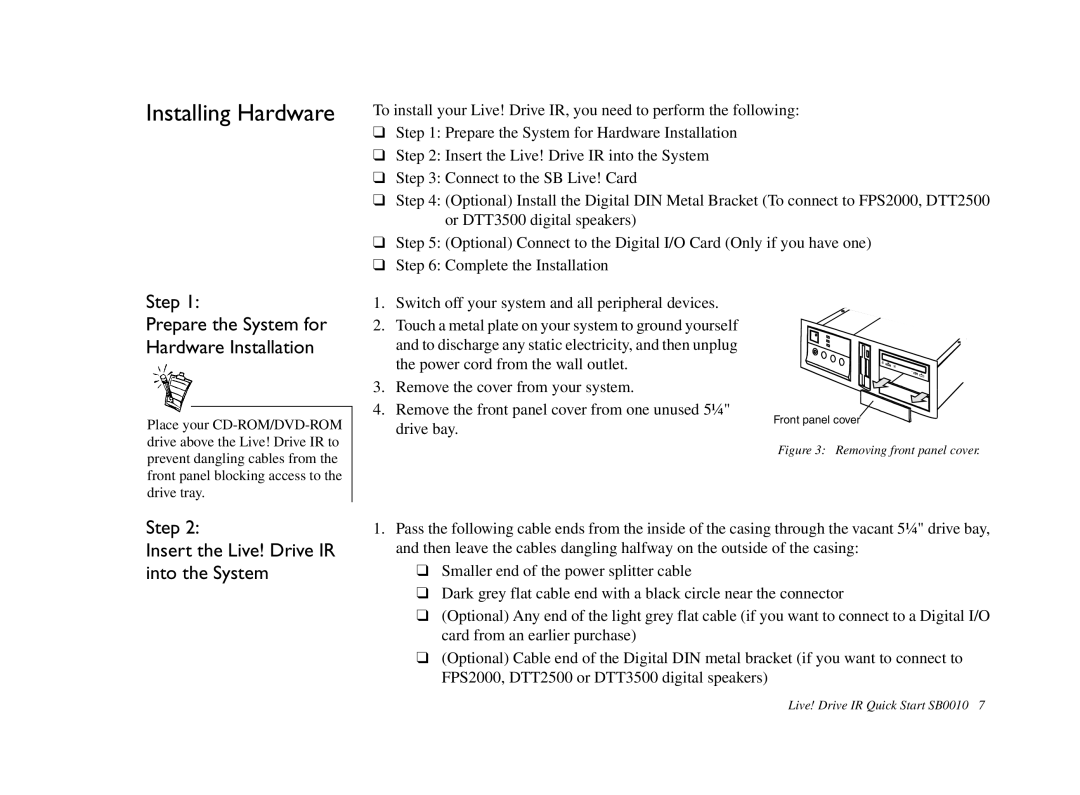
3. Remove the cover from your system.
4. Remove the front panel cover from one unused 5¼"
Place your
drive bay.
Front panel cover
Figure 3: Removing front panel cover.
Step 2:
Insert the Live! Drive IR into the System
1.Pass the following cable ends from the inside of the casing through the vacant 5¼" drive bay, and then leave the cables dangling halfway on the outside of the casing:
❑Smaller end of the power splitter cable
❑Dark grey flat cable end with a black circle near the connector
❑(Optional) Any end of the light grey flat cable (if you want to connect to a Digital I/O card from an earlier purchase)
❑(Optional) Cable end of the Digital DIN metal bracket (if you want to connect to FPS2000, DTT2500 or DTT3500 digital speakers)
Live! Drive IR Quick Start SB0010 7