Care and Cleaning
| Clean the cooker regularly and wipe up spills soon after they occur |
| to prevent them from becoming burnt on. Never use biological |
| washing powder, caustic cleaners, harsh abrasives, scouring pads, |
| aerosol cleaners or oven chemical cleaners of any kind. |
| To move the cooker forward, open the grill door and with both hands |
| positioned under the roof of the compartment, lift and pull forward. |
| Replace by pushing the cooker backwards. Check that the cooker is |
| level. Take care to ensure that any floor covering is not damaged. |
| Do not attempt to lift the product using the grill door or grill door han- |
| dle. |
Main Oven Heat | The main oven side linings are coated with a special enamel which has a |
Clean Linings | continuous cleaning action. The higher the oven |
| temperature the more effective the action. In most cases this cleaning |
| operation will proceed during normal cooking. However, if roasting is |
| done frequently, or high temperatures are not used regularly, it may be |
| necessary to run the oven empty at Mark 8 for about two hours. |
| If desirable, they can be washed with warm soapy water followed by a |
| rinse. |
Oven Door / | Wipe over the door outer panel with a cloth wrung out in hot soapy |
Grill Door | water, then after wiping with a cloth wrung out in clear water, dry with a |
| soft clean cloth. |
| Do not use scouring pads or abrasive powder which may scratch the |
| surface. |
| Take care during cleaning not to damage or distort the Door Seal. Do not |
| lift the Door Seal from the Oven Front Frame, if necessary remove the |
| seal by carefully unhooking the corner clips. |
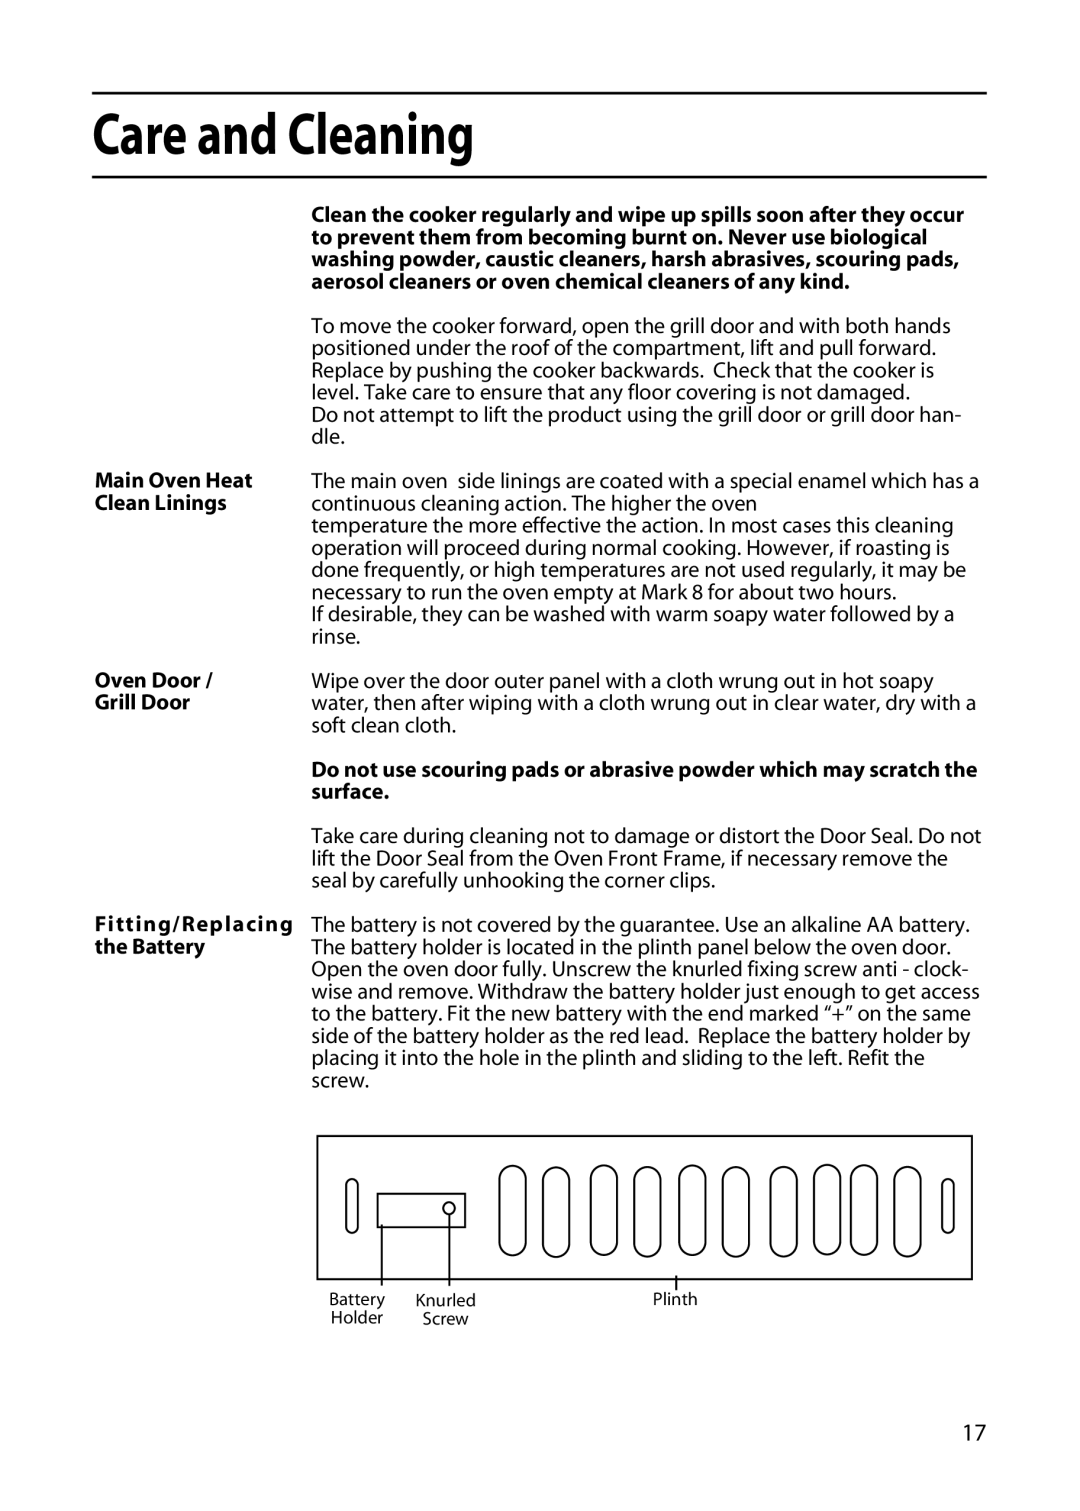
Fitting/Replacing The battery is not covered by the guarantee. Use an alkaline AA battery.
the Battery The battery holder is located in the plinth panel below the oven door. Open the oven door fully. Unscrew the knurled fixing screw anti - clock- wise and remove. Withdraw the battery holder just enough to get access to the battery. Fit the new battery with the end marked “+” on the same side of the battery holder as the red lead. Replace the battery holder by placing it into the hole in the plinth and sliding to the left. Refit the screw.
Battery | Knurled | Plinth |
Holder | Screw |
|
17