Installation Instructions
Before you begin operating the oven, carefully read the following instructions.
1.Empty the microwave oven and clean inside it with a soft, damp cloth. Check for damage such as a door that isn’t lined up correctly, damage around the door, or dents inside the oven or on the exterior. If there is any damage, do not operate the oven until an authorized service tech- nician has checked it and made any needed repairs.
2.Put the oven on a cart, counter, table, or shelf that is strong enough to hold the oven and the food and utensils you put in it. (The control side of the unit is the heavy side. Use care when han- dling the oven.) The weight of the oven is about 50 lbs (23kg). The microwave oven should be at a temperature above 50°F (10°C) for proper operation.
wWARNING
Fire Hazard
Do not install the oven next to or over a heat source.
Doing so can result in death, fire, or electrical shock.
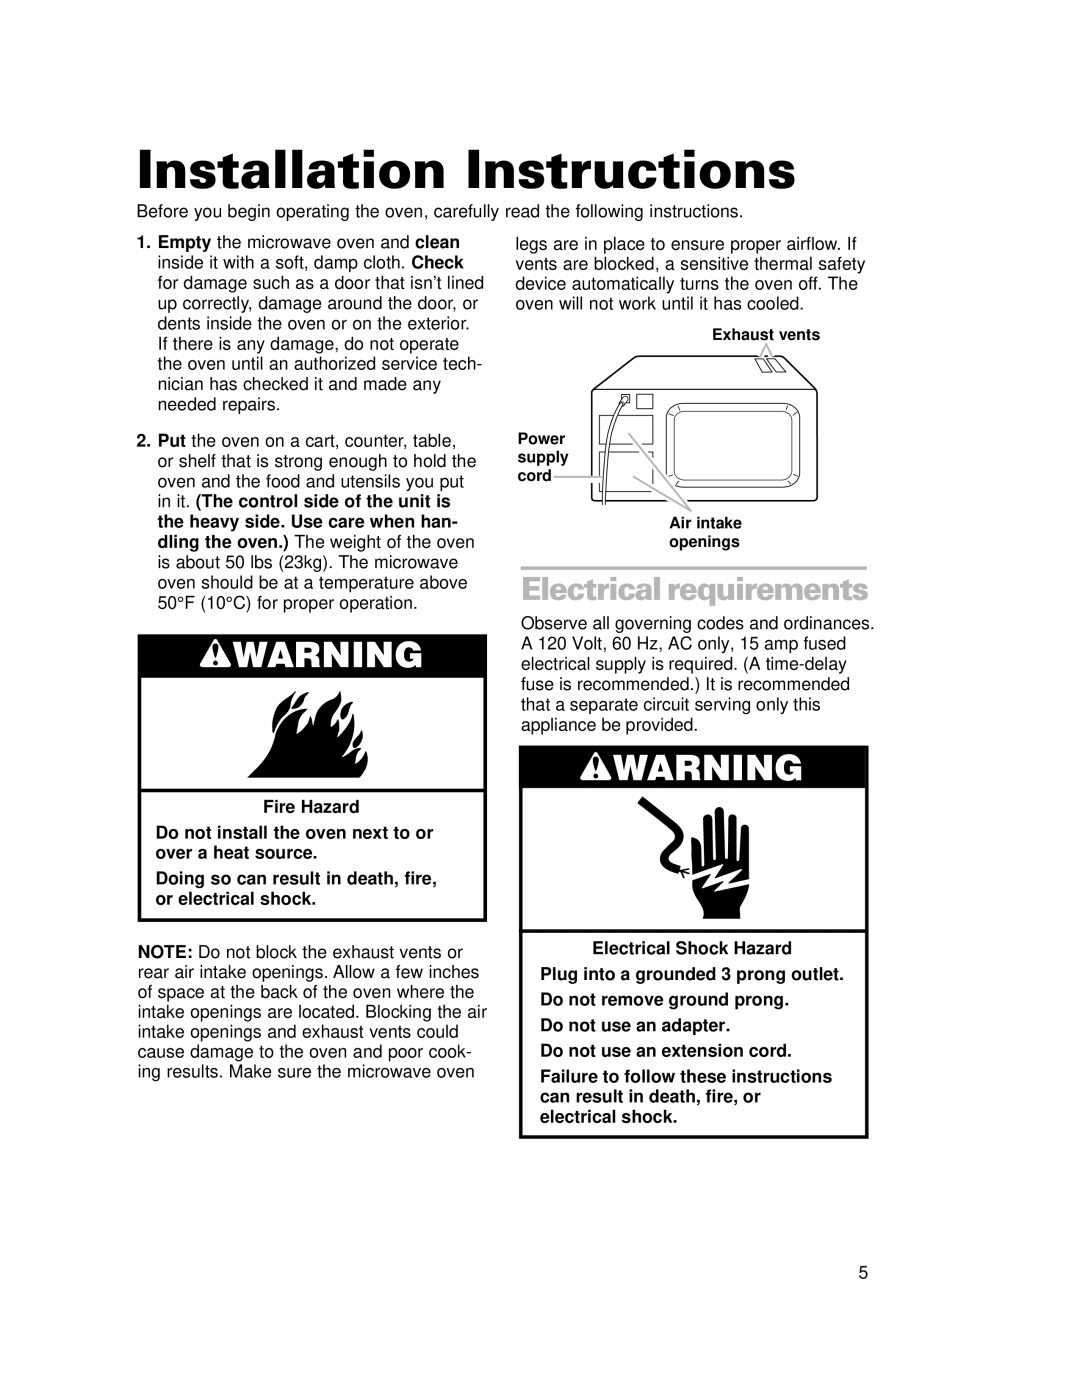
NOTE: Do not block the exhaust vents or rear air intake openings. Allow a few inches of space at the back of the oven where the intake openings are located. Blocking the air intake openings and exhaust vents could cause damage to the oven and poor cook- ing results. Make sure the microwave oven
legs are in place to ensure proper airflow. If vents are blocked, a sensitive thermal safety device automatically turns the oven off. The oven will not work until it has cooled.
Exhaust vents
Power supply cord
Air intake openings
Electrical requirements
Observe all governing codes and ordinances. A 120 Volt, 60 Hz, AC only, 15 amp fused electrical supply is required. (A
wWARNING
Electrical Shock Hazard
Plug into a grounded 3 prong outlet.
Do not remove ground prong.
Do not use an adapter.
Do not use an extension cord.
Failure to follow these instructions can result in death, fire, or electrical shock.
5