DSL20D1T(PAL)·º¿ GB 03.10.23 1:48 PM ˘ ` 18 mac001 1200DPI 90LPI
DAILY USE
CALLING UP SUBPAGE DIRECTLY
Pressing the SUBPAGE button , " S - - - - " appears.
Enter the subpage number that you want to call up with the NUMBER button, for example, the 2nd page, sequence 0002.
The desired subpage will eventually be displayed on the screen and holds it there.
Meanwhile whilst you are waiting, it is possible to go back to the TV picture by pressing the CANCEL button on the remote and after a while, press the CANCEL button again to revert back to the saved Teletext sub page.
WATCHING TV DURING TELETEXT MODE
Some pages are continually updated, for example, stock market reports, sports announcements, and the latest news.
If you want to watch television and stay informed at the same time, press CANCEL button.
The regular programme is still visible and the Teletext page number appears at the top of the screen.
Pressing the CANCEL button, the Teletext page appears with the updated information.
REVEAL ANSWER
This function can be used on certain pages to reveal the solution of riddles.
Press the REVEAL button to reveal a hidden answer and press again to hide it.
DOUBLING CHARACTER SIZE
Repeatedly pressing the SIZE button doubles the character size in the following order:
Upper half of the page Lower half of the page Normal size
WALL/ARM MOUNTING
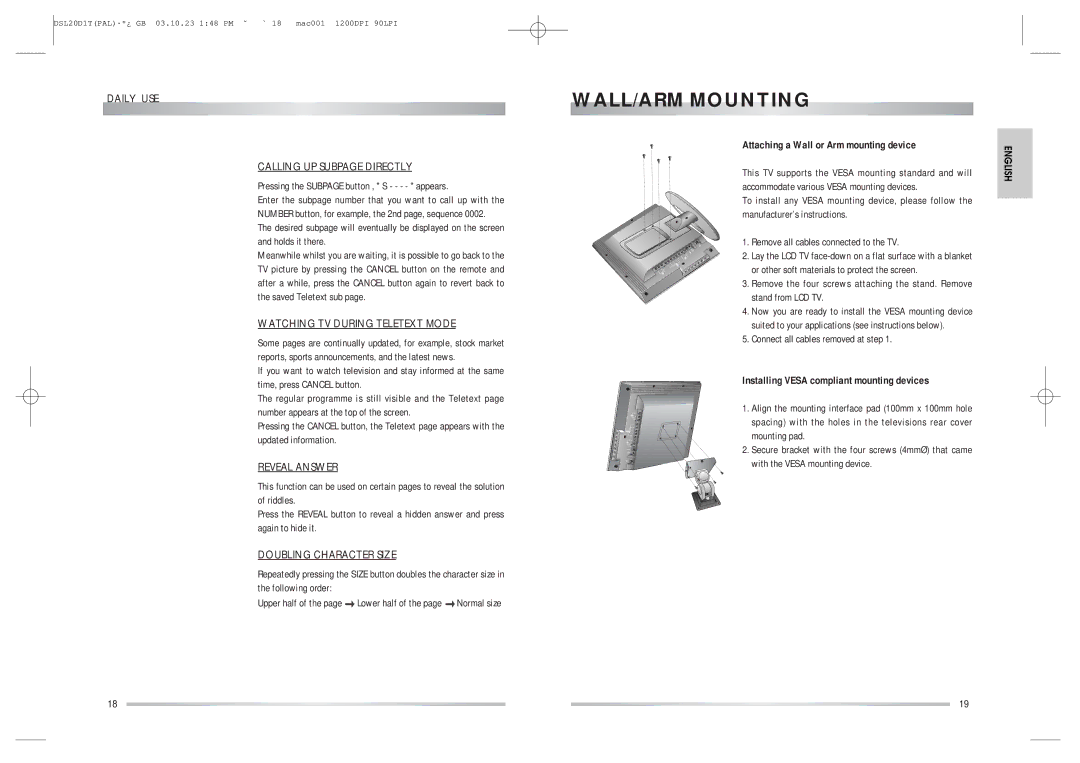
Attaching a Wall or Arm mounting device
This TV supports the VESA mounting standard and will accommodate various VESA mounting devices.
To install any VESA mounting device, please follow the manufacturer’s instructions.
1. Remove all cables connected to the TV.
2. Lay the LCD TV
3. Remove the four screws attaching the stand. Remove stand from LCD TV.
4.Now you are ready to install the VESA mounting device suited to your applications (see instructions below).
5.Connect all cables removed at step 1.
Installing VESA compliant mounting devices
1. Align the mounting interface pad (100mm x 100mm hole spacing) with the holes in the televisions rear cover mounting pad.
2. Secure bracket with the four screws (4mmØ) that came with the VESA mounting device.
ENGLISH
18 | 19 |