 ENCENDIDO ELECTRÓNICO DE QUEMADORES SUPERIORES
• Para encender los quemadores superiores |
|
|
|
|
|
|
|
|
|
| |
con encendido electrónico | APAGADO |
| |||
1.- Oprima el botón que se localiza en el lado |
|
|
|
|
|
izquierdo del frente de perillas para accionar la |
|
|
| FLAMA | |
FLAMA |
|
| |||
chispa y al mismo tiempo presione y gire 1/4 de | MÁXIMA |
|
|
| MÍNIMA |
|
|
|
|
| |
vuelta la perilla del quemador que desea | BOTÓN DE ENC. |
| |||
encender. |
| ||||
ELECTRÓNICO |
| ||||
2.- Despues de esto suelte el botón. | Y LUZ DE HORNO |
| |||
|
|
|
|
| |
Perilla en posición de encendido. |
| ||||
3.- Ajuste la flama en la posición deseada |
| ||||
|
|
|
|
| |
6 | ||
|
| immediately light will burner the and way, |
|
| the of 1/4 knob valve oven the turn and in Push |
|
| .tray oven the of center front the in hole |
|
| ignition the at flame the place and match a Light |
|
| .door oven the Open |
|
| |
|
| lighting: manual burner Oven |
 ENCENDIDO MANUAL DE QUEMADORES
•Para encender los quemadores superiores:
1.- Acerque un cerillo encendido al quemador y al mismo tiempo presione y gire 1/4 de vuelta la perilla del quemador correspondiente.
2.- Ajuste la flama en la posición deseada
APAGADO
FLAMAFLAMA
MÁXIMAMÍNIMA
.Oven the light to How |
.pans other or wall |
oven the and pan the betwen 2”) to |
of clearance a leave Always .oven the in centered |
is food the that so positioned be should rack The |
.rack the of part front |
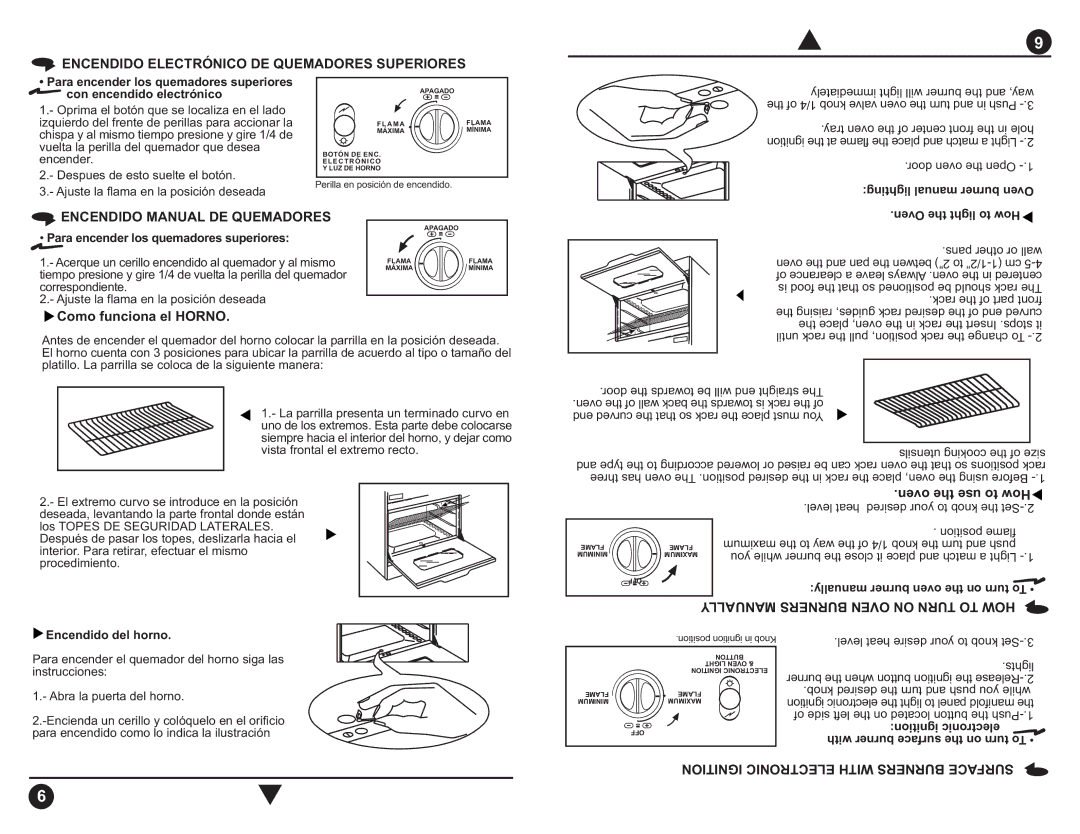
 Como funciona el HORNO.
Antes de encender el quemador del horno colocar la parrilla en la posición deseada. El horno cuenta con 3 posiciones para ubicar la parrilla de acuerdo al tipo o tamaño del platillo. La parrilla se coloca de la siguiente manera:
1.- La parrilla presenta un terminado curvo en uno de los extremos. Esta parte debe colocarse siempre hacia el interior del horno, y dejar como vista frontal el extremo recto.
2.- El extremo curvo se introduce en la posición deseada, levantando la parte frontal donde están los TOPES DE SEGURIDAD LATERALES.
Después de pasar los topes, deslizarla hacia el interior. Para retirar, efectuar el mismo procedimiento.
|
| the raising guides, rack desired the of end curved |
|
| the place oven, the in rack the Insert .stops it |
|
| until rack the pull position, rack the change To |
.door the towards be will end straight The | ||
.oven the of wall back the towards is rack the of | ||
end curved the that so rack the place must You | ||
|
| utensils cooking the of size |
and type the to according lowered or raised be can rack oven the that so positions rack | ||
three has oven The .position desired the in rack the place oven, the using Before | ||
|
| .oven the use to How |
|
| .level heat desired your to knob the |
|
| . position flame |
FLAME | FLAME | maximum the to way the of 1/4 knob the turn and push |
MINIMUM | MAXIMUM | you while burner the close it place and match a Light |
|
| |
| OFF | manually: burner oven the on turn To • |
|
| |
|
| MANUALLY BURNERS OVEN ON TURN TO HOW |
 Encendido del horno.
Para encender el quemador del horno siga las instrucciones:
1.- Abra la puerta del horno.
| .position ignition in Knob |
| BUTTON |
| LIGHT OVEN & |
| IGNITION ELECTRONIC |
FLAME | FLAME |
MINIMUM | MAXIMUM |
| OFF |
.level heat desire your to knob
.lights burner the when button ignition the
6
