7
.Switch Independent with Ignition Electronic |
|
and Light Oven with Range Diagram Electrical |
|
W 40 Bulb Oven | |
| L1 |
.Module Ignition | N |
Switch |
|
Ignition Electronic & Switch Light Oven Integrated |
|
| DIAGRAM ELECTRICAL |
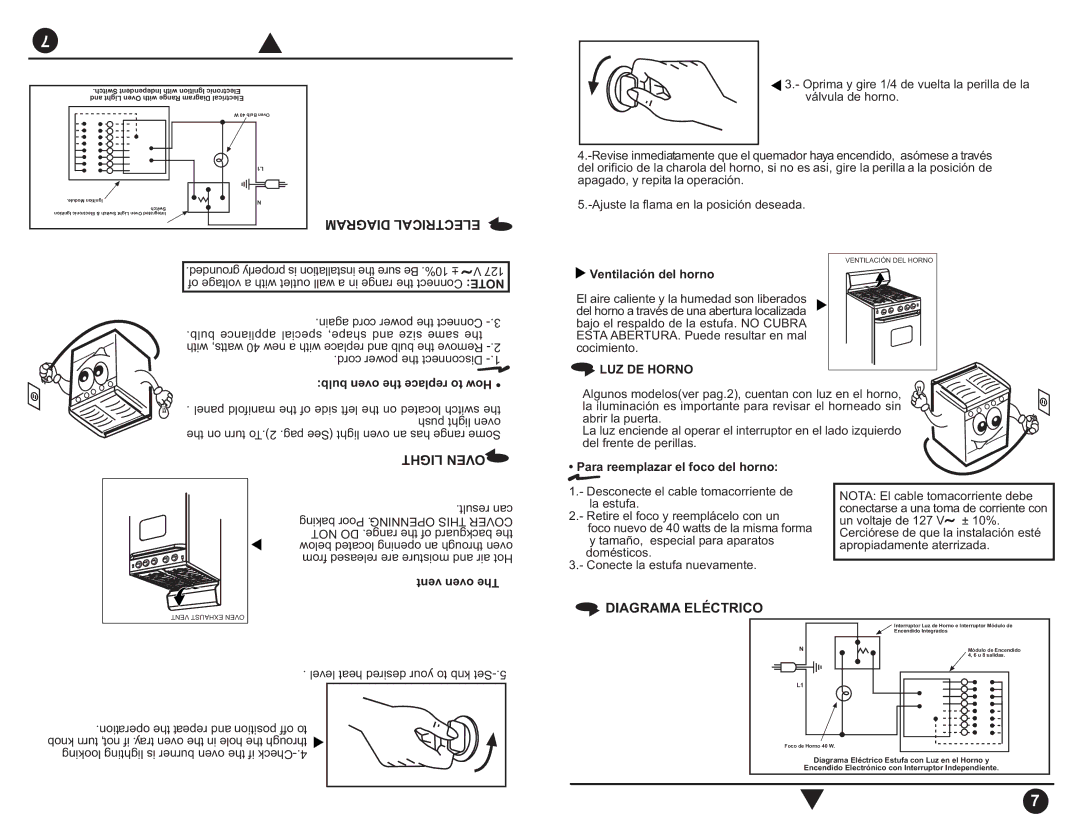
3.- Oprima y gire 1/4 de vuelta la perilla de la válvula de horno.
.grounded properly is installation the sure Be .10% ± | V 127 |
of voltage a with outlet wall a in range the Connect NOTE: | |
.again cord power the Connect | |
.bulb appliance special shape, and size same the | |
with watts, 40 new a with replace and bulb the Remove | |
.cord power the Disconnect | |
 Ventilación del horno
El aire caliente y la humedad son liberados del horno a través de una abertura localizada bajo el respaldo de la estufa. NO CUBRA ESTA ABERTURA. Puede resultar en mal cocimiento.
 LUZ DE HORNO
VENTILACIÓN DEL HORNO
bulb: oven the replace to How • |
. panel manifold the of side left the on located switch the |
push light oven |
the on turn To.2) .pag (See light oven an has range Some |
LIGHT OVEN |
Algunos modelos(ver pag.2), cuentan con luz en el horno, la iluminación es importante para revisar el horneado sin abrir la puerta.
La luz enciende al operar el interruptor en el lado izquierdo del frente de perillas.
• Para reemplazar el foco del horno:
.result can baking Poor .OPENNING THIS COVER NOT DO .range the of backguard the below located opening an through oven from released are moisture and air Hot
vent oven The
1.- Desconecte el cable tomacorriente de la estufa.
2.- Retire el foco y reemplácelo con un foco nuevo de 40 watts de la misma forma y tamaño, especial para aparatos domésticos.
3.- Conecte la estufa nuevamente.
NOTA: El cable tomacorriente debe conectarse a una toma de corriente con un voltaje de 127 V![]() ± 10%. Cerciórese de que la instalación esté apropiadamente aterrizada.
± 10%. Cerciórese de que la instalación esté apropiadamente aterrizada.
VENT EXHAUST OVEN
. level heat desired your to knb
 DIAGRAMA ELÉCTRICO
| Interruptor Luz de Horno e Interruptor Módulo de |
| Encendido Integrados |
N | Módulo de Encendido |
| 4, 6 u 8 salidas. |
L1
.operation the repeat and position off to knob turn not, if .tray oven the in hole the through looking lighting is burner oven the if
Foco de Horno 40 W.
Diagrama Eléctrico Estufa con Luz en el Horno y
Encendido Electrónico con Interruptor Independiente.
7
