MWA 2434 MM specifications
Defy Appliances has established itself as a frontrunner in providing innovative and high-quality kitchen appliances, and the MWA 2434 MM model is no exception. This sleek and modern microwave oven is designed to enhance convenience and efficiency in your kitchen while providing remarkable cooking performance.One of the standout features of the Defy MWA 2434 MM is its powerful microwave technology, boasting a robust 900-watt output. This impressive wattage ensures that your food is cooked evenly and quickly, making meal preparation a breeze. The microwave offers multiple power levels, allowing users to customize the cooking process according to their specific needs, whether it be reheating leftovers or preparing a gourmet meal.
In terms of capacity, the MWA 2434 MM features a spacious 34-liter interior, accommodating a variety of dishes, including larger bowls and platters. This generous space makes it a perfect choice for families or anyone who enjoys entertaining guests. The interior is lined with easy-to-clean materials, making maintenance hassle-free.
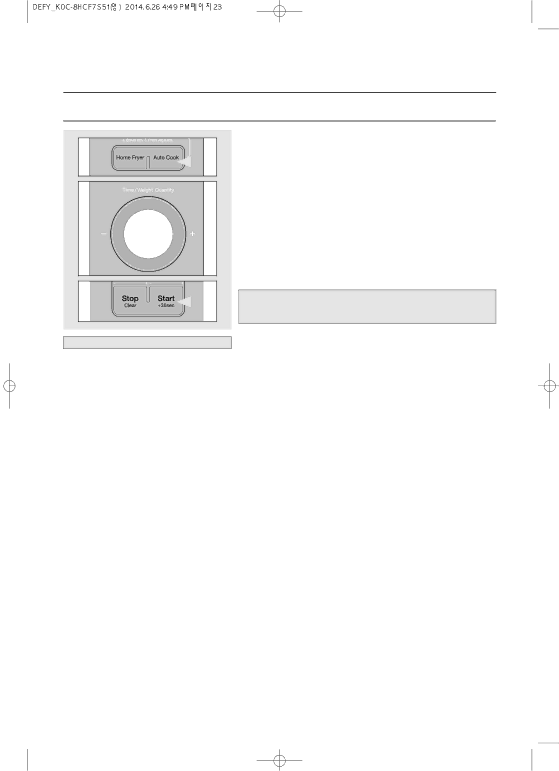
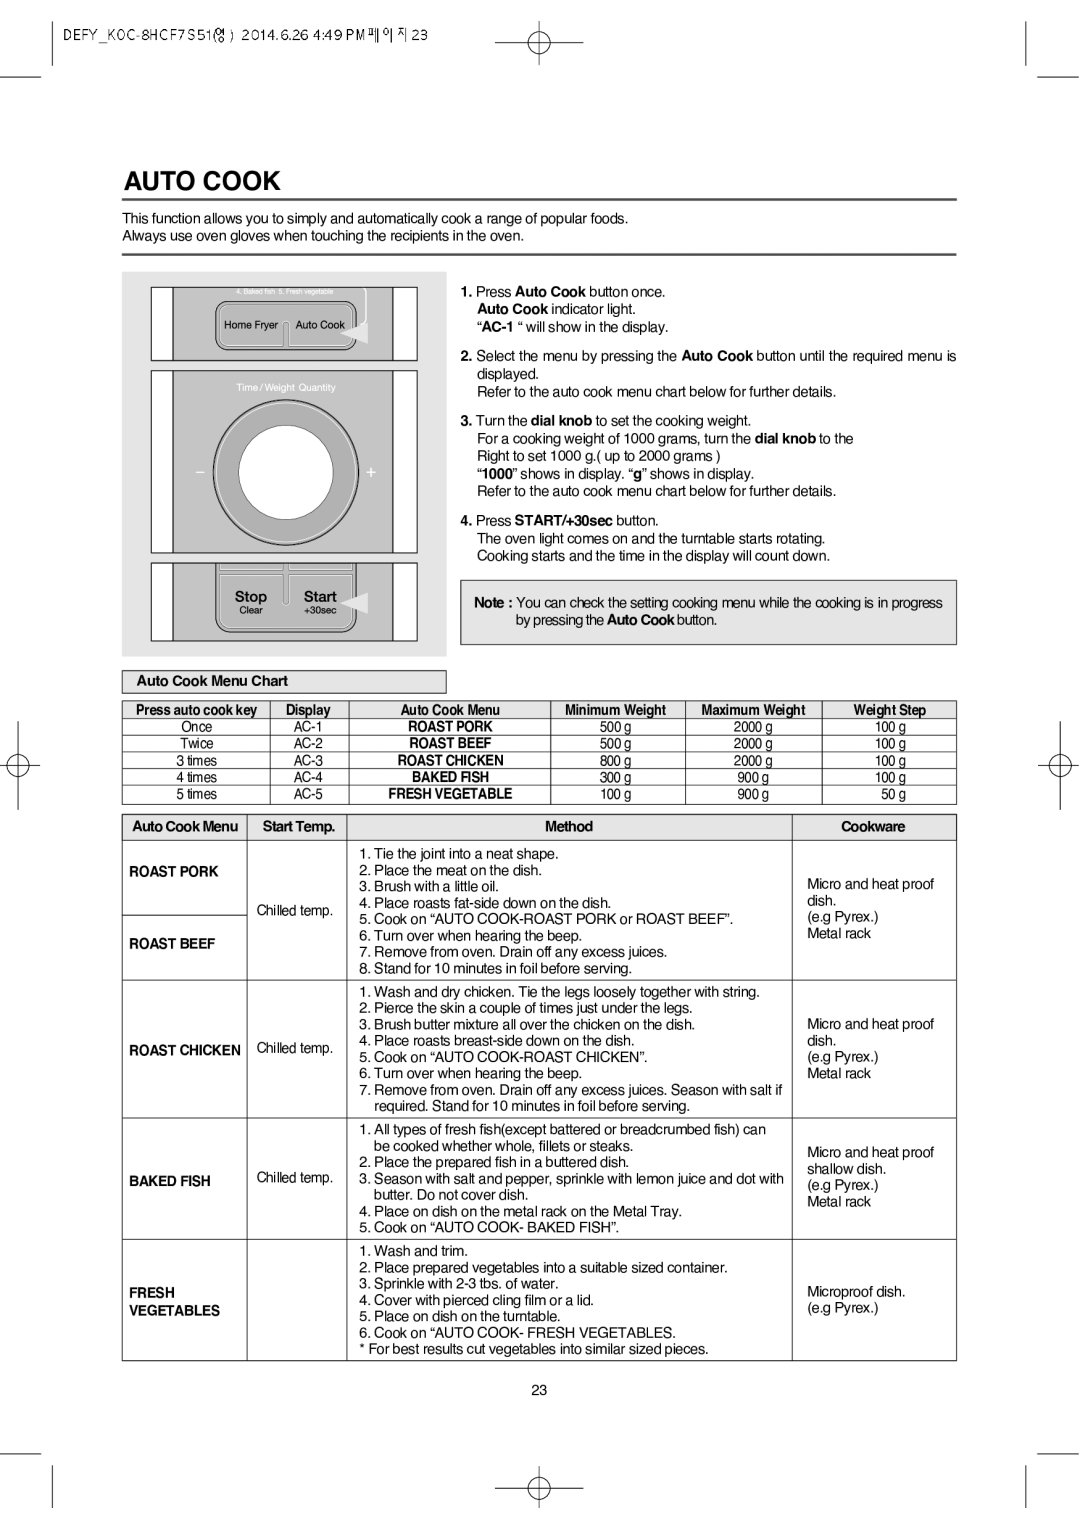
Another notable aspect of this microwave is its intuitive control panel. Equipped with a digital display, the MWA 2434 MM offers user-friendly navigation and access to a range of pre-programmed cooking functions. These features include options for defrosting, cooking, and reheating, which simplify the cooking process and save time in the kitchen.
The Defy MWA 2434 MM also emphasizes safety with its child lock feature, preventing accidental operation by little hands. This is particularly important for families with young children, ensuring peace of mind while cooking.
Concerning aesthetic appeal, the MWA 2434 MM boasts a sophisticated design with a stainless steel finish, making it a stylish addition to any kitchen environment. Its compact size allows for easy installation in various kitchen layouts, while enhancing the overall look of your culinary space.
Incorporating advanced technologies, such as inverter technology, the Defy MWA 2434 MM provides a more consistent and precise cooking experience. This means that food can be cooked evenly without the common hot and cold spots associated with traditional microwaves.
In conclusion, the Defy Appliances MWA 2434 MM is not just a microwave oven; it is a versatile kitchen companion that combines power, efficiency, and style. With its advanced features and user-friendly design, it is an indispensable tool for modern cooking, epitomizing Defy’s commitment to quality and innovation in home appliances.