Setting Up Your Monitor: Dell™ 1707FPV Flat Panel Monitor User's Guide
OSD menu / select
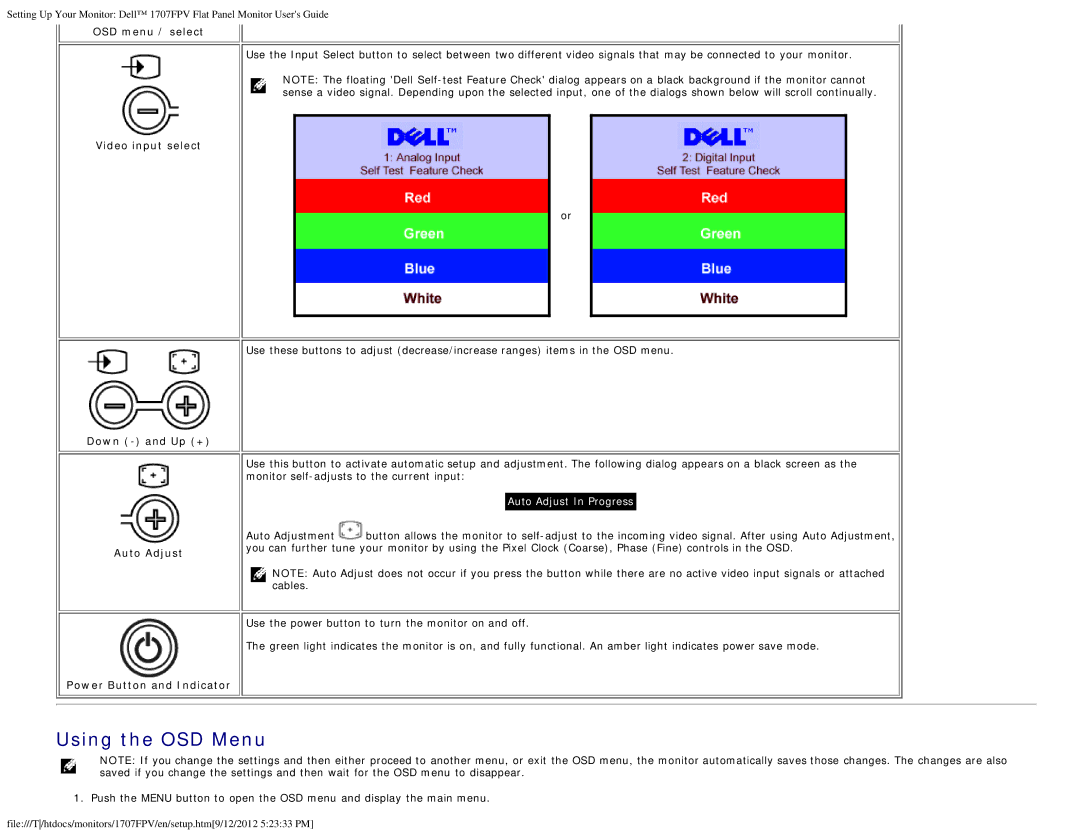
Use the Input Select button to select between two different video signals that may be connected to your monitor.
NOTE: The floating 'Dell
Video input select
or
Use these buttons to adjust (decrease/increase ranges) items in the OSD menu.
Down (-) and Up (+)
Auto Adjust
Use this button to activate automatic setup and adjustment. The following dialog appears on a black screen as the monitor
Auto Adjust In Progress
Auto Adjustment ![]() button allows the monitor to
button allows the monitor to
NOTE: Auto Adjust does not occur if you press the button while there are no active video input signals or attached cables.
Use the power button to turn the monitor on and off.
The green light indicates the monitor is on, and fully functional. An amber light indicates power save mode.
Power Button and Indicator
Using the OSD Menu
NOTE: If you change the settings and then either proceed to another menu, or exit the OSD menu, the monitor automatically saves those changes. The changes are also saved if you change the settings and then wait for the OSD menu to disappear.
1. Push the MENU button to open the OSD menu and display the main menu.
file:///T/htdocs/monitors/1707FPV/en/setup.htm[9/12/2012 5:23:33 PM]